Setting the paper size and type
From the home screen navigate to:
 > Paper Menu > Paper Size/Type > select a tray > select the paper size or type >
The selection and handling of paper and specialty media can affect how reliably documents print. For more information, see Avoiding jams and Storing paper.
From the home screen navigate to:
> Paper Menu > Paper Size/Type > select a tray > select the paper size or type >
The Universal paper size is a user-defined setting that lets you print on paper sizes that are not preset in the printer menus.
Notes:
From the home screen, navigate to:
> Paper Menu > Universal Setup > Units of Measure > select a unit of measure
Touch Portrait Width or Portrait Height.
Select the width or height, and then touch .
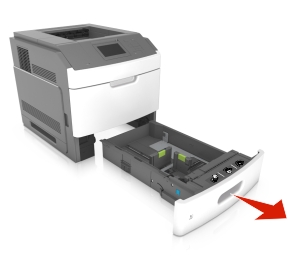
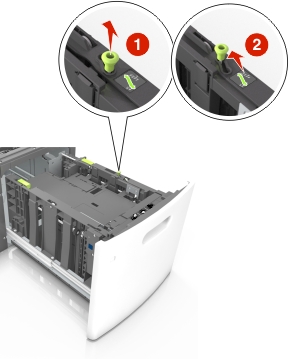
 CAUTION—POTENTIAL INJURY: To reduce the risk of equipment instability, load each tray separately. Keep all other trays closed until needed.
Pull out the tray.
Notes:
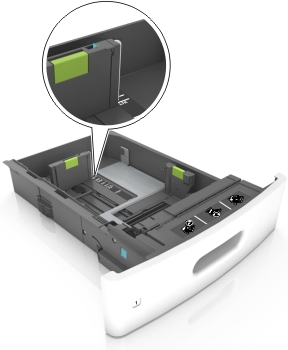
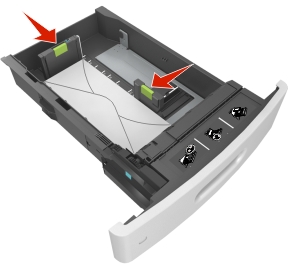
Squeeze and slide the width guide to the correct position for the size of the paper being loaded until it clicks into place.
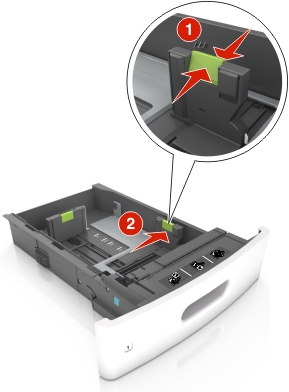
Unlock the length guide, and then squeeze and slide the guide to the correct position for the size of the paper being loaded.
Notes:
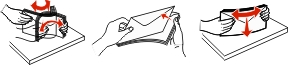
Flex the sheets back and forth to loosen them, and then fan them. Do not fold or crease the paper. Straighten the edges on a level surface.

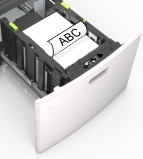
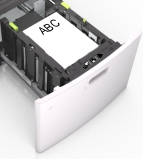
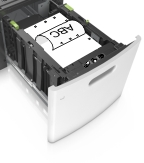
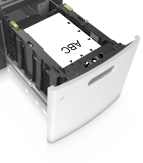
Load the paper stack with the printable side facedown.
There are different ways of loading letterhead depending on whether an optional staple finisher is installed or not.
Without an optional staple finisher | With an optional staple finisher |
|---|---|
 One-sided printing |  One-sided printing |
 Two-sided printing | 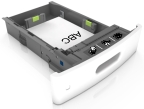 Two-sided printing |
If you are loading prepunched paper for use with the staple finisher, then make sure the holes on the long edge of the paper are on the right side of the tray.
One-sided printing | Two-sided printing |
|---|---|
 |  |
Do not slide the paper into the tray. Load paper as shown in the illustration.

If you are loading envelopes, then make sure that the flap side is facing up and the envelopes are on the left side of the tray.
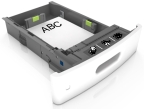
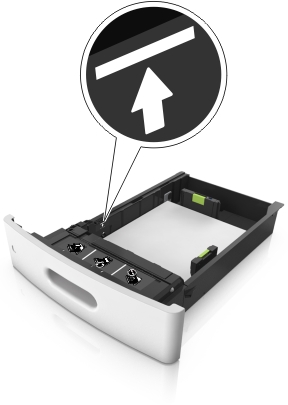
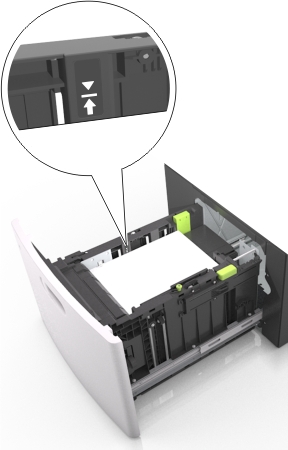
Make sure the paper is below the solid line, which is the maximum paper fill indicator.
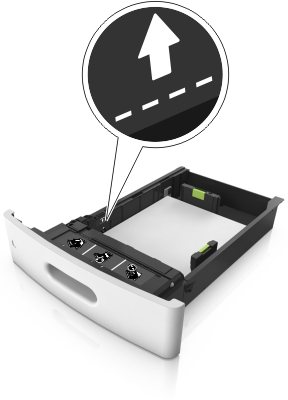
When using card stock, labels, or other types of specialty media, make sure the paper is below the dashed line, which is the alternate paper fill indicator.
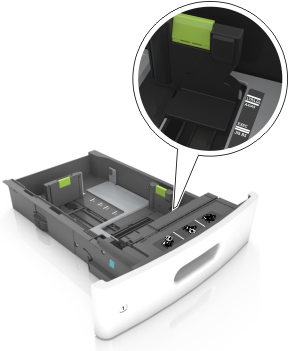
For custom- or Universal-size paper, adjust the paper guides to lightly touch the sides of the stack, and then lock the length guide.
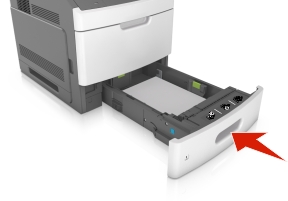
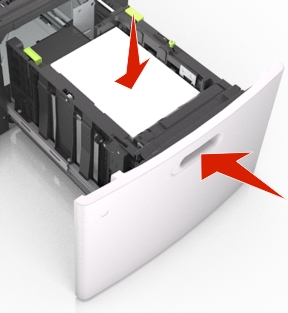
Insert the tray.
From the printer control panel, set the paper size and paper type in the Paper menu to match the paper loaded in the tray.
CAUTION—POTENTIAL INJURY: To reduce the risk of equipment instability, load each tray separately. Keep all other trays closed until needed.Pull out the tray.
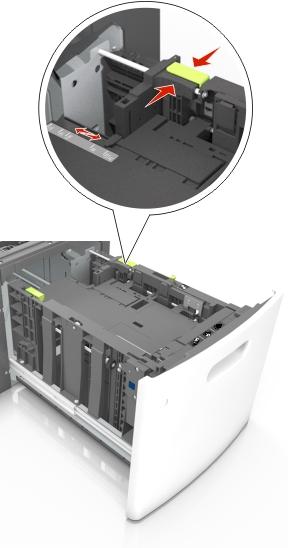
Adjust the width and length guides.
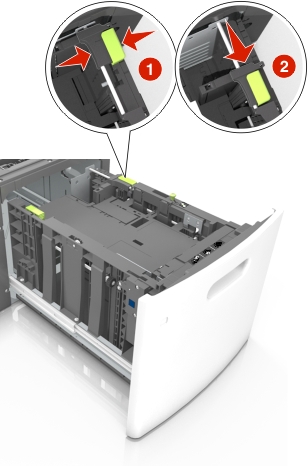
Pull up and slide the width guide to the position for A5.
Squeeze and slide the length guide to the position for A5 until it clicks into place.
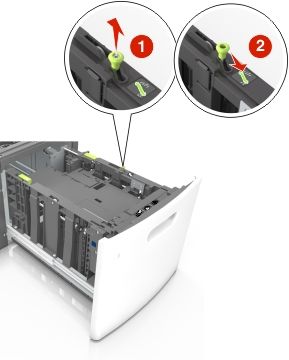
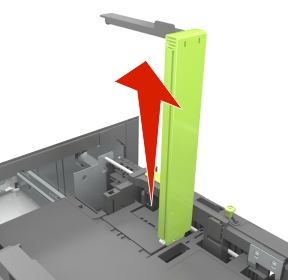
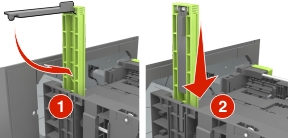
Remove the A5 length guide from its holder.
Insert the A5 length guide into its designated slot.
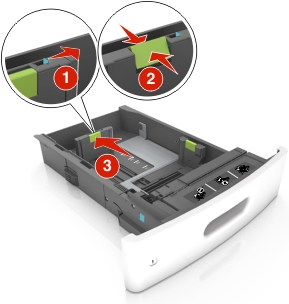
Pull up and slide the width guide to the correct position for the size of the paper being loaded.
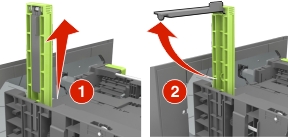
If the A5 length guide is still attached to the length guide, then remove it from its place. If the A5 length guide is not attached, then proceed to step d.
Put the A5 length guide in its holder.
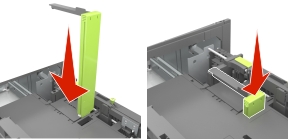
Squeeze the length guide and slide it to the correct position for the size of the paper being loaded until it clicks into place.
Flex sheets of paper back and forth to loosen them, and then fan them. Do not fold or crease the paper. Straighten the edges on a level surface.
Load the paper stack with the printable side facedown.
There are different ways of loading letterhead depending on whether an optional staple finisher is installed or not.
Without an optional staple finisher | With an optional staple finisher |
|---|---|
 One-sided printing | 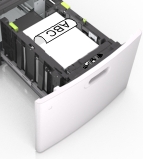 One-sided printing |
 Two-sided printing | 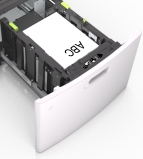 Two-sided printing |
If you are loading prepunched paper for use with the staple finisher, then make sure the holes on the long edge of the paper are on the right side of the tray.
One-sided printing | Two-sided printing |
|---|---|
 |  |
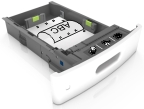
Make sure the paper is below the maximum paper fill indicator.
Insert the tray.
From the printer control panel, set the paper size and type in the Paper menu to match the paper loaded in the tray.
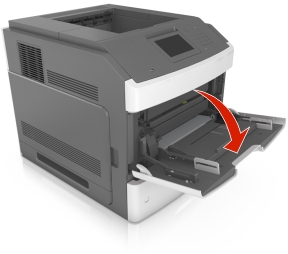
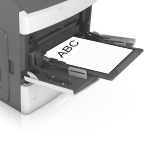
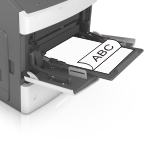
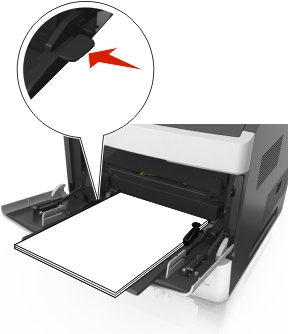
Pull down the multipurpose feeder door.
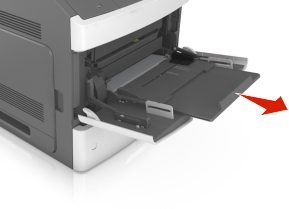
Pull the multipurpose feeder extender.
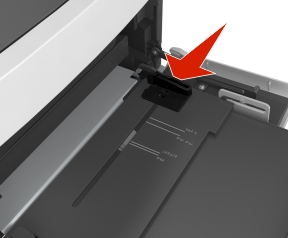
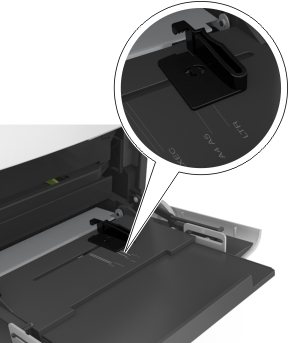
Slide the width guide to the correct position for the size of the paper being loaded.
Prepare the paper or specialty media for loading.
Flex sheets of paper back and forth to loosen them, and then fan them. Do not fold or crease the paper. Straighten the edges on a level surface.
Hold transparencies by the edges, and then fan them. Straighten the edges on a level surface.
Flex the stack of envelopes back and forth to loosen them, and then fan them. Straighten the edges on a level surface.
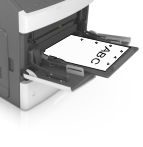
Load the paper or specialty media.
Load only one size and type of paper or specialty media at a time.
Make sure the paper fits loosely in the multipurpose feeder, lies flat, and is not bent or wrinkled.
There are different ways of loading letterhead depending on whether an optional staple finisher is installed or not.
Without an optional staple finisher | With an optional staple finisher |
|---|---|
 One-sided printing | 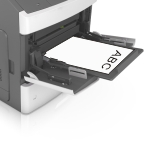 One-sided printing |
 Two-sided printing | 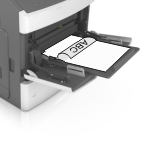 Two-sided printing |
If you are loading prepunched paper for use with the staple finisher, then make sure the holes on the long edge of the paper are on the right side of the tray.
One-sided printing | Two-sided printing |
|---|---|
 | 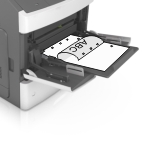 |
Load envelopes with the flap side down and on the left of the multipurpose feeder.

Make sure the paper or specialty media is below the maximum paper fill indicator.
For custom- or Universal-size paper, adjust the width guides to lightly touch the sides of the stack.
From the Paper menu on the printer control panel, set the paper size and type in the Paper menu to match the paper loaded in the tray.
Open a Web browser, and then type the printer IP address in the address field.
Notes:
Click Settings > Paper Menu.
Change the paper size and type settings for the trays you are linking.
To link trays, make sure the paper size and type for the tray match that of the other tray.
To unlink trays, make sure the paper size or type for the tray does not match that of the other tray.
Click Submit.
Open a Web browser, and then type the printer IP address in the address field.
Notes:
Click Settings > Paper Menu > Custom Names.
Select a custom name, and then type a custom paper type name.
Click Submit.
Click Custom Types, and then verify if the new custom paper type name has replaced the custom name.
From the home screen, navigate to:
> Paper Menu > Custom Names
Select a custom name, and then type a custom paper type name.
Touch .
Touch Custom Types, and then verify that the new custom paper type name has replaced the custom name.
Assign a custom paper type name to a tray when linking or unlinking trays.
Open a Web browser, and then type the printer IP address in the address field.
Notes:
Click Settings > Paper Menu > Custom Types.
Select a custom paper type name, and then select a paper type
Click Submit.
From the home screen, navigate to:
> Paper Menu > Custom Types
Select a custom paper type name, and then select a paper type
Touch .