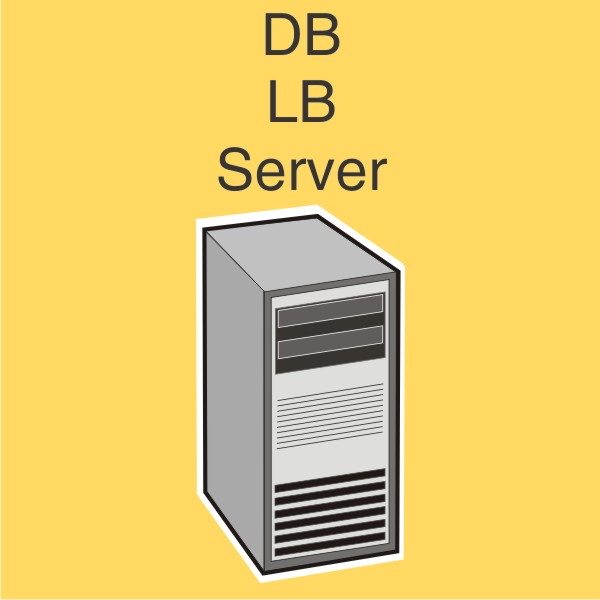
Configuration type for workgroup systems
Description | Advantage | Disadvantage |
|---|---|---|
Database (DB), load balancer (LB), and server on a single computer  | Minimum equipment | No failover for database or load balancer, limited resources |
Description | Advantage | Disadvantage |
|---|---|---|
Database (DB), load balancer (LB), and server on a single computer  | Minimum equipment | No failover for database or load balancer, limited resources |
Configure the computer where to install LDD on the network.
Activate and download licenses.
Install LDD using a workgroup installation.
Change the administrator password, and optionally, the administrator user name.
Temporarily set servers online to test function.
| Note: Because software clients are managed differently than printers, client software is installed later in the system setup process. For information about installing client software and managing software clients, see Managing software clients. |
From the LDD installation package, run Setup.exe.
Select a language for the installation, and then click OK.
From the LDD Setup window, click Next.
Select Install LDD system components, and then click Next.
Accept the license agreement, and then click Next.
From the list of components, select Database, Load balancer, Server, and Client Software, and then click Next.
| Note: You can install optional server components, such as Barcode Read, Barcode Write, and OCR, after the LDD installation. |
Specify a location for the installation, and then click Next.
For multiple networks, select the IP address of the server that is connected to the same network as your printers, and then click Next.
| Note: If necessary, select Allow only IP address. |
If you are installing a backup recovery system, then select Restore Install (RI), specify or locate the .ri file, and then click Next.
Review the setup information, and then click Next.
Click Install.