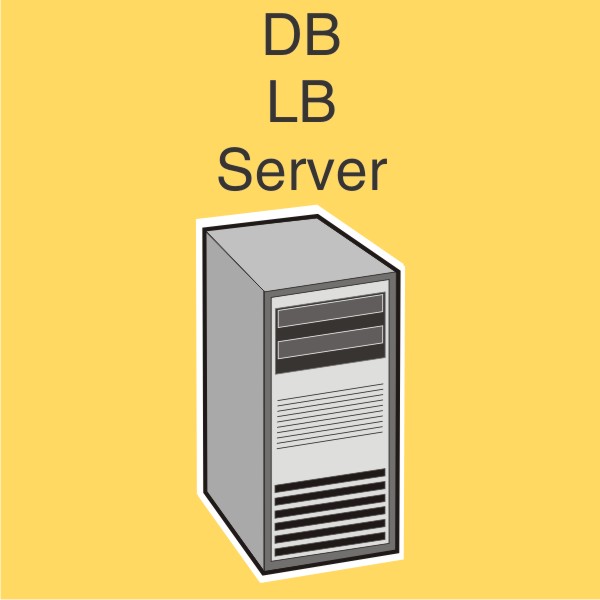
Configuration type for workgroup systems
Description | Advantage | Disadvantage |
|---|---|---|
Database (DB), load balancer (LB), and server on a single computer  | Minimum equipment | No failover for database or load balancer, limited resources |
Description | Advantage | Disadvantage |
|---|---|---|
Database (DB), load balancer (LB), and server on a single computer  | Minimum equipment | No failover for database or load balancer, limited resources |
Configure the computer where to install Lexmark Distributed Intelligent Capture on the network.
Activate and download licenses.
Install Lexmark Distributed Intelligent Capture using a workgroup installation.
Change the administrator password, and optionally, the administrator user name.
Temporarily set servers online to test function.
| Note: Because software clients are managed differently than printers, client software is installed later in the system setup process. For information about installing client software and managing software clients, see Managing software clients. |
From the Lexmark Distributed Intelligent Capture installation package, run Setup.exe.
From the Lexmark Solutions installation window, click Install Workgroup System.
Click Agree to accept the license agreement.
Specify the folder where the server software should be installed, and then click Next.
If multiple network adapters are present, then select the network containing your printers by selecting the IP address of the server on that network, and then click Next.
If you are installing a system to recover a backup, then do the following:
Select Restore Install (RI).
Type the path of the folder containing the .ri file from the backup, or click the folder icon and then locate the .ri file.
Specify the folder where you stored the license files during the activation process.
Notes:
Specify the solution file that should be installed with the workgroup system.
Click Finish > Done.