 Sending a fax
Receiving a fax
Sending a fax
You can send a fax using the computer modem.
Placing a document on the scanner glass
- Open the top cover.
- Place the item you want to fax face down on the glass. Make sure the upper left corner aligns with the arrow on the right side of the All-In-One.
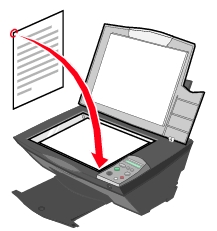
- Close the top cover.
Opening the Lexmark All-In-One Center to fax
- Right-click the Lexmark Imaging Studio icon in the system tray.
- Click the Fax button.

The Fax dialog box appears.
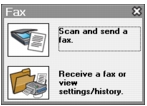
- Click Scan and send a fax.
The Lexmark All-In-One Center appears on the Scanning & Copying tab.
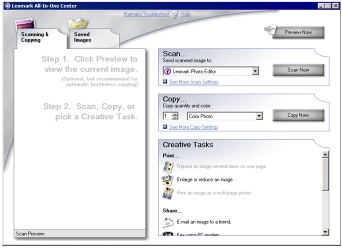
- If you want to see a preview, click Preview Now in the upper right corner of the Lexmark All-In-One Center.
- An image of the scanned item appears in the preview section.
Note: This is only a quick preview, you scan the image in a later step.
- Click Next.
- Follow the instructions on the computer screen to complete the task.
Receiving a fax
To set up your computer to receive a fax:
- Right-click the Lexmark Imaging Studio icon in the system tray. For more information, see Using the Lexmark Imaging Studio.
- Click the Fax button.
The Fax dialog box appears.
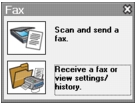
- Click Receive a fax or view settings/history to open the fax software.
Note: Faxes can be received only when the fax software is open. When a fax is received, you can double-click the fax in the status window to view it.
- Click the printer icon to print the fax.
Additional incoming fax options
- Select how you want to answer incoming calls. Select Automatically if you want the software to receive faxes automatically, or select Manually.
If you select Manually, you must then click Answer Now whenever someone is attempting to send you a fax.
- If you want to always print your faxes as they come in, select Print Incoming Faxes.