Remove the used print cartridge or cartridges. For more information, see Removing a used print cartridge.
If you are installing new print cartridges, remove the tape from the back and bottom of the black cartridge, and insert the cartridge in the left carrier.
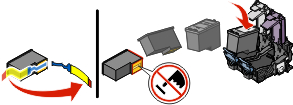
| Warning—Potential Damage: | Do not touch the gold contact area on the back or the metal nozzles on the bottom of the cartridge. |
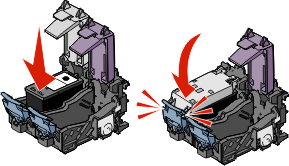
Close the black cartridge carrier lid.
Remove the tape from the back and bottom of the color cartridge, and insert the cartridge in the right carrier.
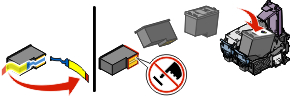
| Warning—Potential Damage: | Do not touch the gold contact area on the back or the metal nozzles on the bottom of the cartridge. |
Close the color cartridge carrier lid.
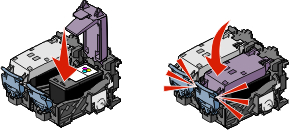
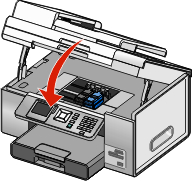
Close the scanner unit, making sure to keep your hands out from underneath the scanner unit.
The control panel display will prompt you to load paper and press  to print an alignment page.
| Note: | The scanner unit must be closed to start a new scan, print, copy, or fax job. |