Using a flash drive with the printer
Make sure the flash drive contains files that are supported by the printer. For more information, see Supported file types.
Insert a flash drive into the USB port.
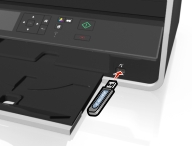
Notes:
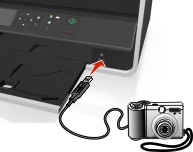
- The flash drive uses the same port that is used for a PictBridge camera cable.
- An adapter may be necessary if your flash drive does not fit directly into the port.
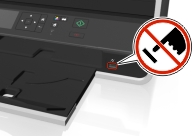
Warning—Potential Damage: Do not touch any cables, any network adapter, any connector, the memory device, or the printer in the areas shown while actively printing, reading, or writing from the memory device. A loss of data can occur.
Follow the instructions or select from available options on the printer display.
Note: If the printer does not recognize the memory device, then remove and reinsert it.
 .
. .
.