Replacing the toner cartridge
-
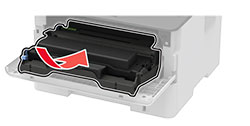
Open the front door.
Warning—Potential Damage: To prevent damage from electrostatic discharge, touch any exposed metal frame of the printer before accessing or touching interior areas of the printer.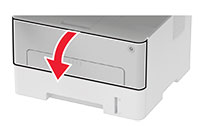
-
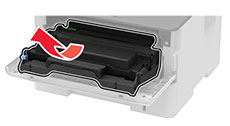
Remove the imaging unit.
-
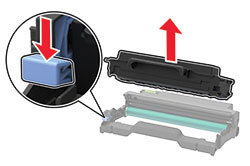
Remove the used toner cartridge from the imaging unit.

-
Unpack the new toner cartridge.
-
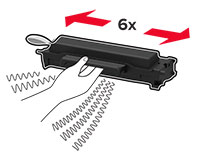
Shake the toner cartridge to redistribute the toner.
-
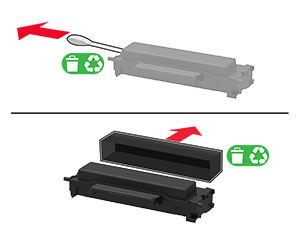
Remove the seal, and then remove the cover.
-
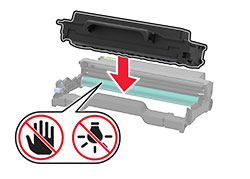
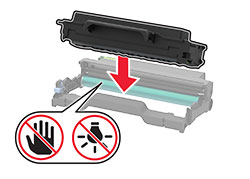
Insert the new toner cartridge into the imaging unit.
-
Insert the imaging unit.
-
Close the door.

 >
Device
>
 >
Maintenance
>