-
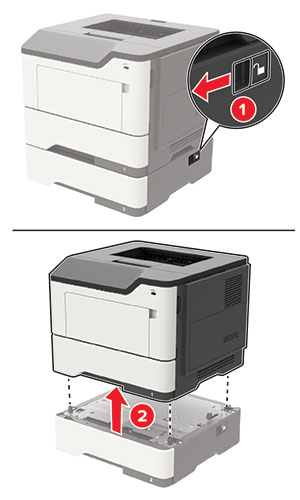
Turn off the printer.
-
Unplug the power cord from the electrical outlet, and then from the printer.
-
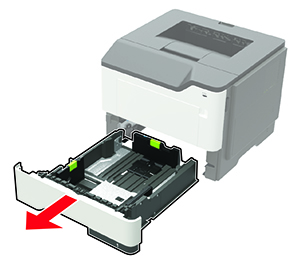
Remove the optional tray.
 CAUTION—POTENTIAL INJURY:
If the printer weight is greater than 18 kg (40 lb), then it requires two or more trained personnel to lift it safely.
-
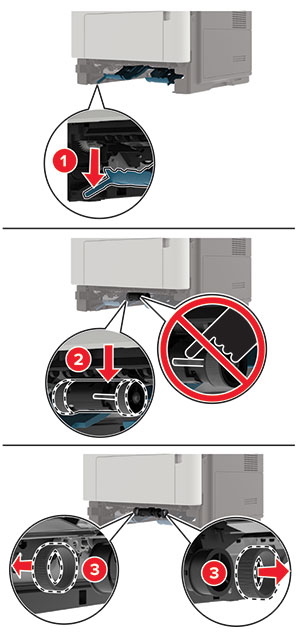
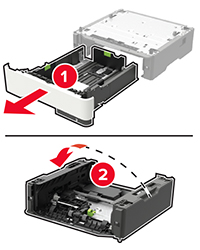
Remove the tray insert, and then flip the tray base.
-
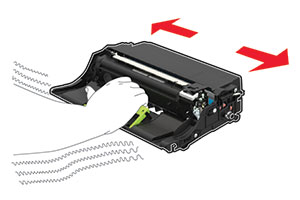
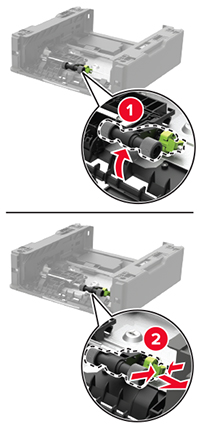
Remove the used pick roller assembly.
-
Unpack the new pick roller assembly.
-
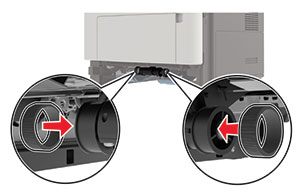
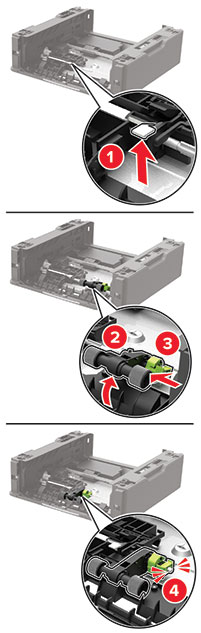
Insert the new pick roller assembly.
-
Flip the tray base, and then insert the tray insert.
-
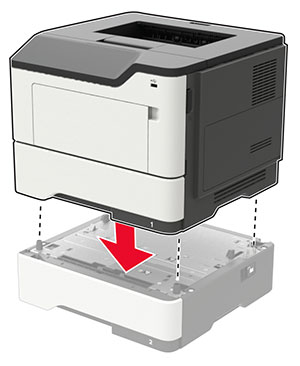
Align the printer with the optional tray, and then lower the printer until it
clicks
into place.
-
Connect the power cord to the printer, and then to the electrical outlet.
CAUTION—POTENTIAL INJURY:
To avoid the risk of fire or electrical shock, connect the power cord to an appropriately rated and properly grounded electrical outlet that is near the product and easily accessible.
-
Turn on the printer.