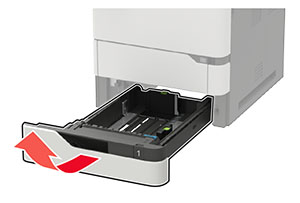
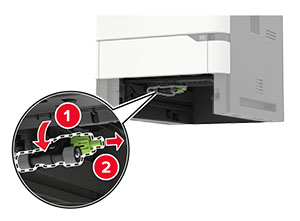
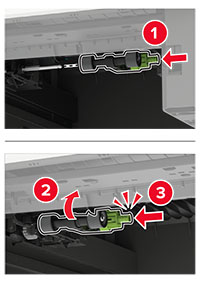
Replacing the toner cartridge
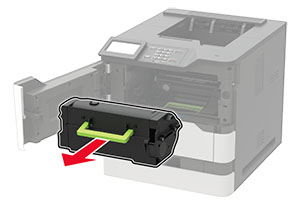
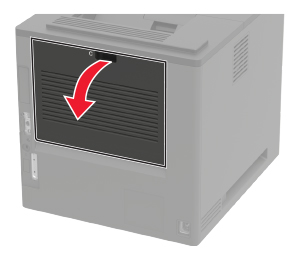
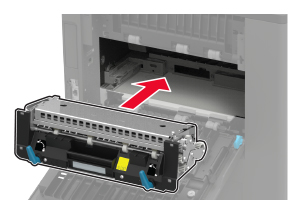
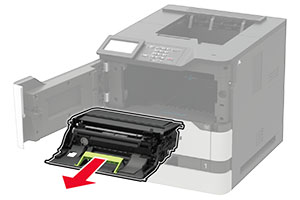
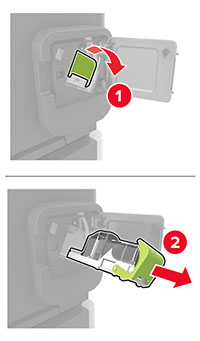
Open door A.
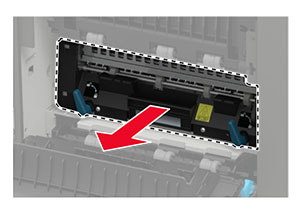
Warning—Potential Damage: To prevent damage from electrostatic discharge, touch any exposed metal frame of the printer before accessing or touching interior areas of the printer.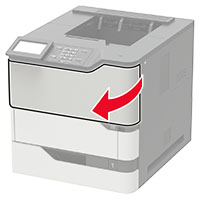
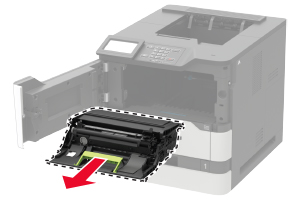
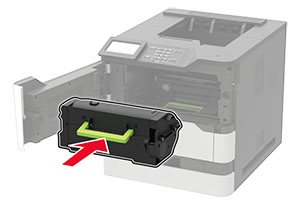
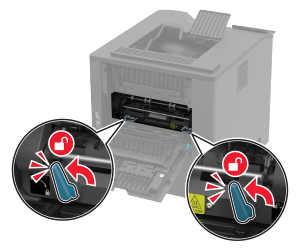
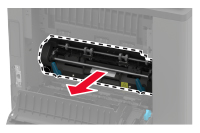
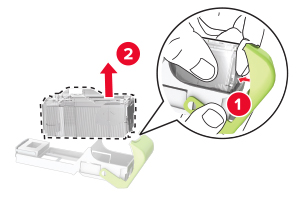
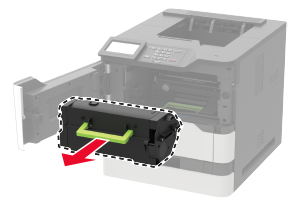
Remove the used toner cartridge.
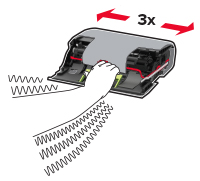
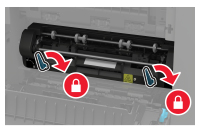
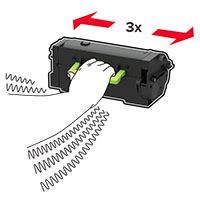
Unpack the new toner cartridge, and then shake it to redistribute the toner.
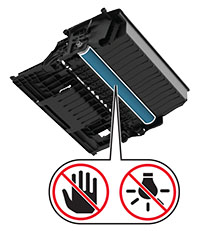
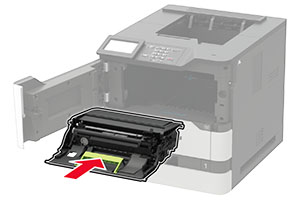
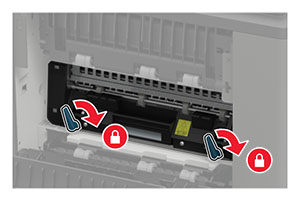
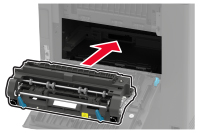
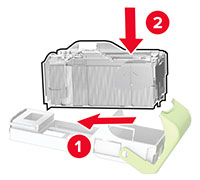
Insert the new toner cartridge.

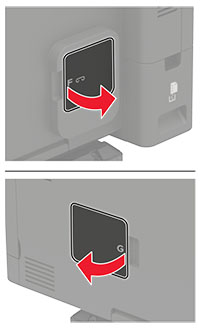
Close the door.