Replacing the waste toner bottle

|
1 |
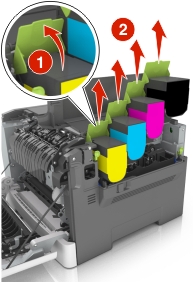
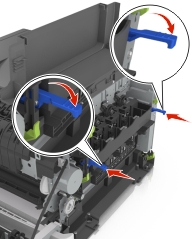
Top door |
|
2 |
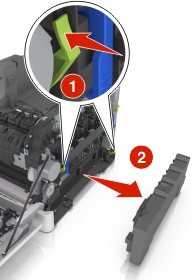
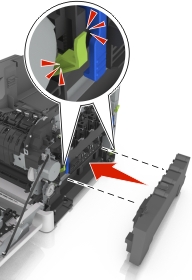
Waste toner bottle |
|
3 |
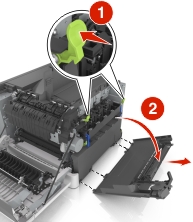
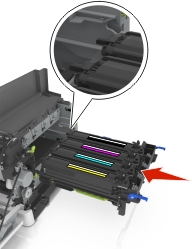
Right side cover |
|
4 |
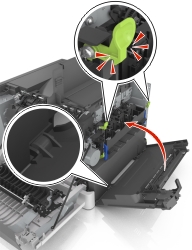
Front door |
-
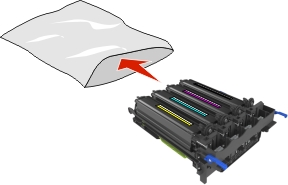
Unpack the replacement waste toner bottle.
-
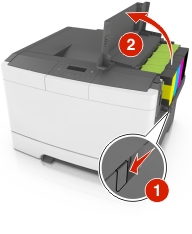
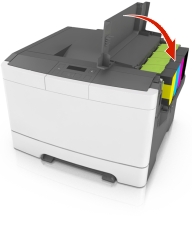
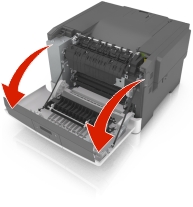
Open the front door.
 CAUTION—HOT SURFACE:
The inside of the printer might be hot. To reduce the risk of injury from a hot component, allow the surface to cool before touching it.
CAUTION—HOT SURFACE:
The inside of the printer might be hot. To reduce the risk of injury from a hot component, allow the surface to cool before touching it.
-
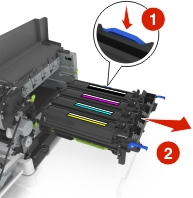
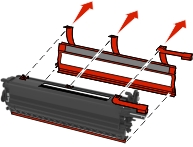
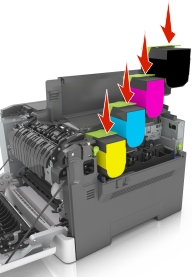
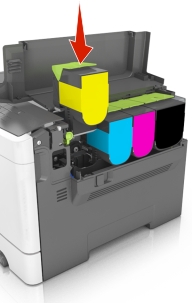
Open the top door.

-
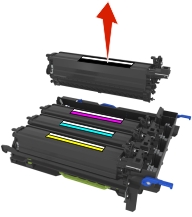
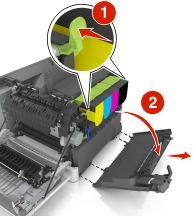
Remove the right side cover.
-
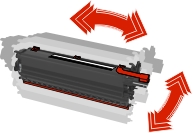
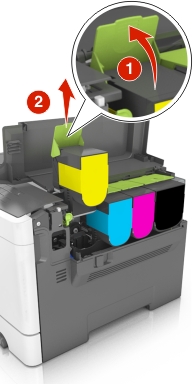
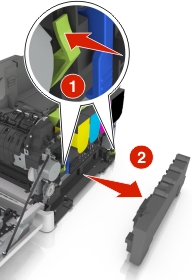
Remove the waste toner bottle.
-
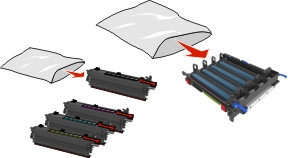
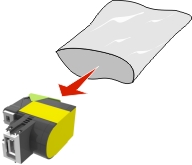
Pack the used waste toner bottle.
For more information, see Recycling Lexmark products .
-
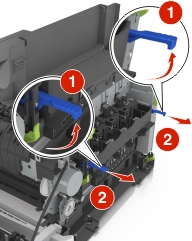
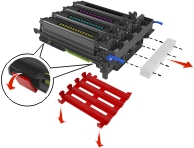
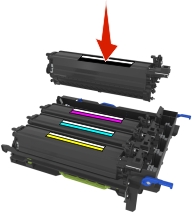
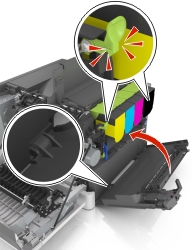
Insert the replacement waste toner bottle.

-
Insert the right side cover.
-
Close the top door.
-
Close the front door.