Replacing a print cartridge
Note:
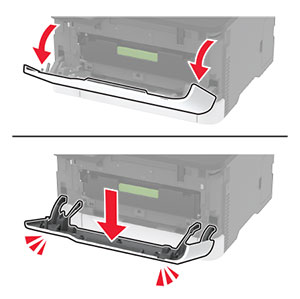
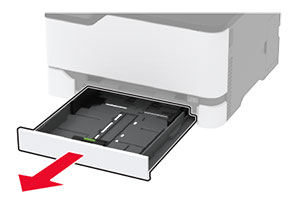
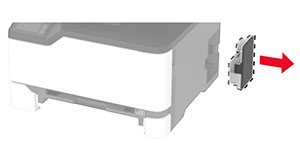
If the tray is extended, then remove it before replacing a cartridge.
-
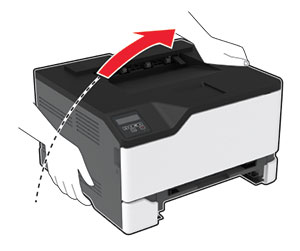
Open the front door, and then firmly push it down.
-
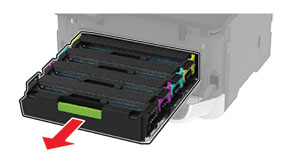
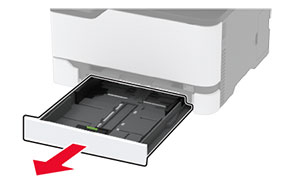
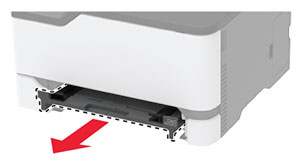
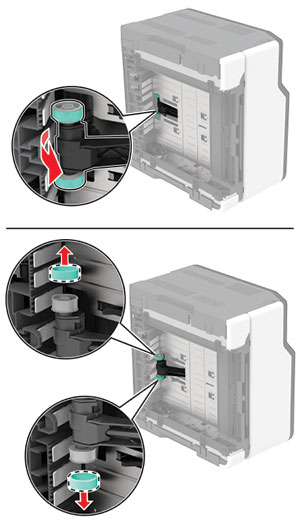
Pull out the print cartridge tray.
-
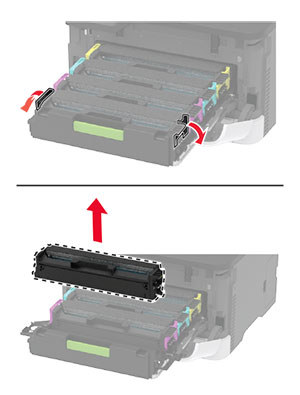
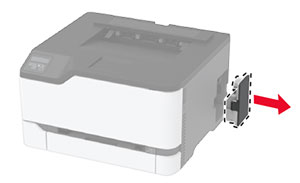
Remove the used print cartridge.
-
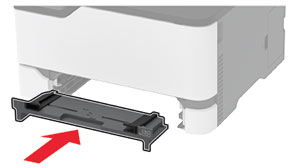
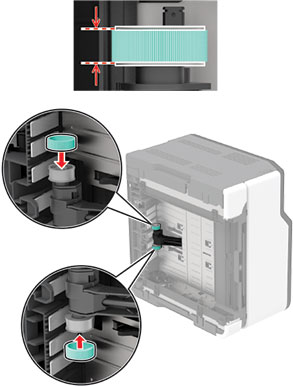
Unpack the new print cartridge.
Warning—Potential Damage: Do not expose the underside of the print cartridge to direct light. Extended exposure to light may cause print quality problems.Warning—Potential Damage: Do not touch the underside of the print cartridge. Doing so may affect the quality of future print jobs.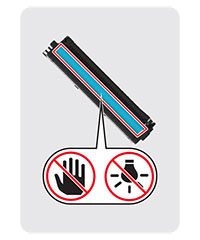
-
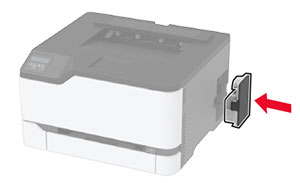
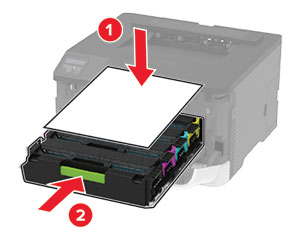
Insert the new print cartridge.

-
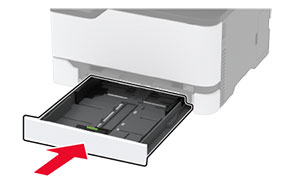
Insert the print cartridge tray, and then close the door.


 to navigate through the settings.