Loading trays
 CAUTION—TIPPING HAZARD:
To reduce the risk of equipment instability, load each tray separately. Keep all other trays closed until needed.
CAUTION—TIPPING HAZARD:
To reduce the risk of equipment instability, load each tray separately. Keep all other trays closed until needed.
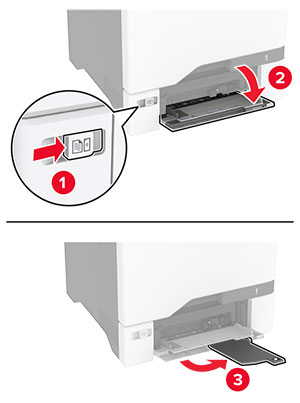
-
Remove the tray.
Note: To avoid jams, do not remove trays while the printer is busy.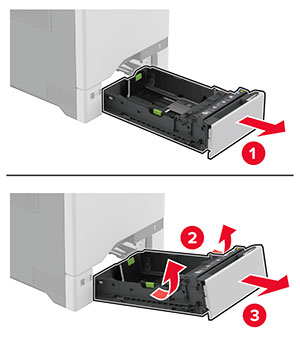
-
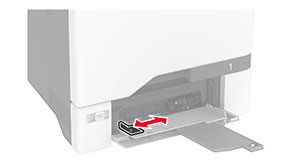
Adjust the guides to match the size of the paper that you are loading.
Note: Use the indicators on the bottom of the tray to position the guides.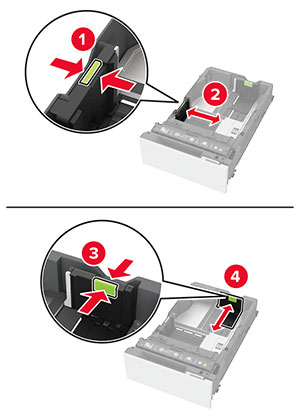
-
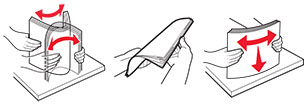
Flex, fan, and align the paper edges before loading.
-
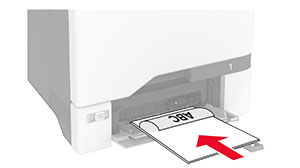
Load the paper stack with the printable side faceup.
-
For one-sided printing, load letterhead faceup with the header toward the front of the tray.
-
For two-sided printing, load letterhead facedown with the header toward the back of the tray.
-
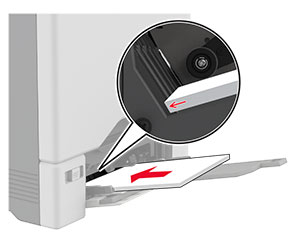
Do not slide paper into the tray.
-
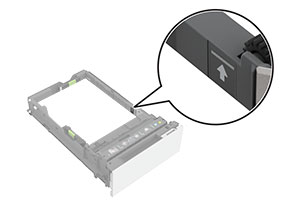
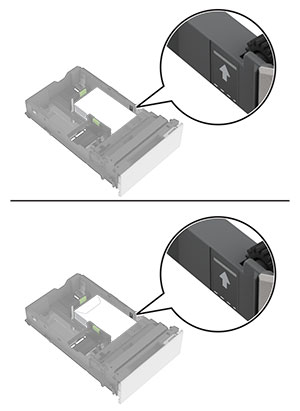
For plain paper, make sure that the stack height is below the maximum paper fill indicator. Overfilling may cause paper jams.
-
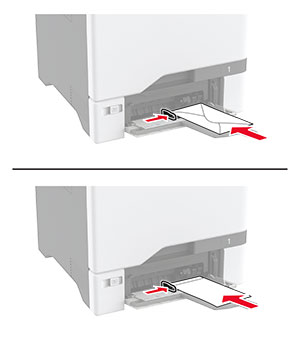
For envelopes and other specialty media, make sure that the stack height is below the dashed line. Overfilling may cause paper jams.
-
-
Insert the tray.
If necessary, set the paper size and type to match the paper loaded in the tray.