避免卡纸
正确加载纸张
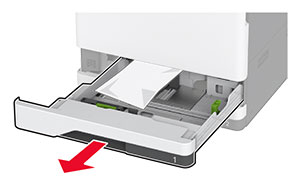
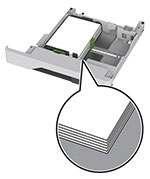
确保纸张平放在进纸匣中。
正确的纸张加载
不正确的纸张加载

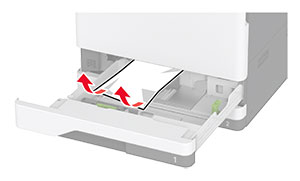
当打印机正在打印时不要加载或移除进纸匣。
不要加载过多纸张。确保纸堆高度低于最大纸张加载指示线。
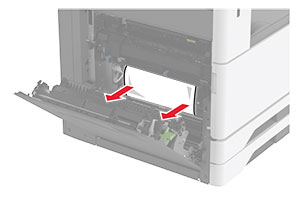
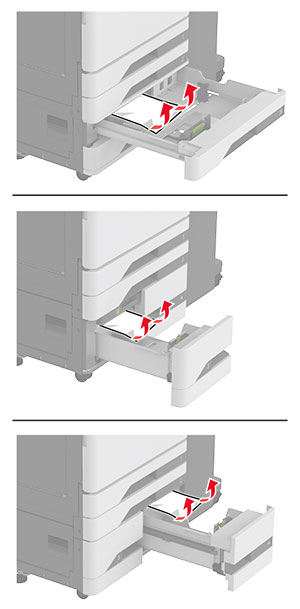
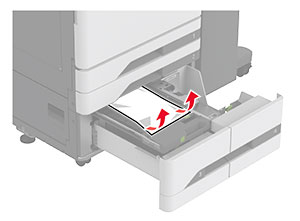
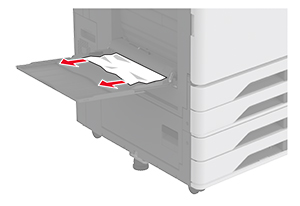
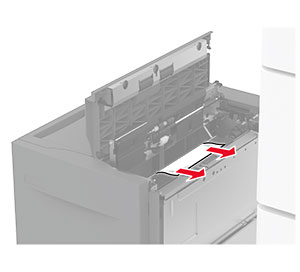
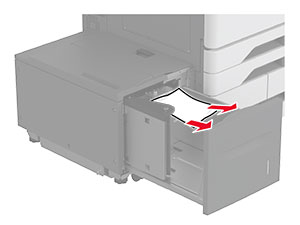
不要将纸张滑入进纸匣中。 如图所示加载纸张。
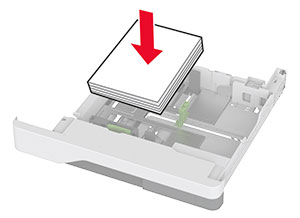
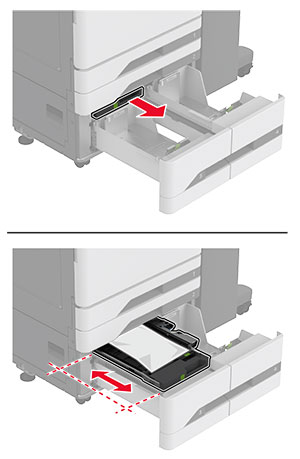
确认纸张导片被正确放置,并且没有与纸张或信封靠得太紧。
加载纸张后用力将进纸匣推入打印机中。
使用推荐的纸张
仅使用推荐的纸张或特殊介质。
不要加载有褶皱、有折痕、潮湿、弯曲或卷曲的纸张。
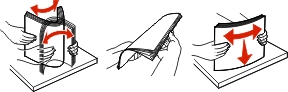
请在加载之前,弯曲、扇形展开并对齐纸张边缘。
不要使用经手工切割或裁剪的纸张。
不要在同一个进纸匣中混合不同尺寸、重量或类型的纸张。
确认在计算机或打印机控制面板上正确设置纸张尺寸和类型。
请按照制造商的建议存储纸张。