清潔印表機
 請當心—觸電危險: 為避免電擊的危險,當您清潔印表機外部時,請先拔下插座上的電源線,並且拔除連接印表機的所有電纜,然後再繼續作業。
請注意:
- 每隔數月執行一次本作業。
- 因處理方式不當所導致的印表機損壞,不屬於印表機的保固範圍。
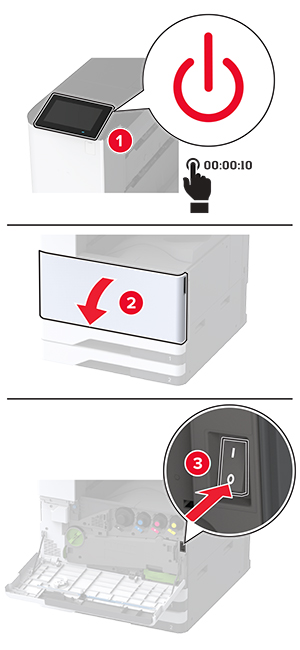
關閉印表機電源,然後從電源插座拔掉電源線。
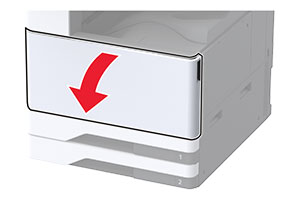
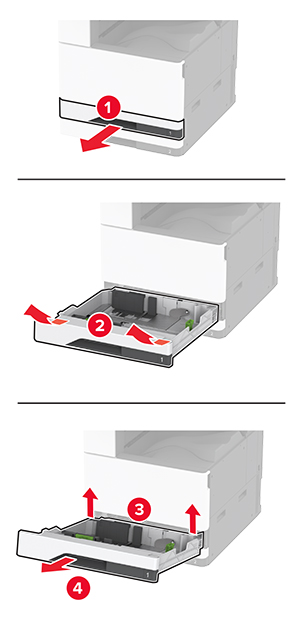
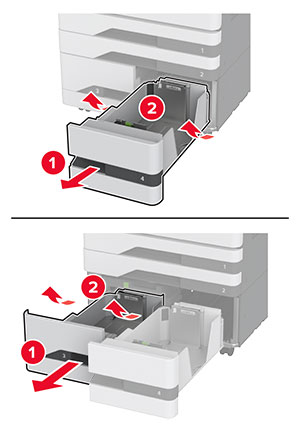
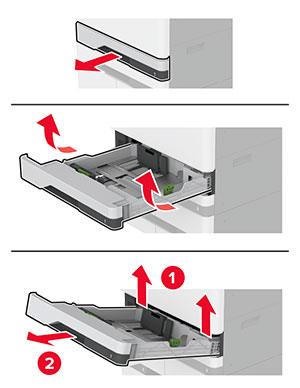
移除標準出紙槽和多用途送紙器中的紙張。
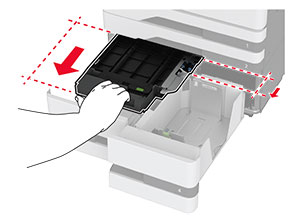
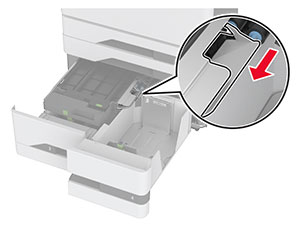
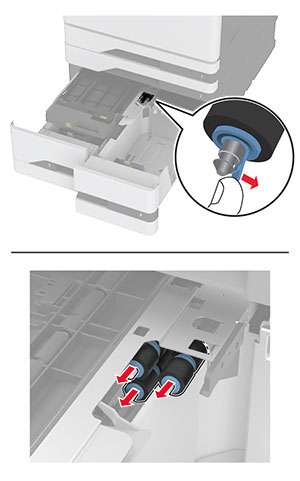
用軟質刷子或吸塵器清除印表機周圍的灰塵、棉絮及紙片。
用一條潮溼柔軟不含棉絮的布,擦拭印表機外部。
請注意:
- 請勿使用家用清潔劑或洗滌劑,因為這些會損壞印表機的外部塗裝。
- 清潔後,請確認印表機的所有區域都是乾燥的。
將電源線連接至電源插座,然後開啟印表機電源。
 請當心—潛在受傷危險性: 為避免發生火災或電擊的風險,請將電源線連接到本產品附近具備適當額定且妥善接地的電源插座,而且必須易於使用。