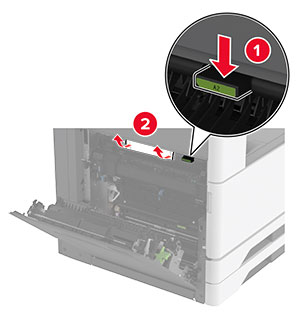
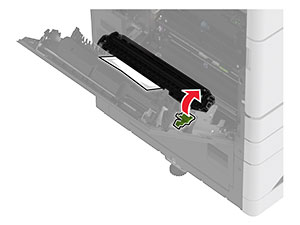
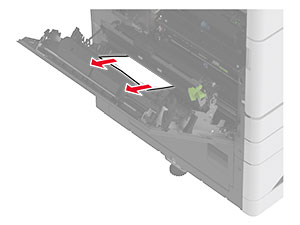
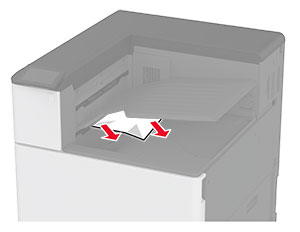
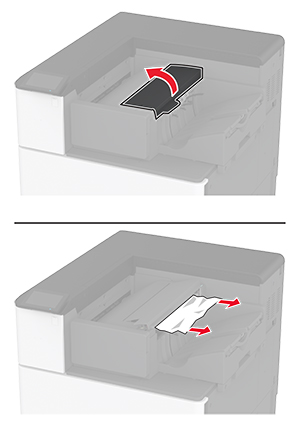
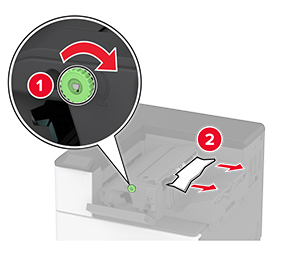
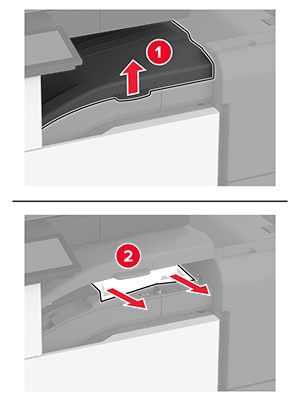
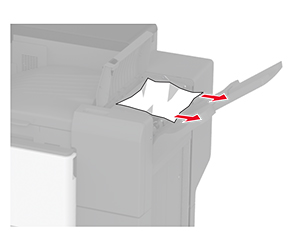
避免夾紙
正確載入紙張
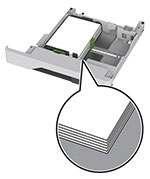
確認紙張平躺在紙匣組件中。
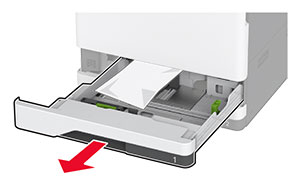
正確載入紙張
不正確載入紙張

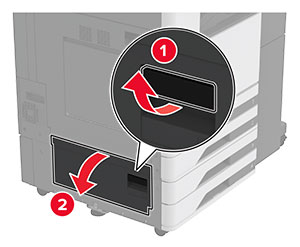
印表機在列印時,請勿載入或卸下紙匣組件。
請勿載入太多紙張。確認紙疊高度不超過滿紙上限指標。
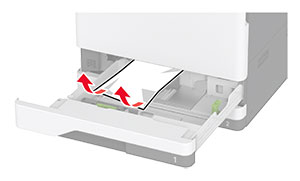
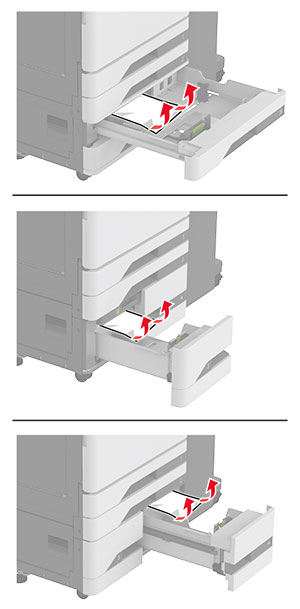
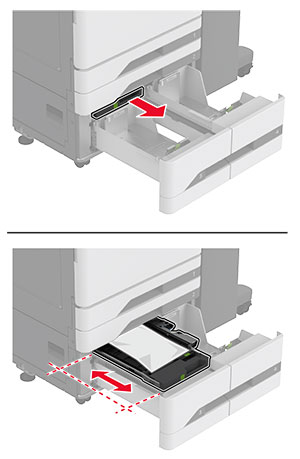
請不要將紙張滑入紙匣組件。依圖解載入紙張。
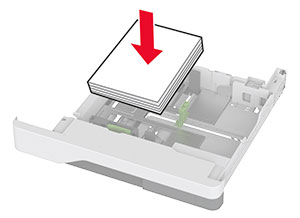
確認紙張導引夾的位置正確,未緊壓紙張或信封。
載入紙張之後,用力將紙匣組件推進印表機。
使用建議的紙張
僅使用建議的紙張或特殊材質。
請勿載入起縐、有摺痕、有濕痕、彎曲或扭曲的紙張。
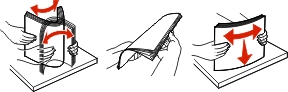
載入紙張之前,請先彈動紙張、展開成扇狀,並將紙張邊緣對齊。
請勿使用已經手動切割或裁剪的紙張。
請勿在相同紙匣組件中混合不同的紙張尺寸、重量或類型。
確認電腦或印表機控制面板上已正確設定紙張尺寸和類型。
根據製造商的建議存放紙張。