-
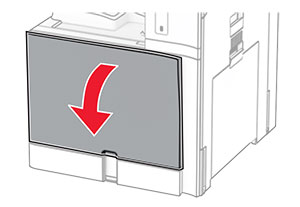
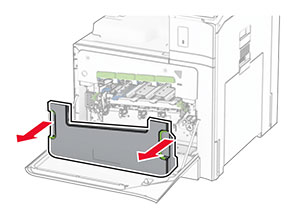
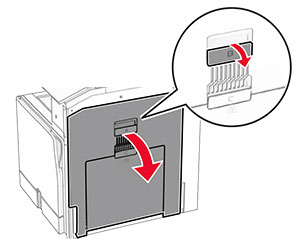
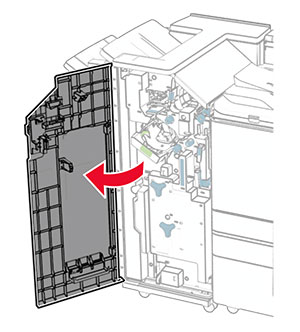
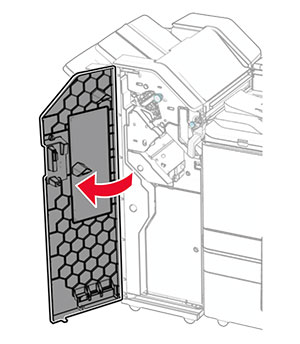
Abra la puerta frontal.
-
Retire los cartuchos de tóner.
-
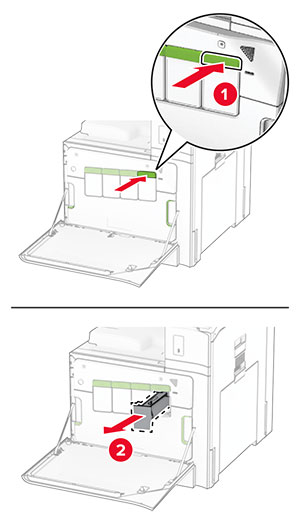
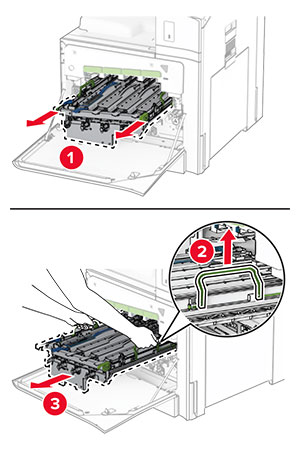
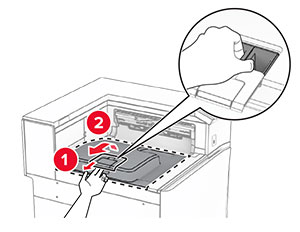
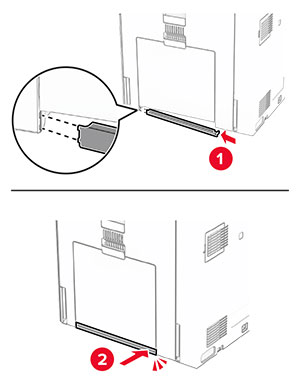
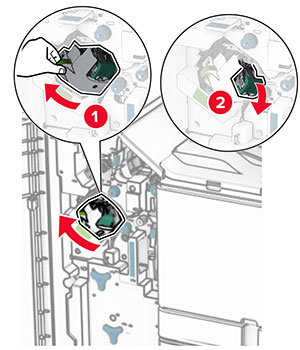
Retire el contenedor de tóner de desecho.
Nota:
Para evitar que se derrame el tóner, coloque la botella en posición vertical.
-
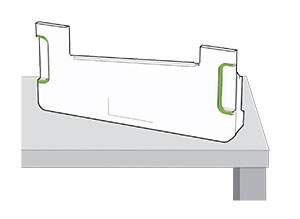
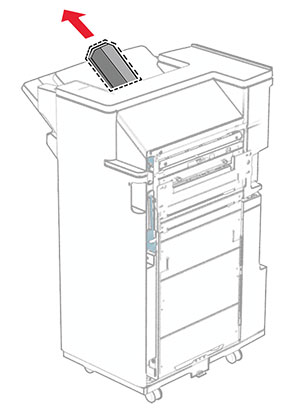
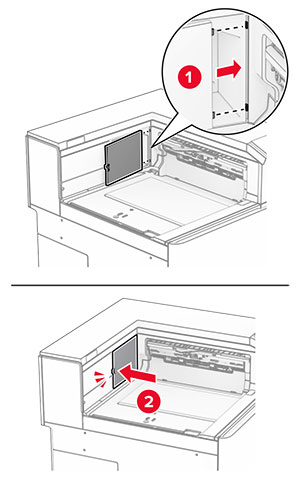
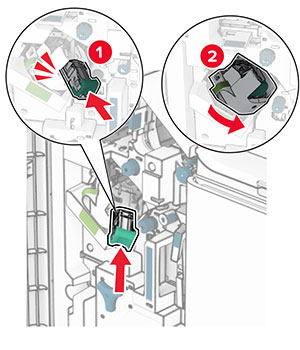
Extraiga la el kit de imagen usado.
Nota:
Coloque el kit de imagen en una superficie plana y limpia y en posición vertical para evitar arañazos o daños en el tambor del fotoconductor.
-
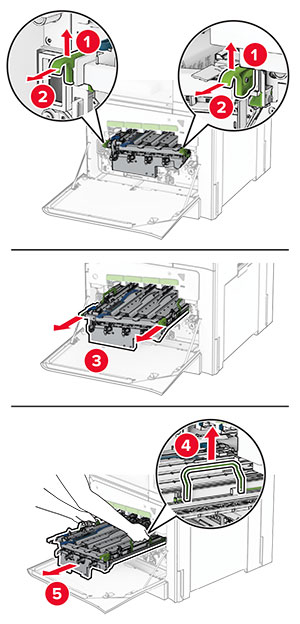
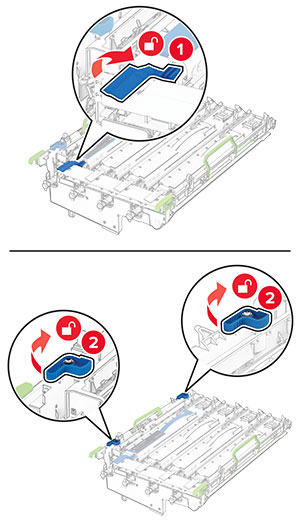
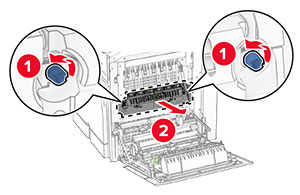
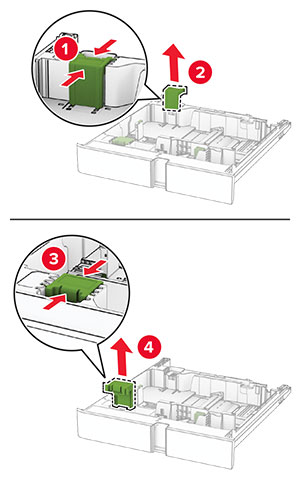
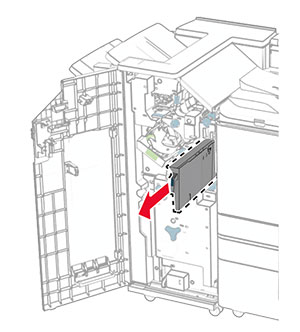
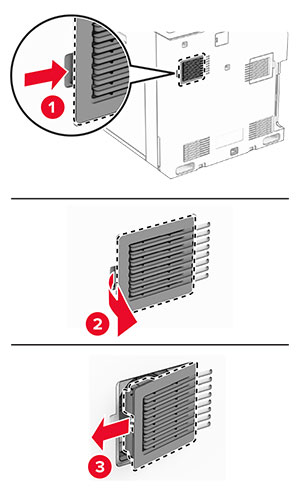
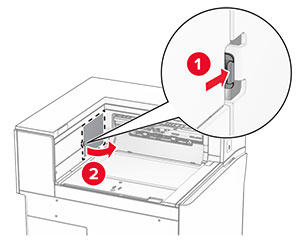
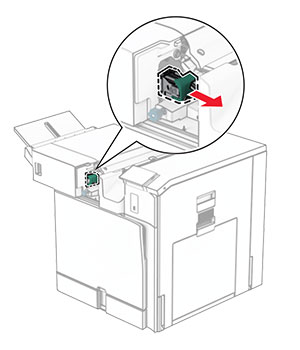
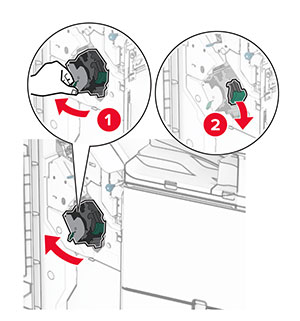
Desbloquee la unidad de imagen negra.
-
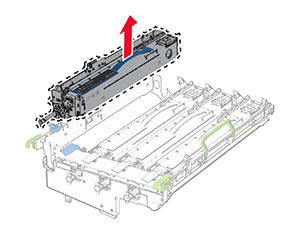
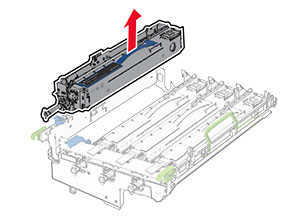
Extraiga la unidad de imagen negra.
Nota:
No tire la unidad de imagen negra. Se instalará en el nuevo kit de imagen.
-
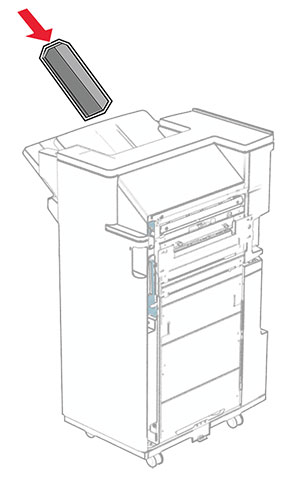
Desembale el nuevo kit de imagen.
Nota:
El kit de imagen incluye la cesta de imagen y los reveladores de cian, magenta y amarillo.
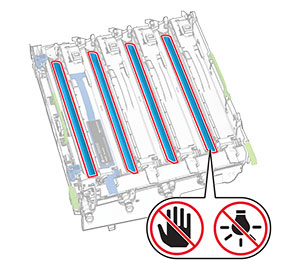
Advertencia: Posibles daños:
No exponga el kit de imagen a la luz directa. Una larga exposición a la luz puede ocasionar problemas de calidad de impresión.
Advertencia: Posibles daños:
No toque el tambor de fotoconductor. Si lo hace, puede afectar a la calidad de los futuros trabajos de impresión.
-
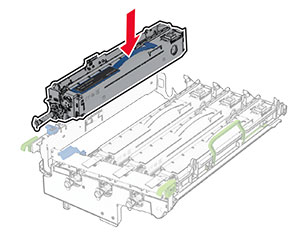
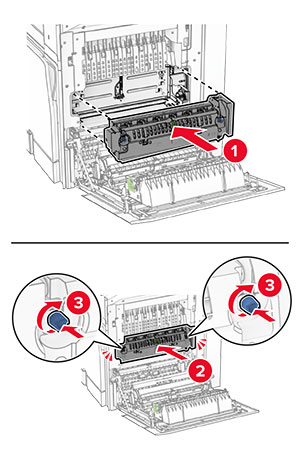
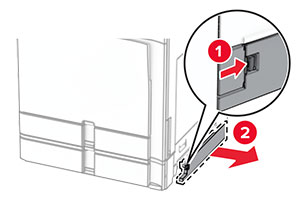
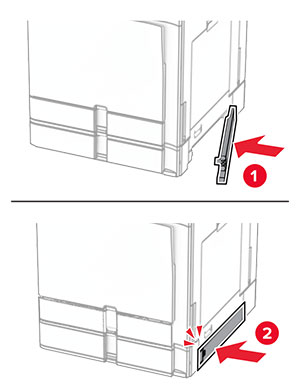
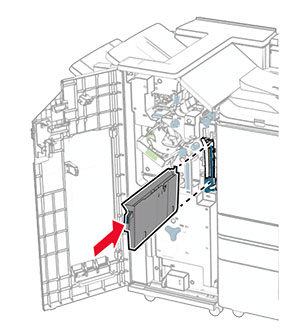
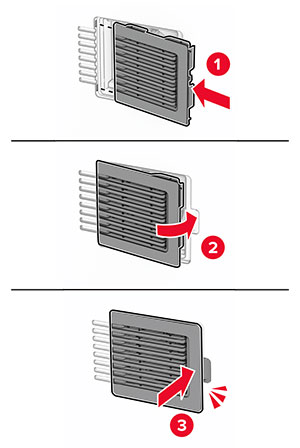
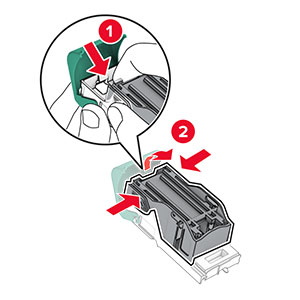
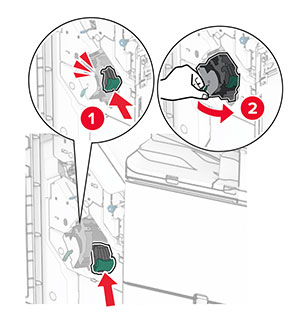
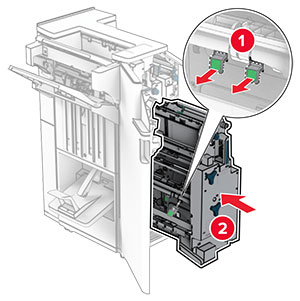
Inserte la unidad de imagen negra en el nuevo kit de imagen.
-
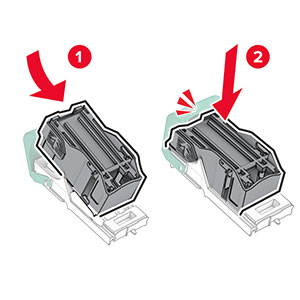
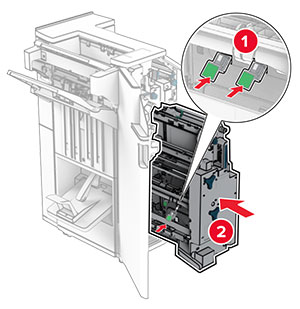
Bloquee la unidad de imagen negra en su lugar.
-
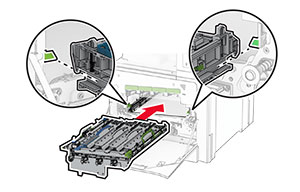
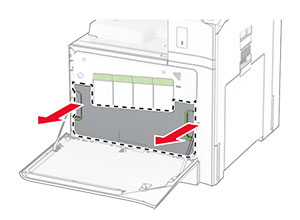
Introduzca el nuevo kit de imagen hasta que encaje por completo.
-
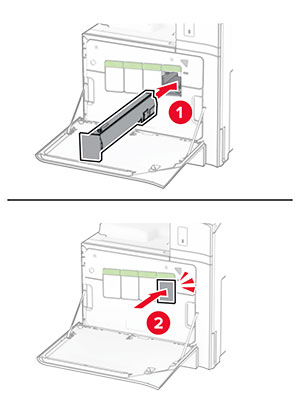
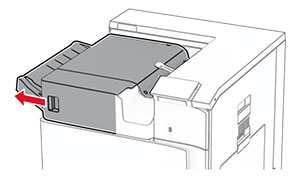
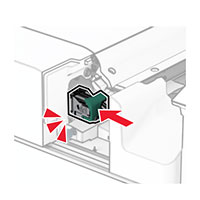
Inserte el contenedor de tóner de desecho hasta que
encaje
en su sitio.
-
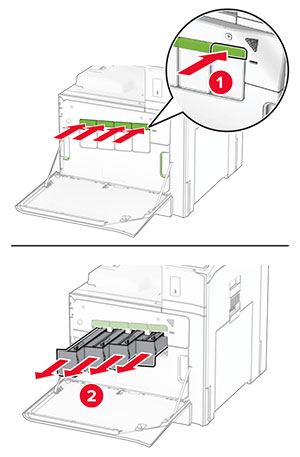
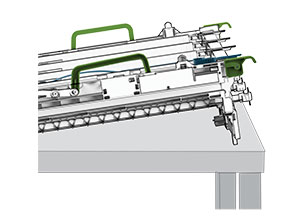
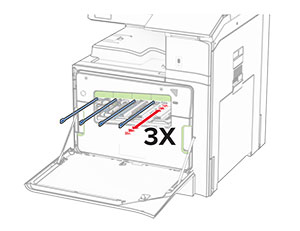
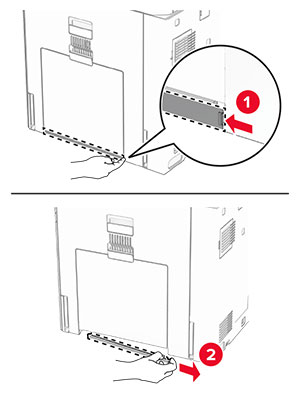
Tire con cuidado de los cepillos del cabezal de impresión y, a continuación, limpie las lentes del cabezal de impresión.
Para obtener más información acerca de la limpieza de las lentes del cabezal de impresión, consulte
Limpieza de las lentes del cabezal de impresión
.
-
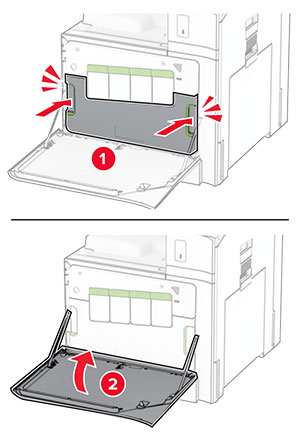
Introduzca los cartuchos de tóner.
-
Cierre la puerta.