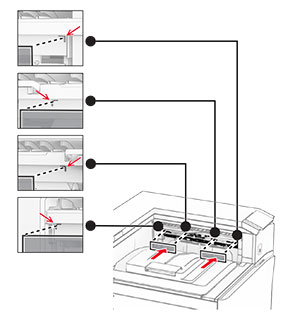
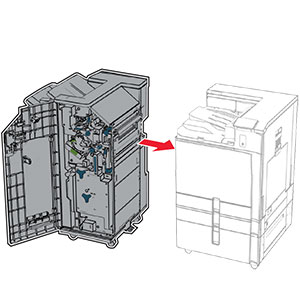
安装 550 页进纸匣选件
 小心—电击危险: 为避免电击危险,如果您在设置完打印机后访问控制器主板或者安装可选的硬件或内存设备,请在继续操作之前先关闭打印机电源并从电源插座中拔掉电源线。如果您还有其他设备连接在打印机上,也应关闭它们的电源并拔掉所有连接到打印机上的电缆。
注意: 此任务需要平头螺丝起子。
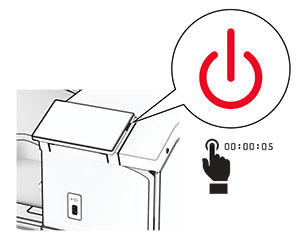
关闭打印机电源。
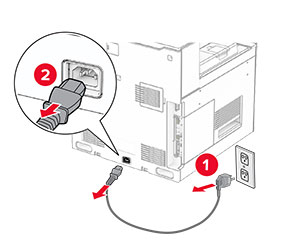
从电源插座上拔掉电源线,然后从打印机上拔掉电源线。
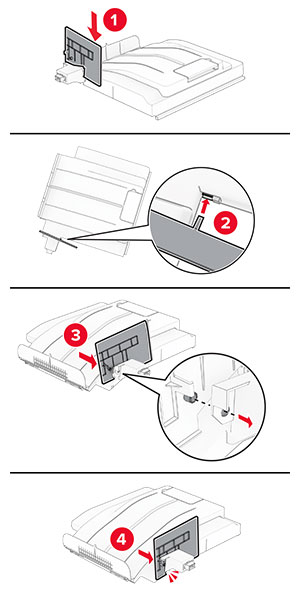
拆开 550 页进纸匣选件的包装。
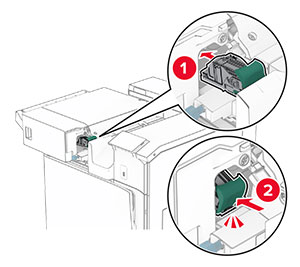
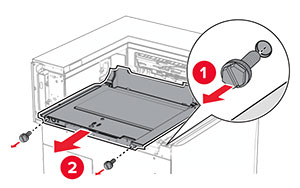
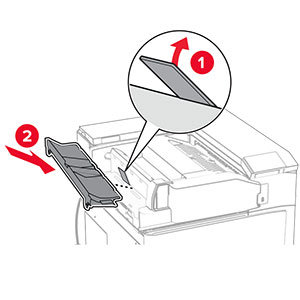
注意: 为避免损坏进纸匣,抬起进纸匣时一定要握住前后两侧。安装右进纸匣盖板。
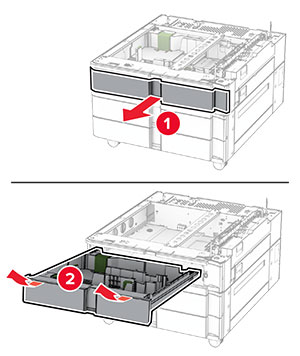
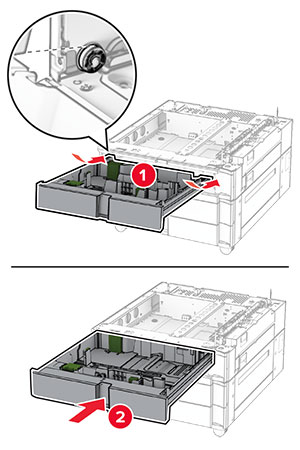
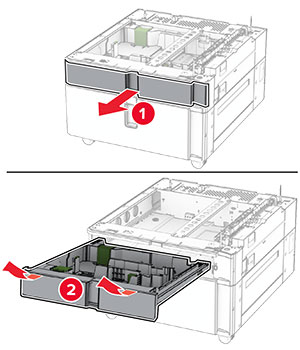
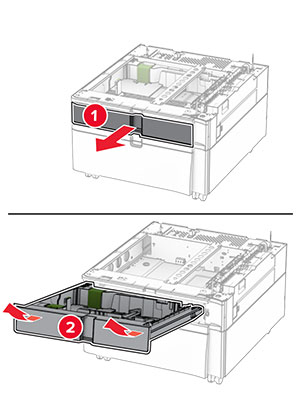
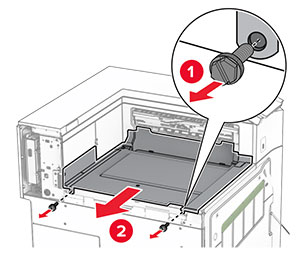
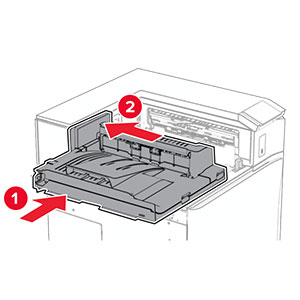
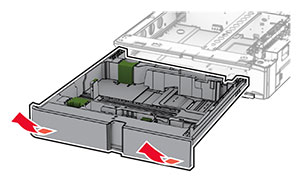
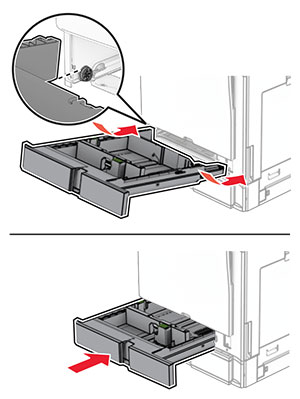
拉出 550 页进纸匣托盘。
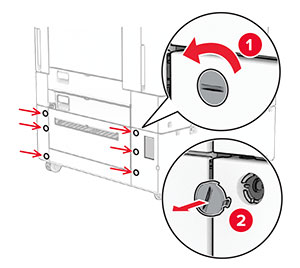
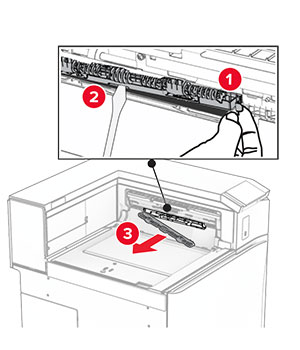
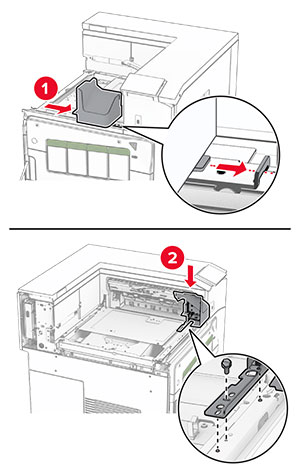
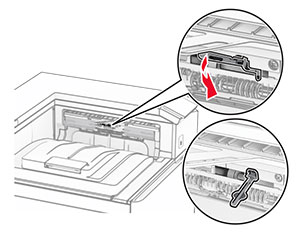
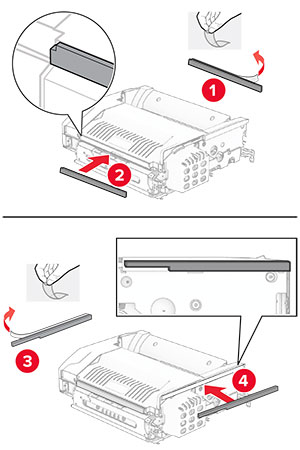
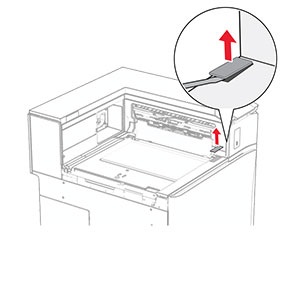
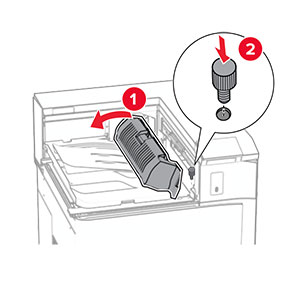
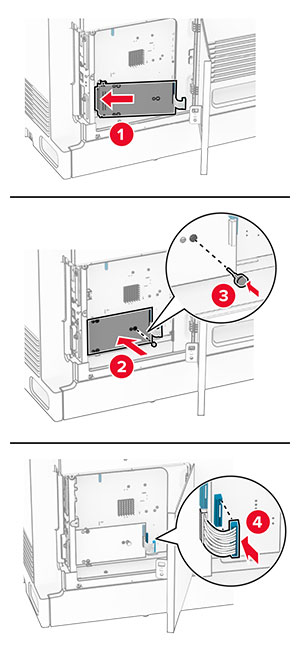
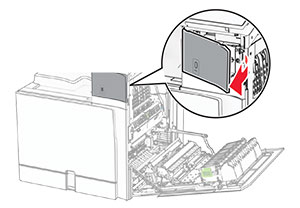
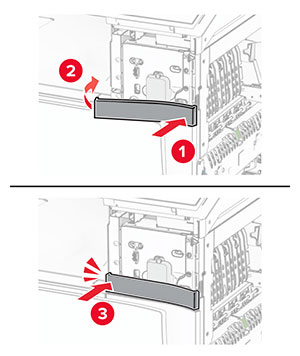
移除上部进纸匣盖板。
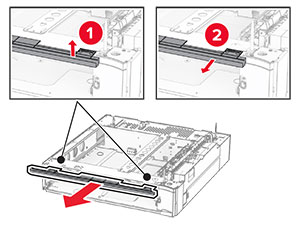
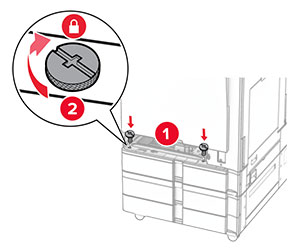
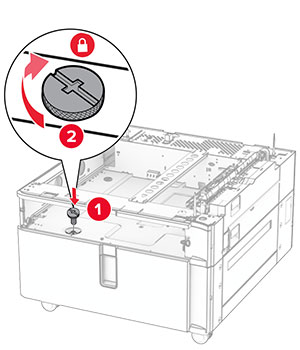
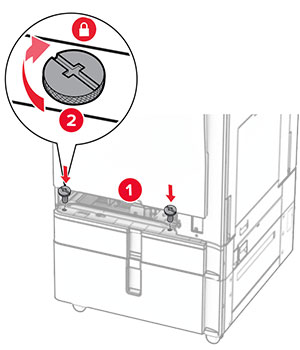
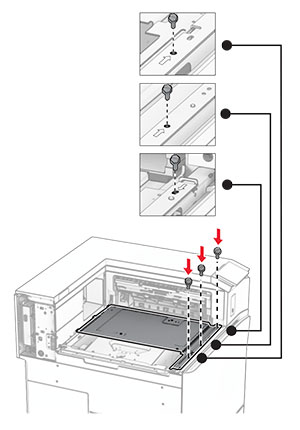
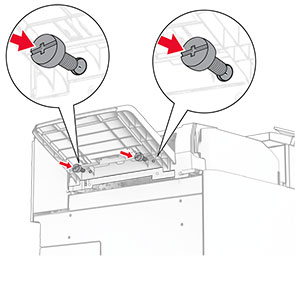
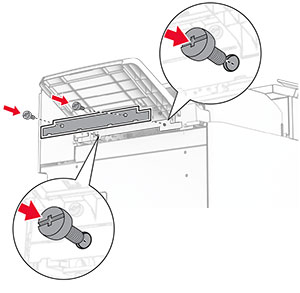
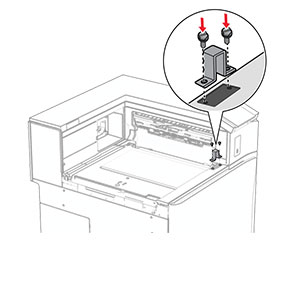
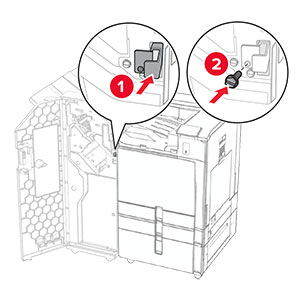
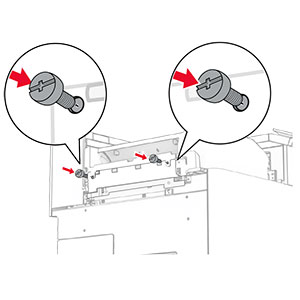
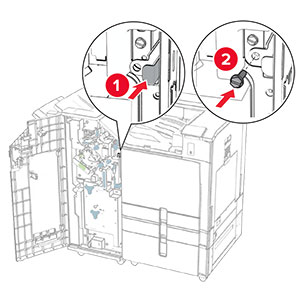
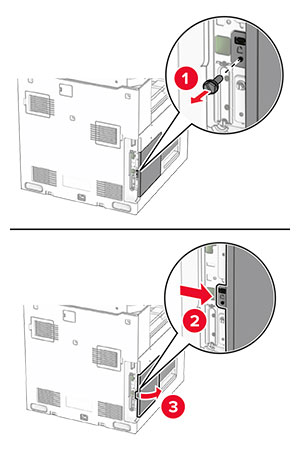
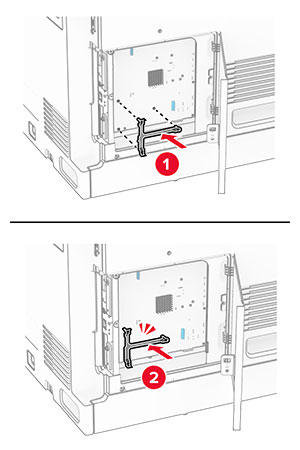
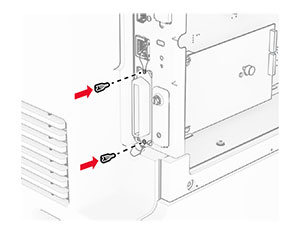
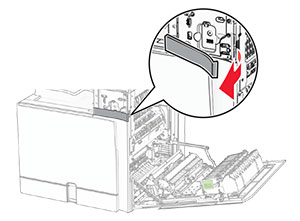
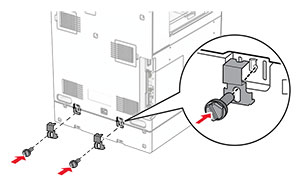
移除螺钉。
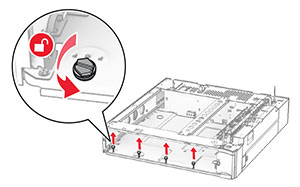
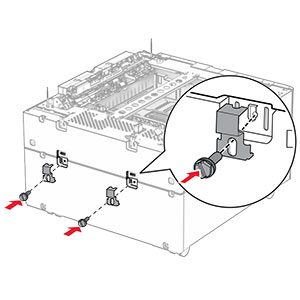
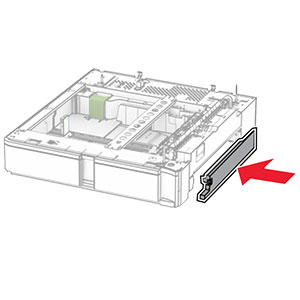
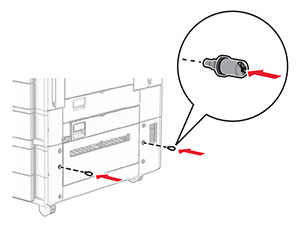
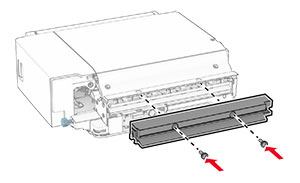
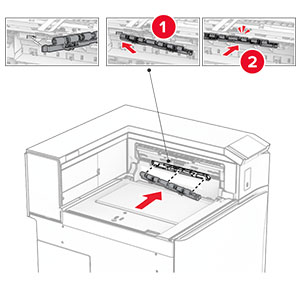
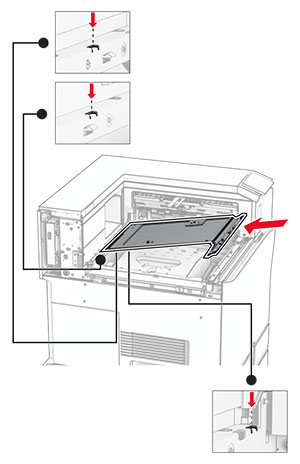
安装下部进纸匣盖板。
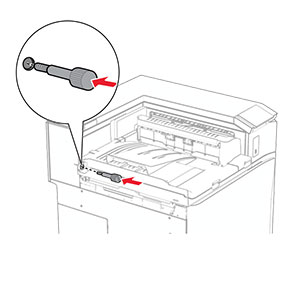
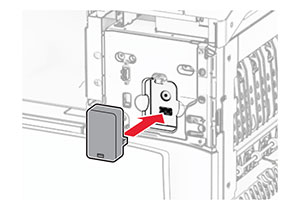
安装螺钉。
安装上部进纸匣盖板。
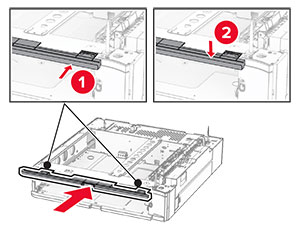
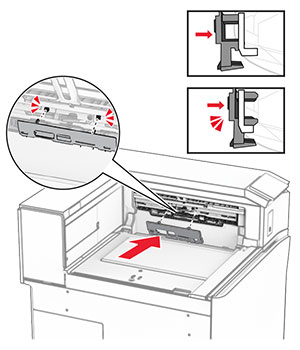
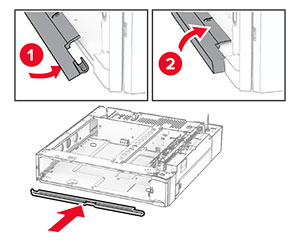
插入 550 页进纸匣托盘。
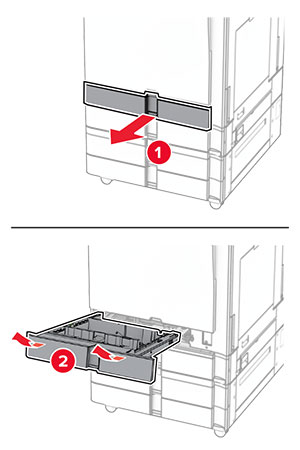
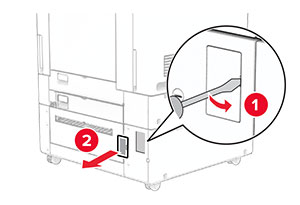
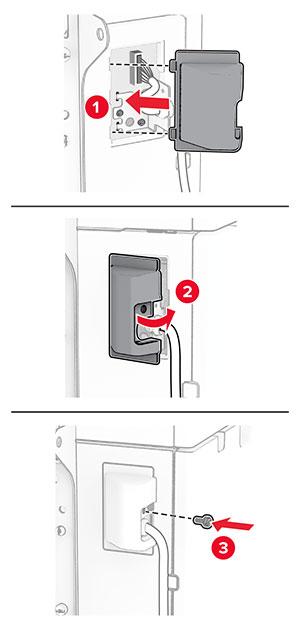
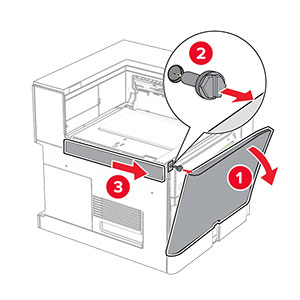
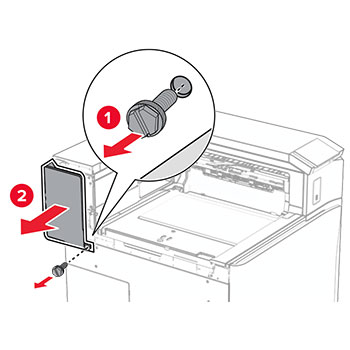
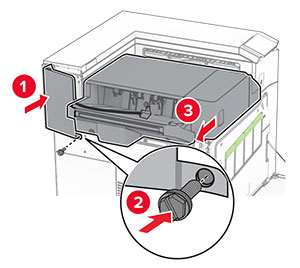
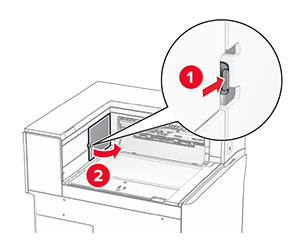
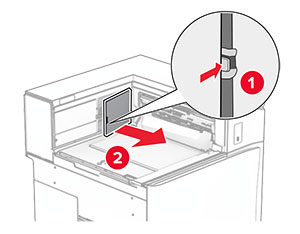
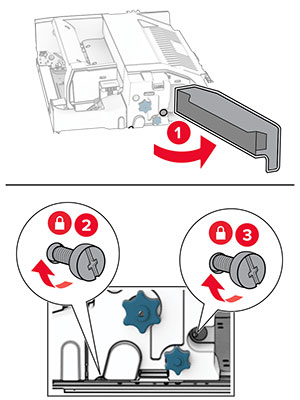
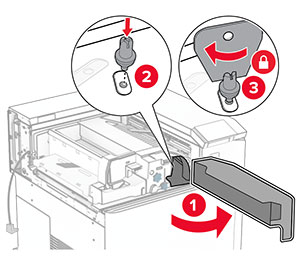
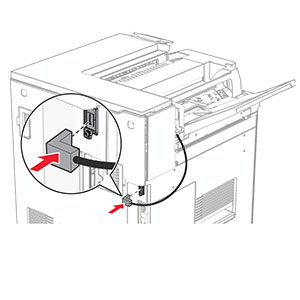
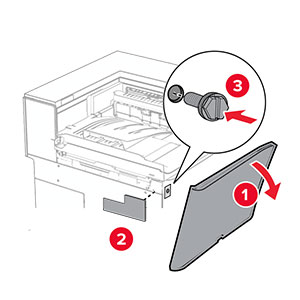
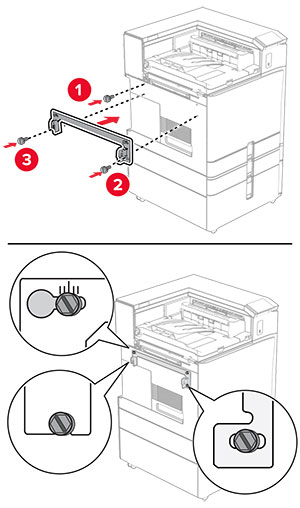
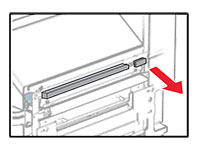
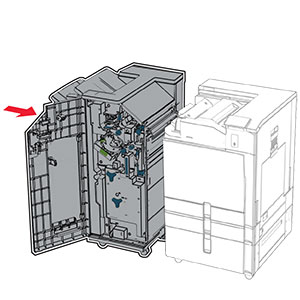
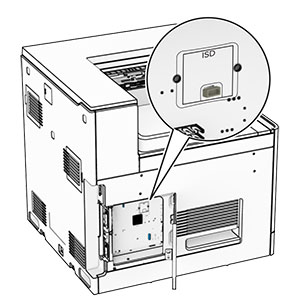
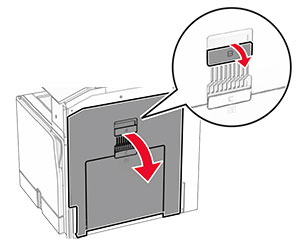
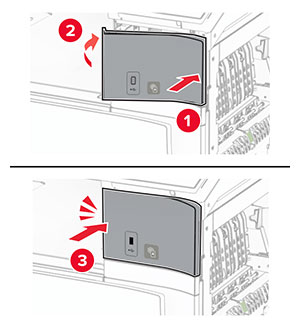
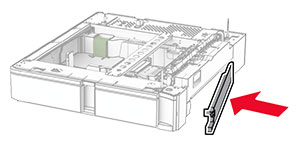
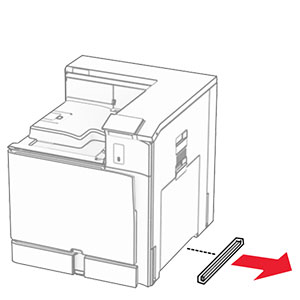
移除打印机右侧下方的盖板。
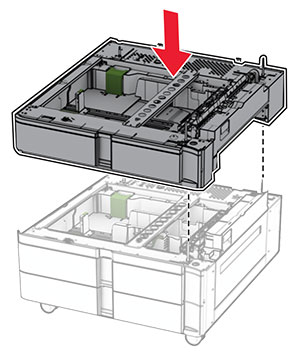
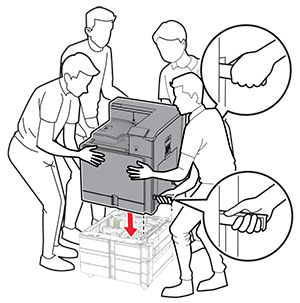
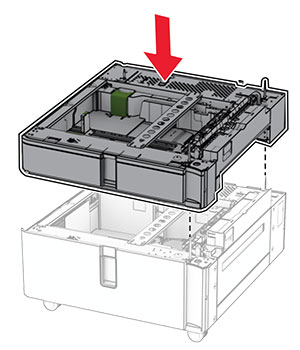
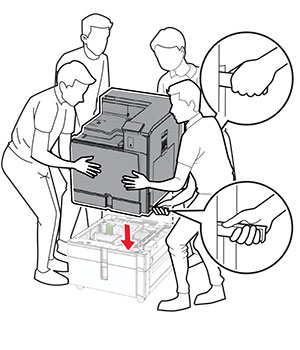
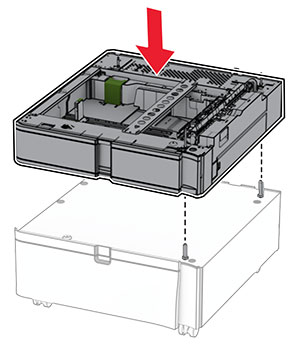
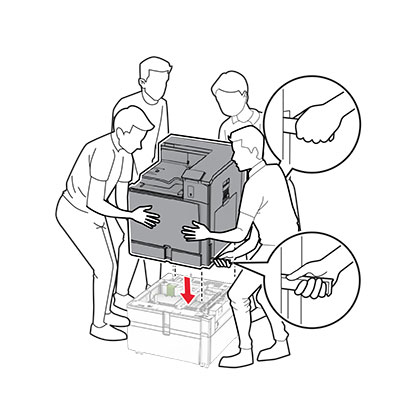
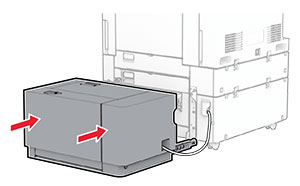
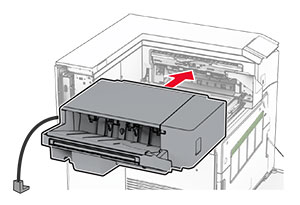
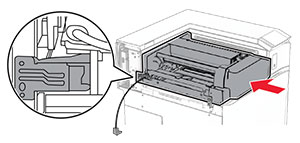
将打印机与 550 页进纸匣对齐,然后将它向下放到位。
 小心—可能的伤害: 如果打印机的重量大于 20 千克(44 磅),则可能需要两人或更多人才能安全地抬起它。
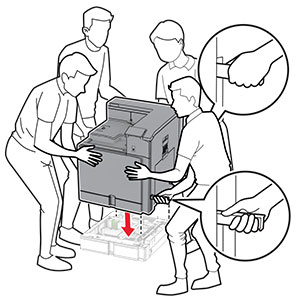
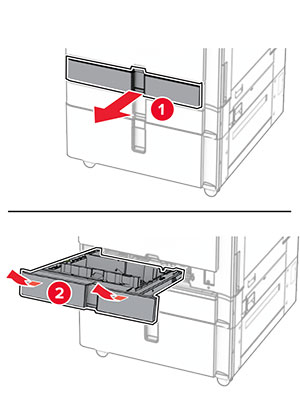
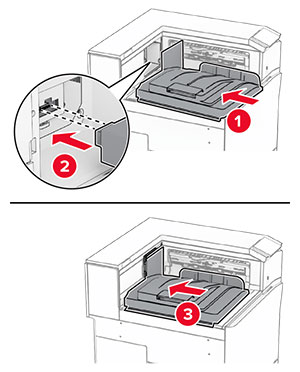
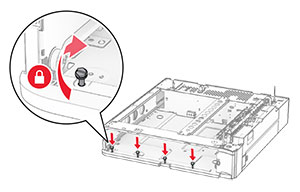
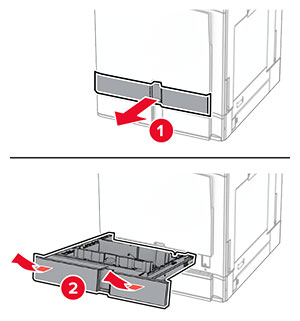
拉出标准进纸匣托盘。
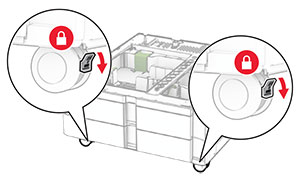
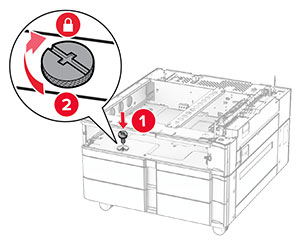
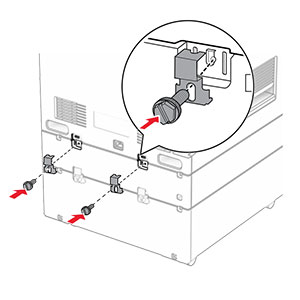
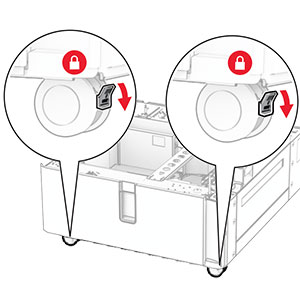
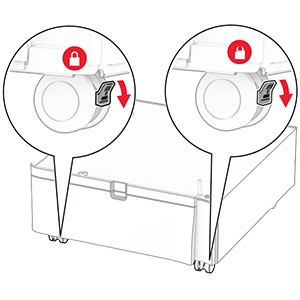
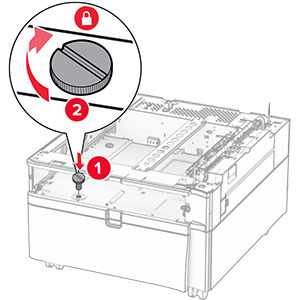
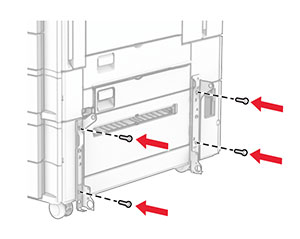
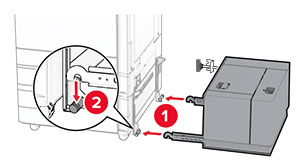
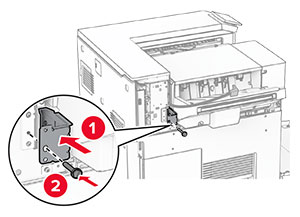
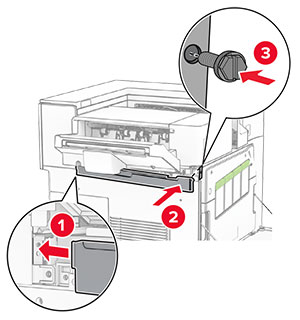
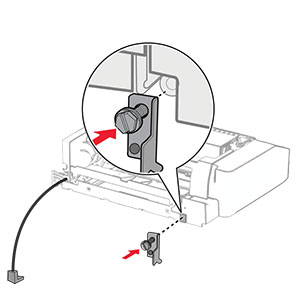
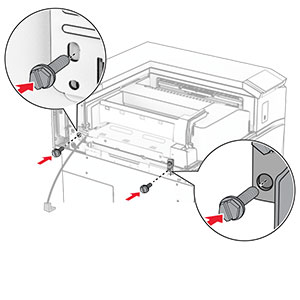
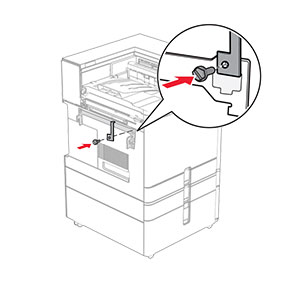
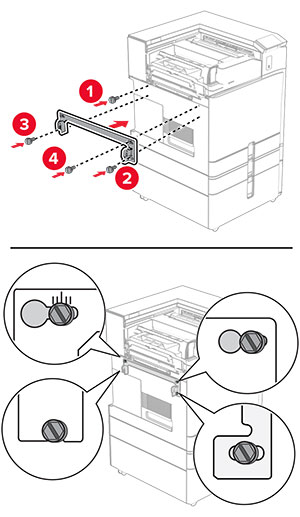
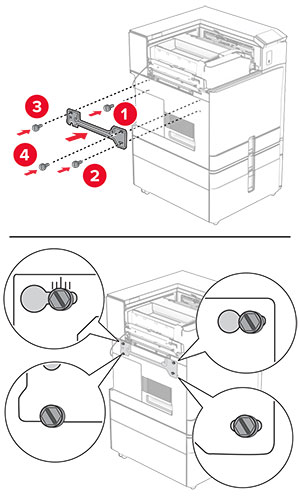
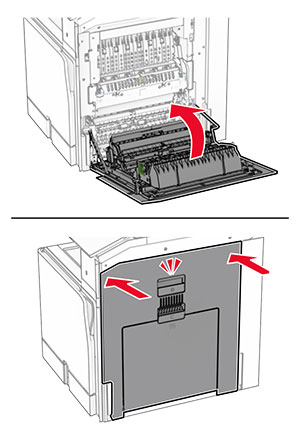
将 550 页进纸匣固定到打印机上。

插入标准进纸匣托盘。
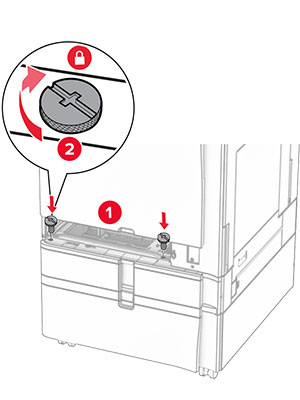
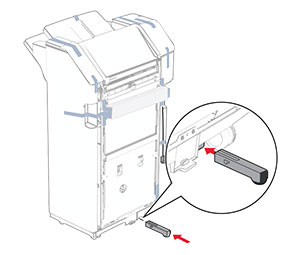
将 550 页进纸匣的后部固定到打印机上。
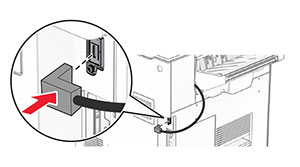
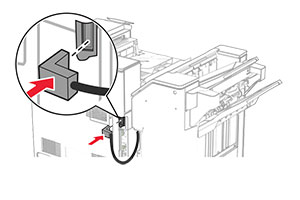
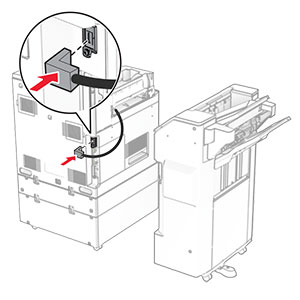
将电源线的一端连接到打印机上,然后将另一端连接到电源插座上。
小心—可能的伤害: 为避免火灾或电击危险,请将电源线连接到具有适当额定电压并正确接地的电源插座上,该插座应该靠近产品并且便于使用。打开打印机电源。
在打印驱动程序中添加进纸匣以使它可用于打印作业。如需更多信息,请参阅添加打印驱动程序中的可用选件。