Clearing jams

Avoiding jams

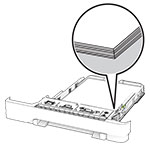
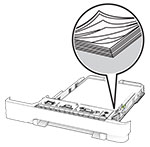
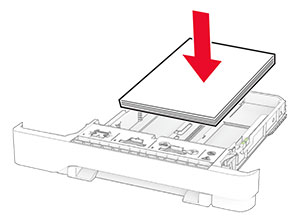
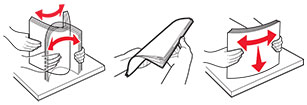
Load paper properly
Use recommended paper

Identifying jam locations

Notes:

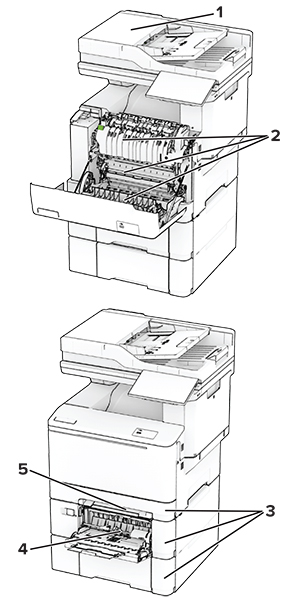
Paper jam areas in the printer with numbered callouts.
 

Jam locations

1

Automatic document feeder

2

Door A

3

Trays

4

Multipurpose feeder

5

Manual feeder


Paper jam in the automatic document feeder

Paper jam under the ADF top cover
  1. Remove all original documents from the ADF tray.

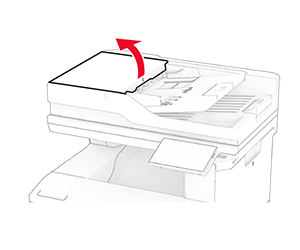
  2. Open door C.

    Door C is pulled up.
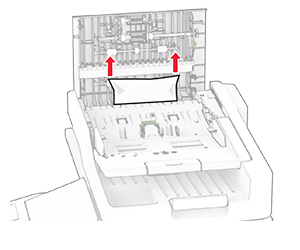
  3. Remove the jammed paper.

    Note:  Make sure that all paper fragments are removed.
    A jammed paper under the ADF top cover is pulled out.
  4. Close door C.

Paper jam under the ADF output bin
  1. Remove all original documents from the ADF tray.

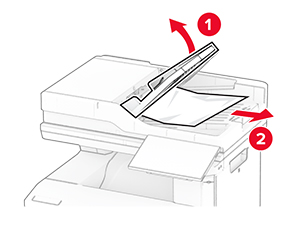
  2. Lift the ADF tray, and then remove the jammed paper.

    Note:  Make sure that all paper fragments are removed.
    A jammed paper under the ADF output bin is pulled out.
  3. Place the ADF tray back into place.

Paper jam in door A

Paper jam below the fuser
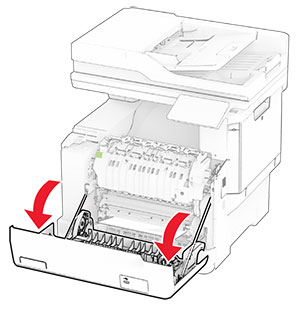
  1. Open door A.

    hot surface caution icon   CAUTION—HOT SURFACE:  The inside of the printer might be hot. To reduce the risk of injury from a hot component, allow the surface to cool before touching it.
    Warning—Potential Damage:  To prevent damage from electrostatic discharge, touch any exposed metal frame of the printer before accessing or touching interior areas of the printer.
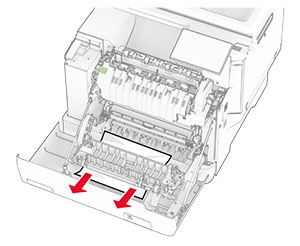
    Door A is pulled down, with jammed paper below the fuser area.
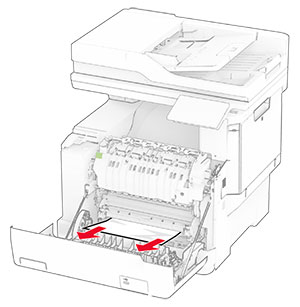
  2. Remove the jammed paper.

    Note:  Make sure that all paper fragments are removed.
    Jammed paper below the fuser area is pulled out.
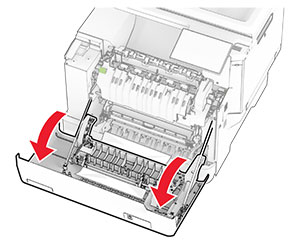
  3. Close door A.

Paper jam in the fuser
  1. Open door A.

    hot surface caution icon   CAUTION—HOT SURFACE:  The inside of the printer might be hot. To reduce the risk of injury from a hot component, allow the surface to cool before touching it.
    Warning—Potential Damage:  To prevent damage from electrostatic discharge, touch any exposed metal frame of the printer before accessing or touching interior areas of the printer.
    Door A is pulled down.
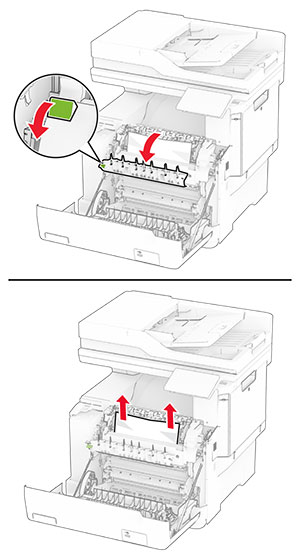
  2. Open the fuser access door, and then remove the jammed paper.

    Note:  Make sure that all paper fragments are removed.
    The fuser access door is pulled down, and then the jammed paper is pulled out.
  3. Close door A.

Paper jam in the duplex unit
  1. Open door A.

    hot surface caution icon   CAUTION—HOT SURFACE:  The inside of the printer might be hot. To reduce the risk of injury from a hot component, allow the surface to cool before touching it.
    Warning—Potential Damage:  To prevent damage from electrostatic discharge, touch any exposed metal frame of the printer before accessing or touching interior areas of the printer.
    Door A is pulled down, with jammed paper in the duplex unit.
  2. Remove the jammed paper.

    Note:  Make sure that all paper fragments are removed.
    Jammed paper in the duplex unit is pulled out.
  3. Close door A.

Paper jam in trays

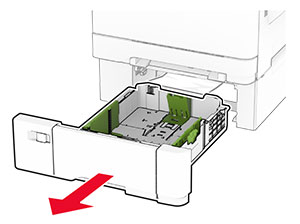
  1. Remove the tray.

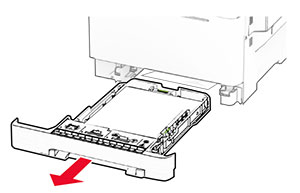
    Tray is removed completely.
    Warning—Potential Damage:  A sensor inside the optional tray is easily damaged by static electricity. Touch a metal surface before removing the jammed paper in the tray.
  2. Remove the jammed paper.

    Note:  Make sure that all paper fragments are removed.
    Jammed paper is pulled out from inside the tray.
  3. Insert the tray.

Paper jam in the manual feeder

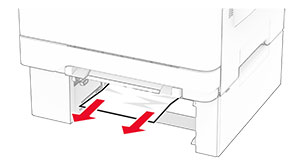
Remove the jammed paper.

Note:  Make sure that all paper fragments are removed.
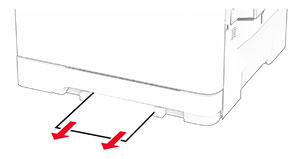
Jammed paper is pulled out of the manual feeder.

Paper jam in the multipurpose feeder

Note:  The multipurpose feeder is available only if the optional 650-sheet duo tray is installed.
  1. Remove paper from the multipurpose feeder, and then close it.

  2. Remove the tray.

    Tray 2 is pulled out to access the jammed paper.
  3. Remove the jammed paper.

    Note:  Make sure that all paper fragments are removed.
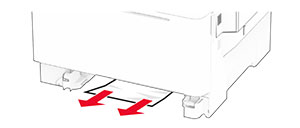
    Jammed paper is pulled out from inside the optional tray.
  4. Insert the tray.

  5. Open the multipurpose feeder, and then reload paper.