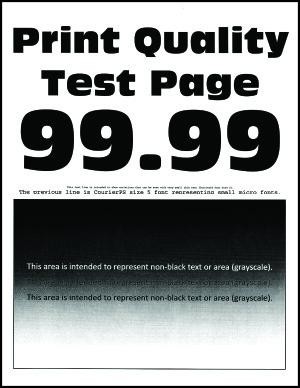
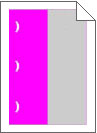
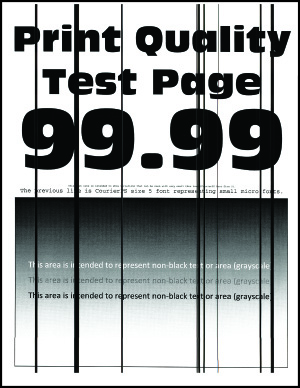
Blank or white pages
Action | Yes | No |
|---|---|---|
Step 1
Is the printer printing blank or white pages? | Go to step 2. | The problem is solved. |
Step 2
Is the printer printing blank or white pages? | Contact customer support. | The problem is solved. |
Action | Yes | No |
|---|---|---|
Step 1
Is the printer printing blank or white pages? | Go to step 2. | The problem is solved. |
Step 2
Is the printer printing blank or white pages? | Contact customer support. | The problem is solved. |
Action | Yes | No |
|---|---|---|
Step 1
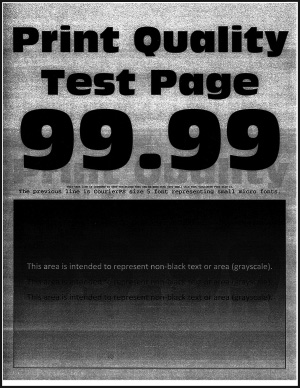
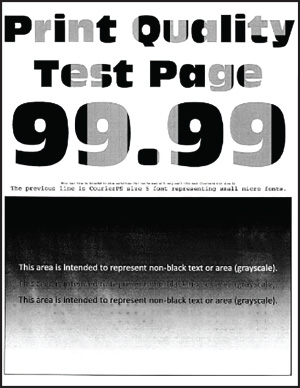
Is the print too dark? | Go to step 2. | The problem is solved. |
Step 2
Is the print too dark? | Go to step 3. | The problem is solved. |
Step 3
Is the print too dark? | Go to step 4. | Go to step 6. |
Step 4 Make sure that the paper has no texture or rough finishes. Are you printing on textured or rough paper? | Go to step 5. | Go to step 6. |
Step 5
Is the print too dark? | Go to step 6. | The problem is solved. |
Step 6
Is the print too dark? | Go to step 7. | The problem is solved. |
Step 7
Is the print too dark? | Contact customer support. | The problem is solved. |
Action | Yes | No |
|---|---|---|
Step 1
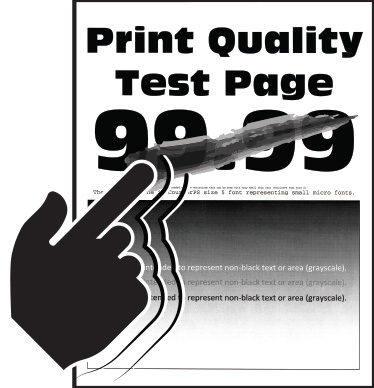
Do ghost images appear on prints? | Go to step 2. | The problem is solved. |
Step 2
Do ghost images appear on prints? | Go to step 3. | The problem is solved. |
Step 3
Do ghost images appear on prints? | Contact customer support. | The problem is solved. |
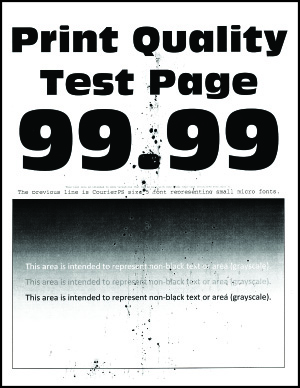
Action | Yes | No |
|---|---|---|
Step 1
Does gray or colored background appear on prints? | Go to step 2. | The problem is solved. |
Step 2
Does gray or colored background appear on prints? | Go to step 3. | The problem is solved. |
Step 3
Does gray or colored background appear on prints? | Contact customer support. | The problem is solved. |
Notes:
Action | Yes | No |
|---|---|---|
Step 1
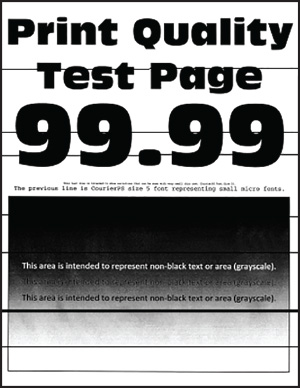
Do horizontal dark lines appear on prints? | Go to step 2. | The problem is solved. |
Step 2
Do horizontal dark lines appear on prints? | Go to step 3. | The problem is solved. |
Step 3
Do horizontal dark lines appear on prints? | Go to step 4. | The problem is solved. |
Step 4
Do horizontal dark lines appear on prints? | Contact customer support. | The problem is solved. |
Notes:
Action | Yes | No |
|---|---|---|
Step 1
Do horizontal white lines appear on prints? | Go to step 2. | The problem is solved. |
Step 2
Do horizontal white lines appear on prints? | Go to step 3. | The problem is solved. |
Step 3
Do horizontal white lines appear on prints? | Contact customer support. | The problem is solved. |
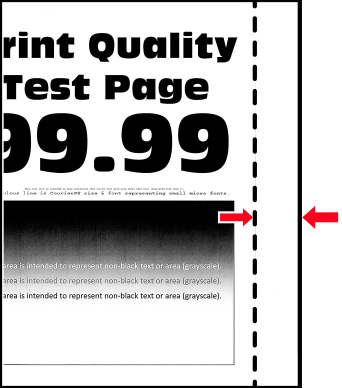
Action | Yes | No |
|---|---|---|
Step 1
Are the margins correct? | The problem is solved. | Go to step 2. |
Step 2
Are the margins correct? | The problem is solved. | Go to step 3. |
Step 3
Are the margins correct? | The problem is solved. | Contact customer support. |
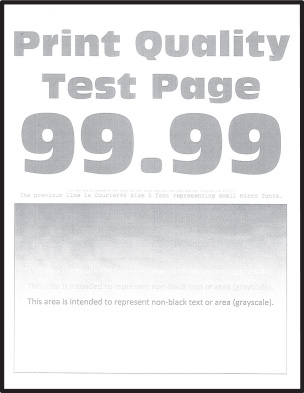
Action | Yes | No |
|---|---|---|
Step 1
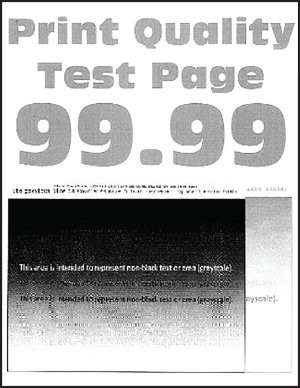
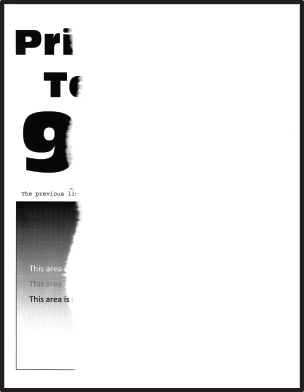
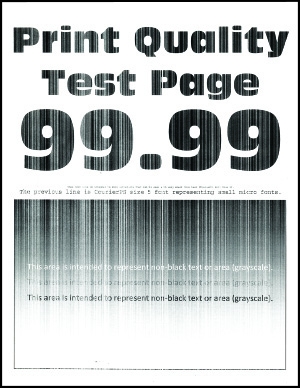
Is the print light? | Go to step 2. | The problem is solved. |
Step 2
Is the print light? | Go to step 3. | The problem is solved. |
Step 3
Is the print light? | Go to step 4. | The problem is solved. |
Step 4
Is the print light? | Go to step 5. | The problem is solved. |
Step 5 Check if paper has texture or rough finishes. Are you printing on textured or rough paper? | Go to step 6. | Go to step 7. |
Step 6
Is the print light? | Go to step 7. | The problem is solved. |
Step 7
Is the print light? | Go to step 8. | The problem is solved. |
Step 8
Is the print light? | Go to step 9. | The problem is solved. |
Step 9
Is the print too light? | Contact customer support. | The problem is solved. |
Action | Yes | No |
|---|---|---|
Step 1 Check the printer for leaked toner contamination. Is the printer free of leaked toner? | Go to step 2. | Contact customer support. |
Step 2
Do the settings match? | Go to step 4. | Go to step 3. |
Step 3
Is the print mottled? | Go to step 4. | The problem is solved. |
Step 4
Is the print mottled? | Go to step 5. | The problem is solved. |
Step 5
Is the print mottled? | Contact customer support. | The problem is solved. |

Action | Yes | No |
|---|---|---|
Step 1
Is the print crooked or skewed? | Go to step 2. | The problem is solved. |
Step 2
Is the print crooked or skewed? | Contact customer support. | The problem is solved. |
Action | Yes | No |
|---|---|---|
Step 1 Determine how many colors have defects. Is only one color affected? | Go to step 2. | Go to step 3. |
Step 2
Do the defects still appear? | Take note of the distance, and then contact customer support or your service representative. | The problem is solved. |
Step 3
Do the defects still appear? | Take note of the distance, and then contact customer support or your service representative. | The problem is solved. |

Action | Yes | No |
|---|---|---|
Is the printer printing solid color or black images? | Contact customer support. | The problem is solved. |
Action | Yes | No |
|---|---|---|
Step 1
Is the page or image clipped? | Go to step 2. | The problem is solved. |
Step 2
Is the page or image clipped? | Go to step 3. | The problem is solved. |
Step 3
Is the page or image clipped? | Contact customer support. | The problem is solved. |
Action | Yes | No |
|---|---|---|
Does the toner rub off? | Contact customer support. | The problem is solved. |
Action | Yes | No |
|---|---|---|
Replace the imaging unit or imaging kit, and then print the document. Is the print density uneven? | Contact customer support. | The problem is solved. |
Action | Yes | No |
|---|---|---|
Step 1
Do vertical dark lines appear on prints? | Go to step 2. | The problem is solved. |
Step 2
Do vertical dark lines appear on prints? | Go to step 3. | The problem is solved. |
Step 3
Do vertical dark lines appear on prints? | Contact customer support. | The problem is solved. |
Action | Yes | No |
|---|---|---|
Step 1
Do vertical white lines appear on prints? | Go to step 2. | The problem is solved. |
Step 2 Check if you are using the recommended paper type.
Do vertical white lines still appear on prints? | Go to step 3. | The problem is solved. |
Step 3
Do vertical white lines still appear on prints? | Contact customer support. | The problem is solved. |
Action | Yes | No |
|---|---|---|
Step 1
Are the documents printed? | The problem is solved. | Go to step 2. |
Step 2 The print job may contain a formatting error or invalid data. Delete the print job, and then send it again. Are the documents printed? | The problem is solved. | Go to step 3. |
Step 3 If you are printing from the Internet, then the printer may be reading the multiple job titles as duplicates. For Windows users
For Macintosh users
Are the documents printed? | The problem is solved. | Go to step 4. |
Step 4
Are the documents printed? | The problem is solved. | Go to step 5. |
Step 5
Are the documents printed? | The problem is solved. | Contact customer support. |
Action | Yes | No |
|---|---|---|
Step 1 Make sure that the printer cable is securely connected to the printer and to the computer, print server, option, or other network device. Is the printer printing slow? | Go to step 2. | The problem is solved. |
Step 2
Is the printer printing slow? | Go to step 3. | The problem is solved. |
Step 3
Is the printer printing slow? | Go to step 4. | The problem is solved. |
Step 4
Is the printer printing slow? | Go to step 5. | The problem is solved. |
Step 5
Is the printer printing slow? | Go to step 6. | The problem is solved. |
Step 6
Is the printer printing slow? | Go to step 7. | The problem is solved. |
Step 7 Remove held jobs. Is the printer printing slow? | Go to step 8. | The problem is solved. |
Step 8
Is the printer printing slow? | Contact customer support. | The problem is solved. |
Action | Yes | No |
|---|---|---|
Step 1
Is the document printed? | The problem is solved. | Go to step 2. |
Step 2
Is the document printed? | The problem is solved. | Go to step 3. |
Step 3
Is the document printed? | The problem is solved. | Go to step 4. |
Step 4
Is the document printed? | The problem is solved. | Go to step 5. |
Step 5
Is the document printed? | The problem is solved. | Contact customer support. |
Action | Yes | No |
|---|---|---|
Step 1 Check if the power cord is connected to the electrical outlet.
Is the printer responding? | The problem is solved. | Go to step 2. |
Step 2 Check if the electrical outlet is turned off by a switch or breaker. Is the electrical outlet turned off by a switch or breaker? | Turn on the switch or reset the breaker. | Go to step 3. |
Step 3 Check if the printer is on. Is the printer on? | Go to step 4. | Turn on the printer. |
Step 4 Check if the printer is in Sleep or Hibernate mode. Is the printer in Sleep or Hibernate mode? | Press the power button to wake the printer. | Go to step 5. |
Step 5 Check if the cables connecting the printer and the computer are inserted to the correct ports. Are the cables inserted to the correct ports? | Go to step 6. | Insert the cables to the correct ports. |
Step 6 Turn off the printer, install the hardware options, and then turn on the printer. For more information, see the documentation that came with the option. Is the printer responding? | The problem is solved. | Go to step 7. |
Step 7 Install the correct print driver. Is the printer responding? | The problem is solved. | Go to step 8. |
Step 8 Turn off the printer, wait for about 10 seconds, and then turn on the printer. Is the printer responding? | The problem is solved. | Contact customer support. |
Action | Yes | No |
|---|---|---|
Step 1
Is the document printed on the correct paper? | Go to step 2. | Load the correct paper size and paper type. |
Step 2
Is the document printed on the correct paper? | The problem is solved. | Go to step 3. |
Step 3
Is the document printed from the correct tray? | The problem is solved. | Contact customer support. |
 CAUTION—POTENTIAL INJURY: