更换碳粉盒
-
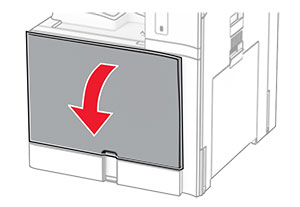
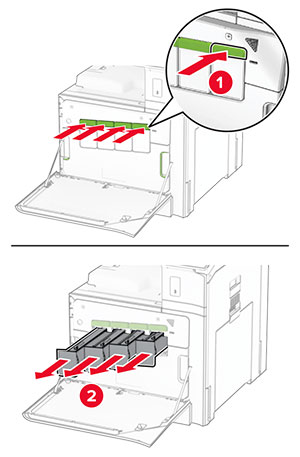
打开前部盖门。
-
移除旧的碳粉盒。
-
拆开新碳粉盒的包装。
-
插入新的碳粉盒,直至它 卡入 到位。
-
关闭盖门。
打开前部盖门。
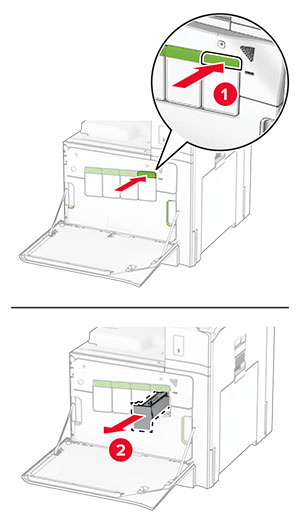
移除碳粉盒。
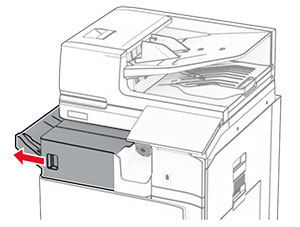
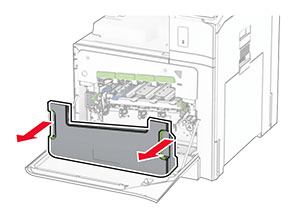
移除废碳粉瓶。
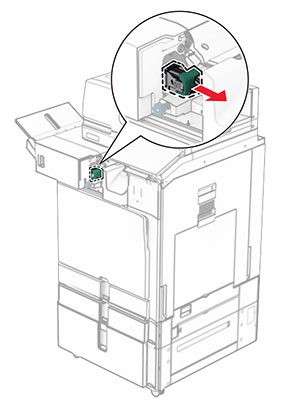
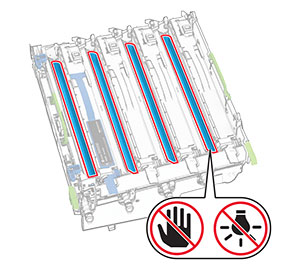
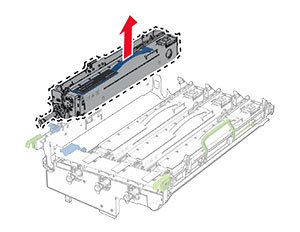
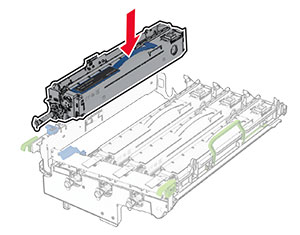
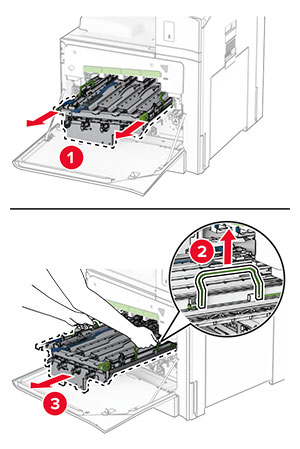
移除成像组件。
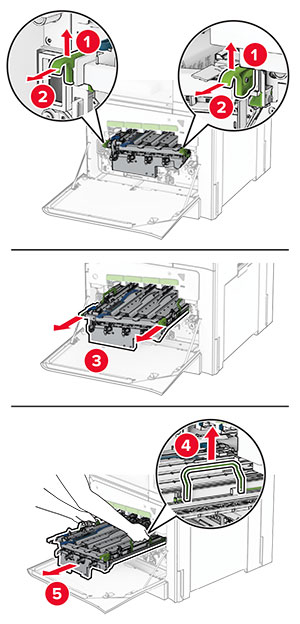
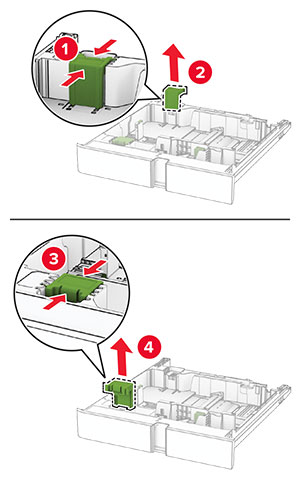
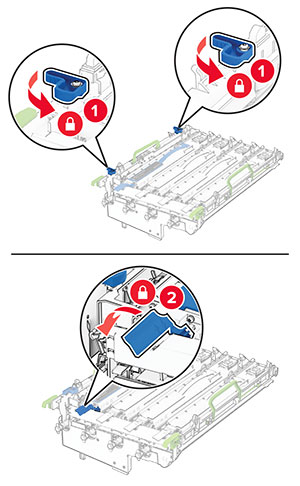
解锁旧的黑色成像单元。
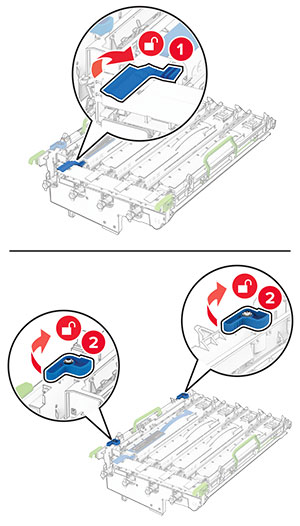
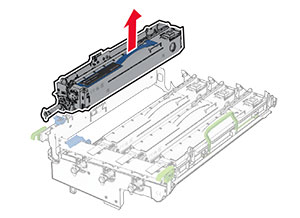
移除旧的黑色成像单元。
拆开新黑色成像单元的包装。
插入新的黑色成像单元。
将新的黑色成像单元锁定到位。
插入成像组件,直到它完全到位。
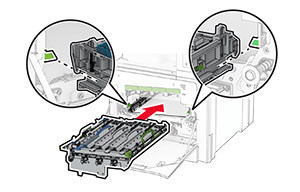
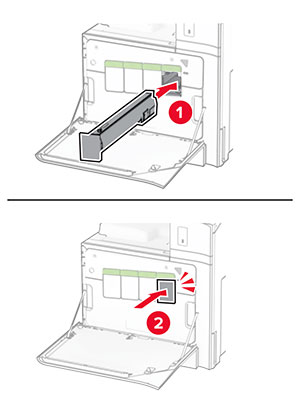
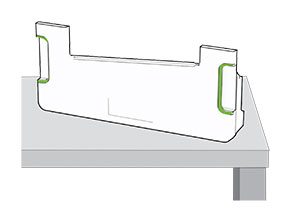
插入废碳粉瓶,直至它 卡入 到位。
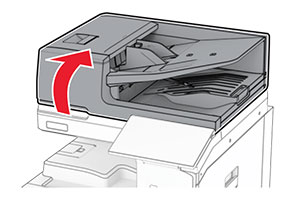
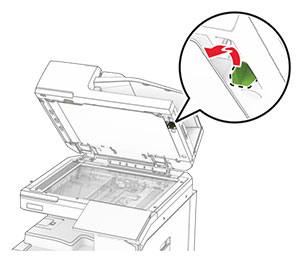
轻轻拉出打印头刷片,然后清洁打印头镜片。
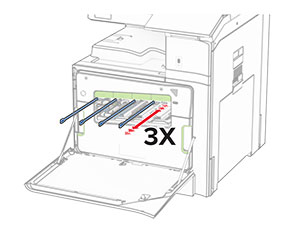
如需有关清洁打印头镜片的更多信息,请参阅 清洁打印头镜片 。
插入碳粉盒。

关闭盖门。
打开前部盖门。
移除碳粉盒。
移除废碳粉瓶。
移除旧的成像组件。
解锁黑色成像单元。
移除黑色成像单元。
拆开新的成像组件的包装。
将黑色成像单元插入新的成像组件中。
将黑色成像单元锁定到位。
插入新的成像组件,直到它完全到位。
插入废碳粉瓶,直至它 卡入 到位。
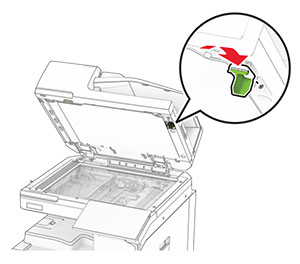
轻轻拉出打印头刷片,然后清洁打印头镜片。
如需有关清洁打印头镜片的更多信息,请参阅 清洁打印头镜片 。
插入碳粉盒。
关闭盖门。
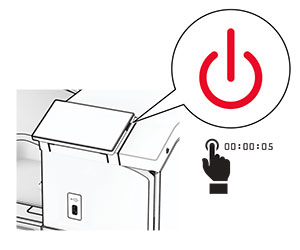
关闭打印机电源。
从电源插座上拔掉电源线,然后从打印机上拔掉电源线。
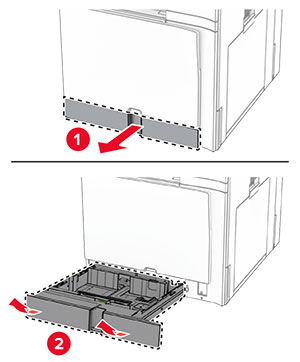
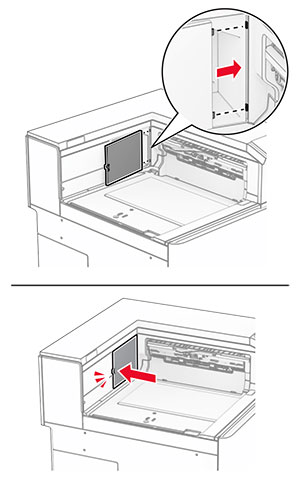
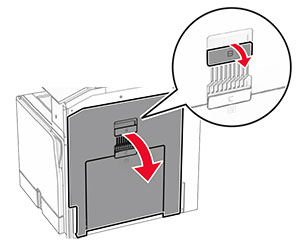
打开盖门 B。
 小心—发热表面:
打印机内部可能很烫。为避免被发热组件烫伤的危险,在接触组件之前,请等待表面冷却。
小心—发热表面:
打印机内部可能很烫。为避免被发热组件烫伤的危险,在接触组件之前,请等待表面冷却。
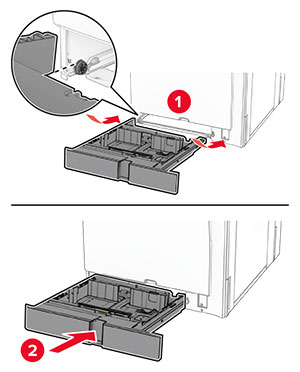
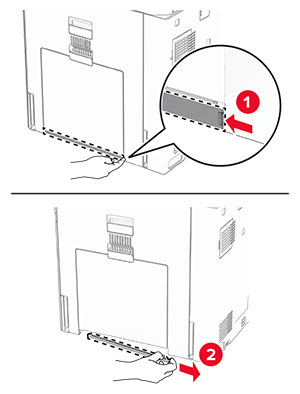
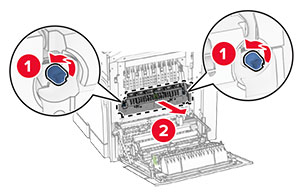
解锁,然后移除旧的定影器。
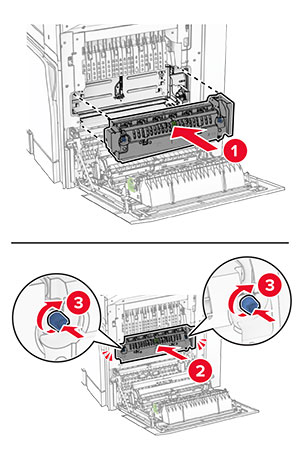
拆开新定影器的包装。
插入新的定影器,直至它 卡入 到位,然后将它锁定。
关闭盖门 B。
将电源线的一端连接到打印机上,然后将另一端连接到电源插座上。
 小心—可能的伤害:
为避免火灾或电击危险,请将电源线连接到具有适当额定电压并正确接地的电源插座上,该插座应该靠近产品并且便于使用。
小心—可能的伤害:
为避免火灾或电击危险,请将电源线连接到具有适当额定电压并正确接地的电源插座上,该插座应该靠近产品并且便于使用。
打开打印机电源。
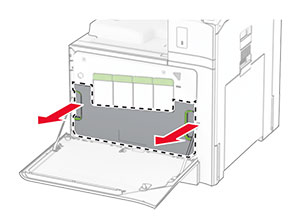
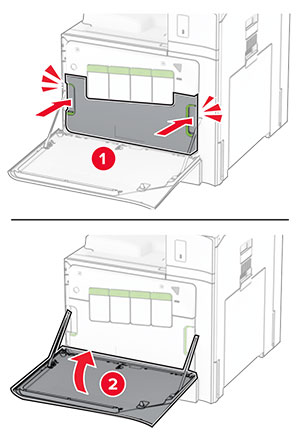
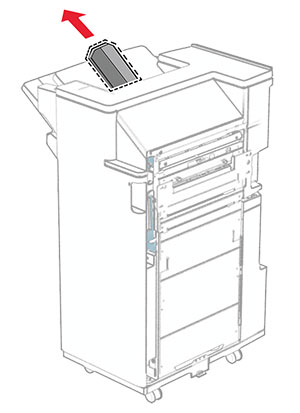
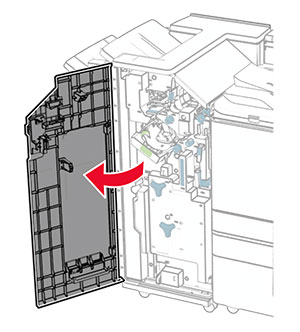
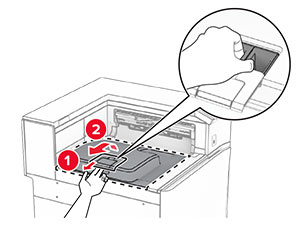
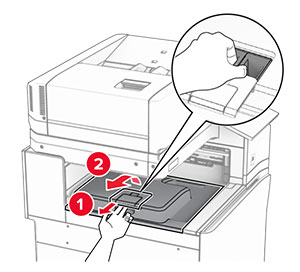
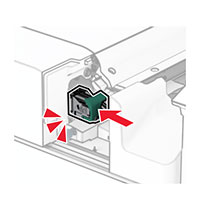
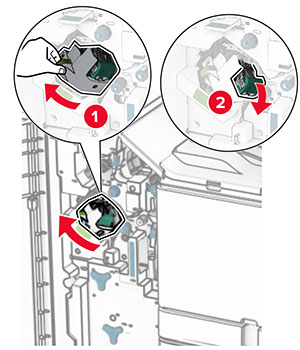
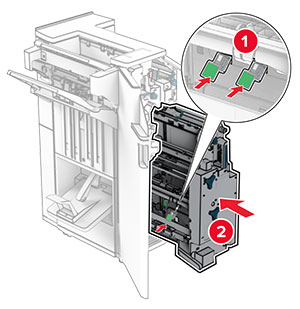
打开盖门 H。

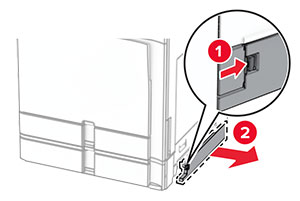
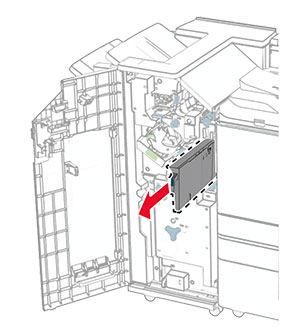
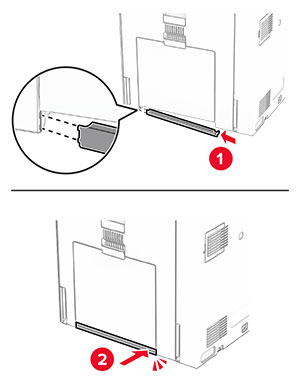
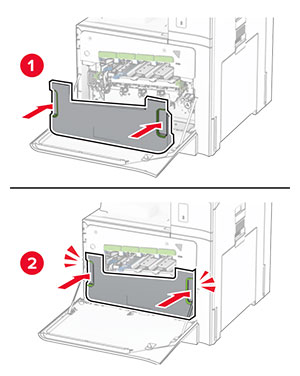
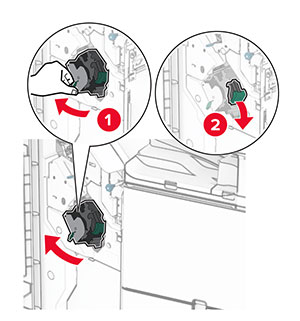
拉出绿色手柄,然后移除订书钉盒支架。
移除空的订书钉盒。
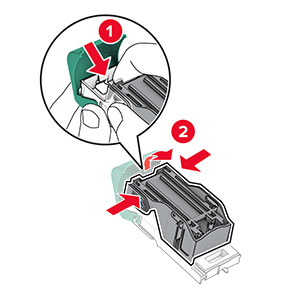
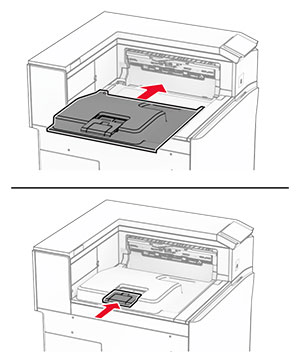
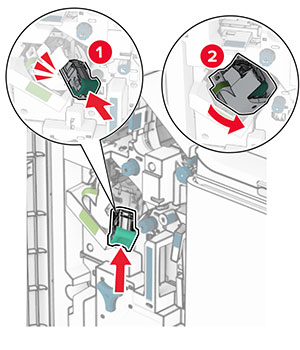
拆开新订书钉盒的包装。
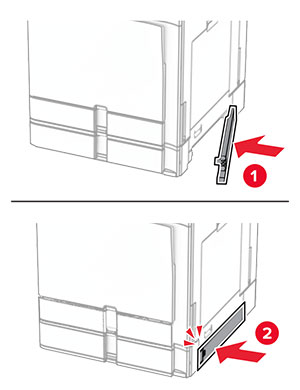
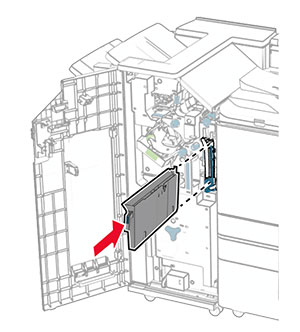
插入新订书钉盒,直至其 卡入 到位。

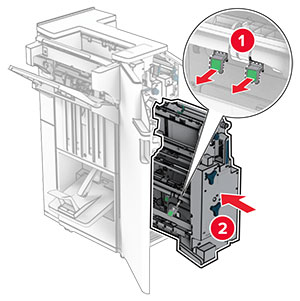
插入订书钉盒支架,直至其 卡入 到位。
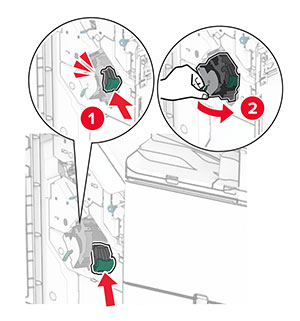
关闭盖门 H。