為 550 張紙匣組件載入紙張
 請當心—傾倒危險:
為了降低因設備不穩固可能造成的風險,請個別載入每一個紙匣組件。請讓其他所有紙匣組件保持關閉狀態,等需要使用時再打開。
請當心—傾倒危險:
為了降低因設備不穩固可能造成的風險,請個別載入每一個紙匣組件。請讓其他所有紙匣組件保持關閉狀態,等需要使用時再打開。
-
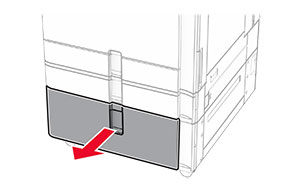
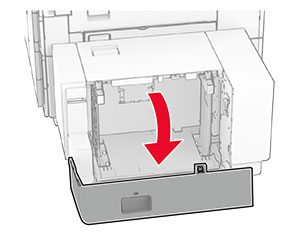
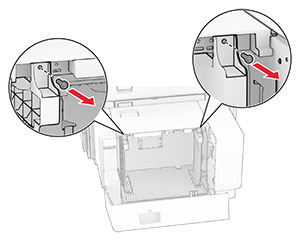
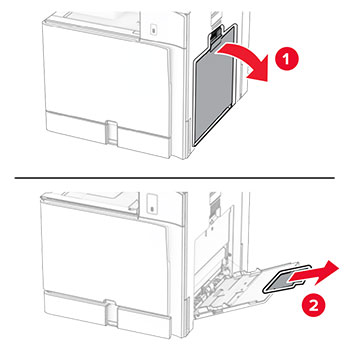
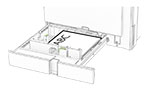
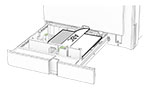
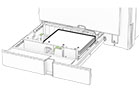
開啟紙匣組件。
請注意: 若要避免夾紙,請不要在印表機處於忙碌狀態時開啟紙匣組件。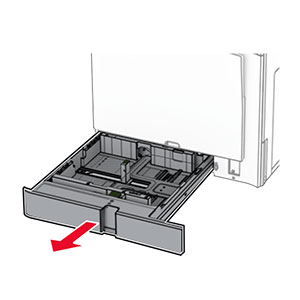
-
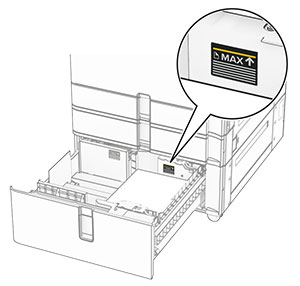
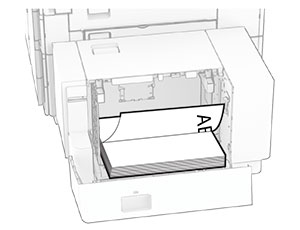
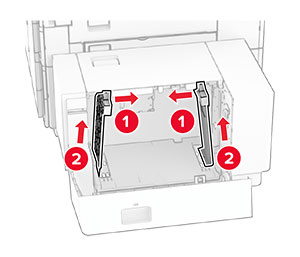
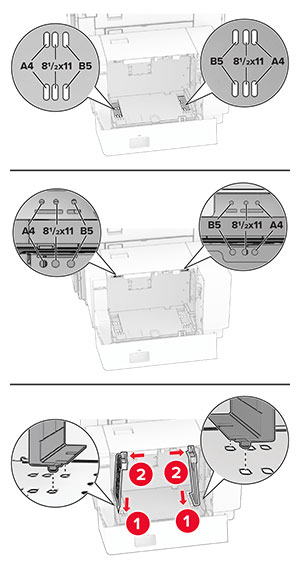
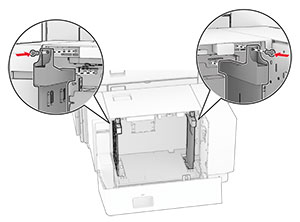
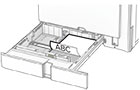
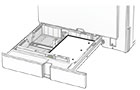
調整導引夾以符合您載入的紙張尺寸。
請注意:
- 使用紙匣組件底部的指示標誌來定位導引夾。
- 僅標準 550 張紙匣組件支援穿孔紙。
- 僅選購性 550 張紙匣組件支援 A3 紙張。

-
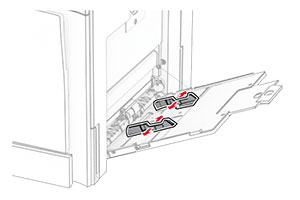
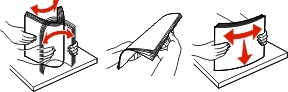
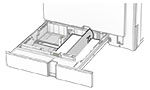
載入紙張之前,請先彈動紙張、展開成扇狀,並將紙張邊緣對齊。
-
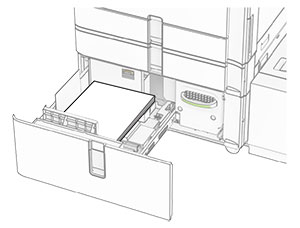
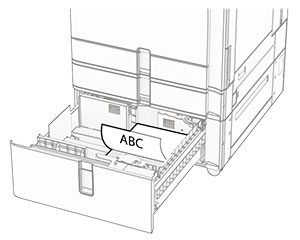
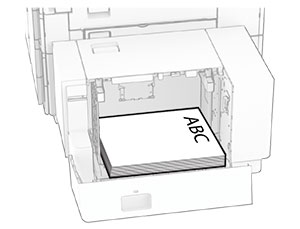
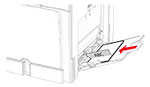
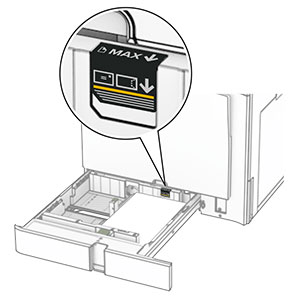
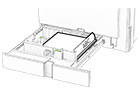
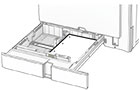
以列印面朝上的方式載入紙疊。
請注意:
- 請不要將紙張滑入紙匣組件。
- 確定側導引夾緊密貼合於紙張。
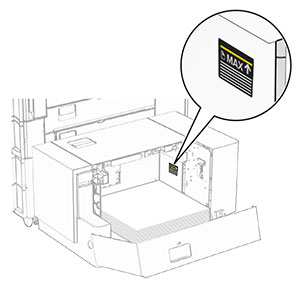
- 確認紙疊高度不超過滿紙上限指示標誌。過滿可能會造成夾紙。
-
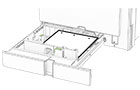
插入紙匣組件。
必要時,設定紙張尺寸和紙張類型以符合紙匣組件中載入的紙張。
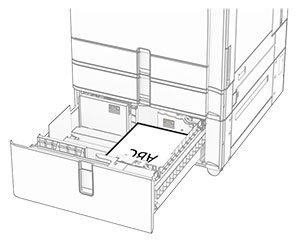
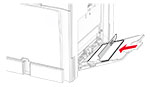
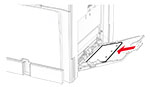
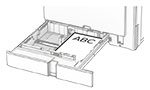
載入信頭紙時,請執行下列其中一項:
|
沒有分頁裝訂器 |
有分頁裝訂器 |
|---|---|
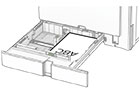
單面長邊列印 |
單面長邊列印 |
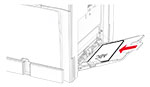
單面短邊列印 |
單面短邊列印 |
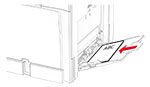
雙面長邊列印 |
雙面長邊列印 |
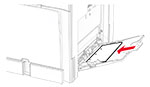
雙面短邊列印 |
雙面短邊列印 |
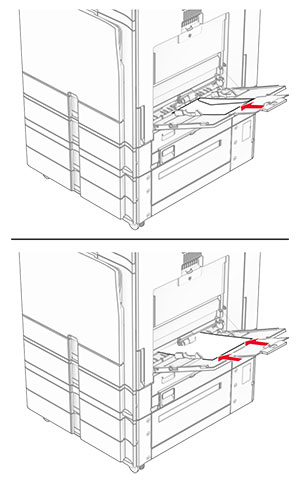
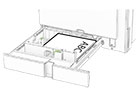
載入穿孔紙時,請執行下列其中一項:
|
沒有選購性分頁裝訂器 |
有選購性分頁裝訂器 |
|---|---|
單面長邊列印 |
單面長邊列印 |
單面短邊列印 |
單面短邊列印 |
|
雙面長邊列印 |
雙面長邊列印 |
|
雙面短邊列印 |
雙面短邊列印 |