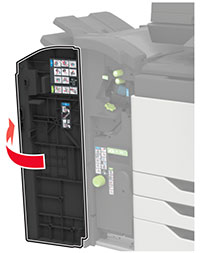
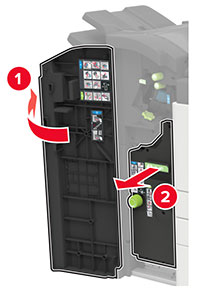
Replacing a toner cartridge
-
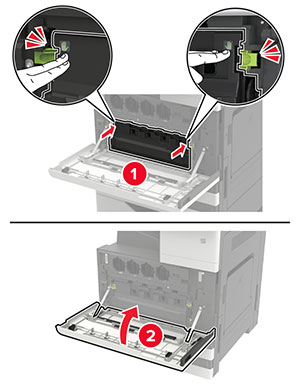
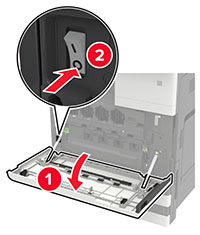
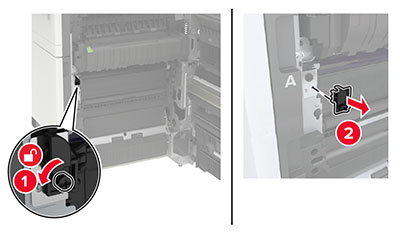
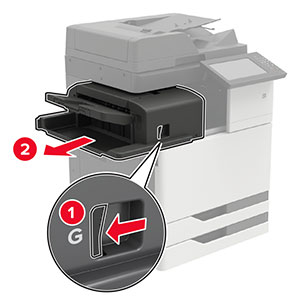
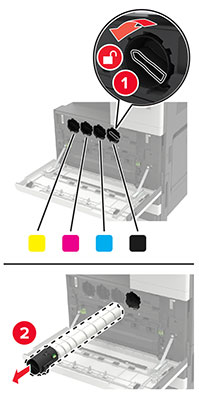
Open door A.
-
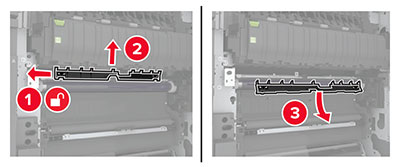
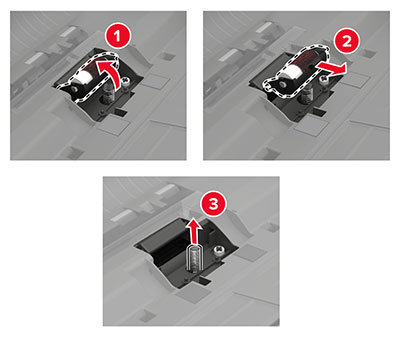
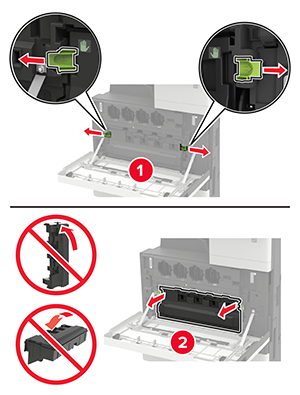
Remove the toner cartridge.
-
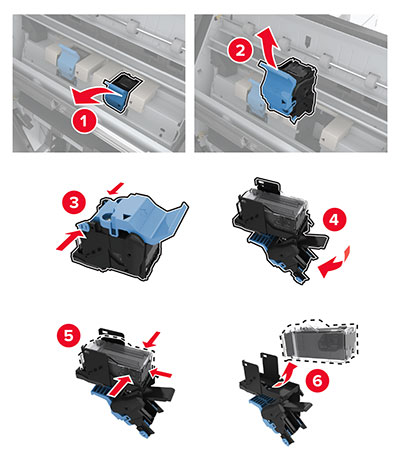
Unpack the new toner cartridge.
-
Shake the toner cartridge three times.
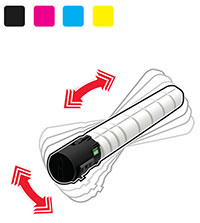
-
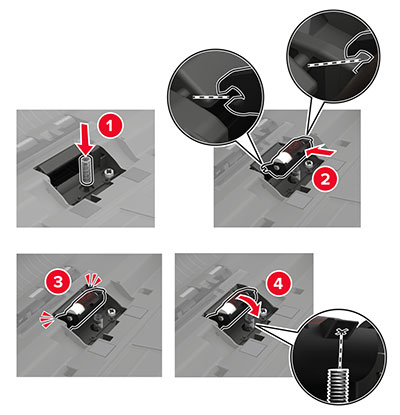
Insert the new toner cartridge.
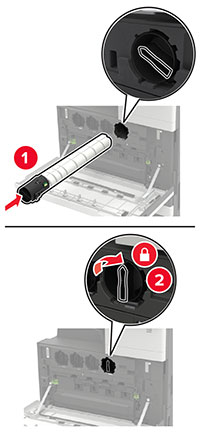
-
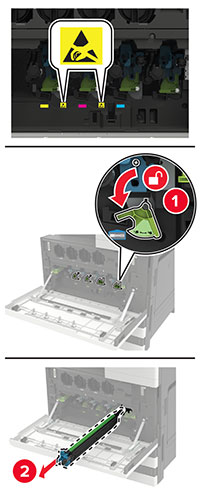
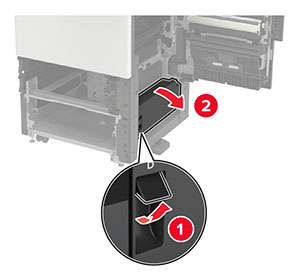
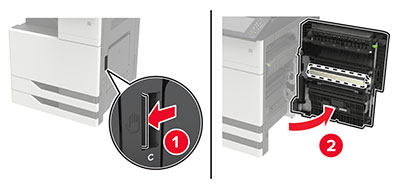
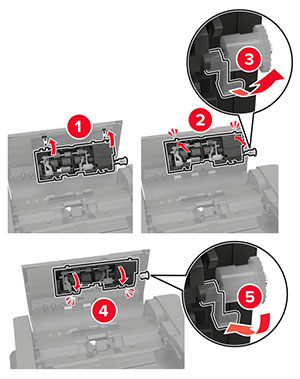
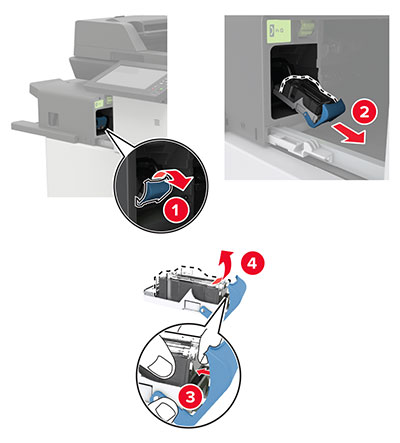
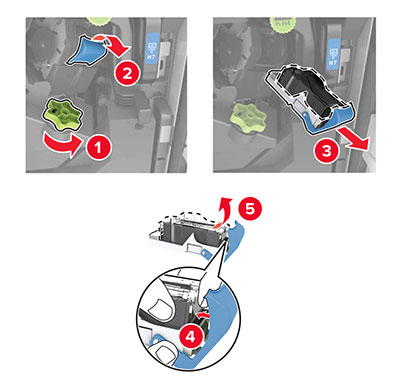
Remove the waste toner bottle.
-
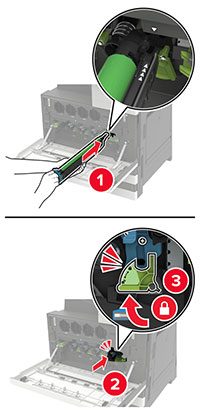
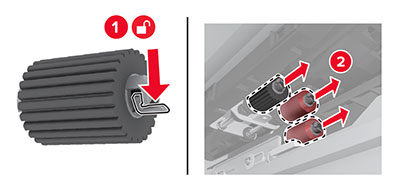
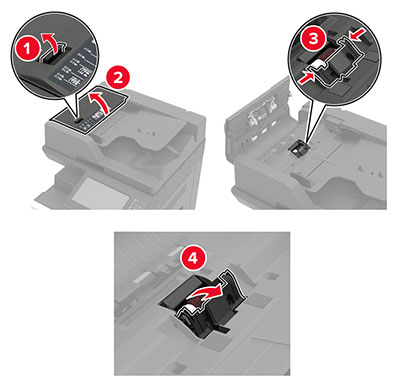
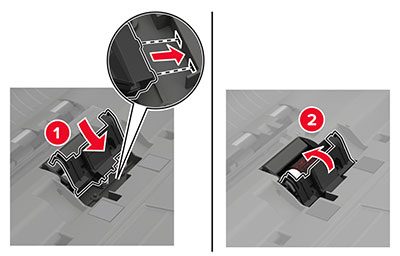
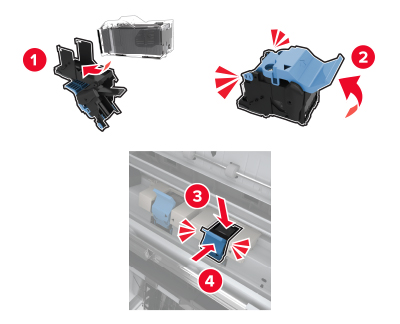
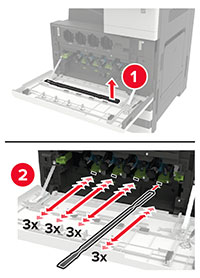
Using the printhead wiper, clean the printhead lens.
-
Insert the wiper back into place.
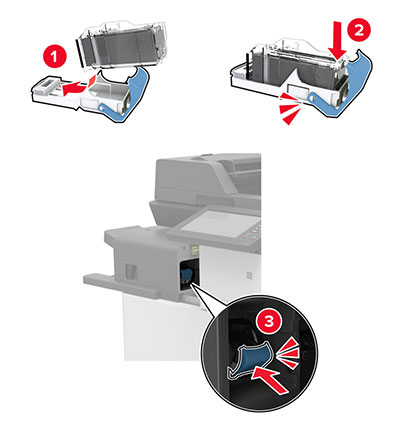
-
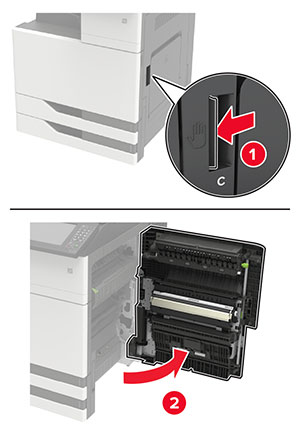
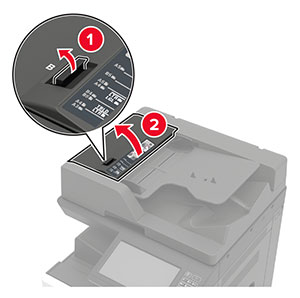
Insert the waste toner bottle, and then close the door.