清洁打印机
 小心—电击危险: 为避免在清洁打印机的外部时发生电击危险,请在操作之前从电源插座中拔掉电源线并断开打印机上连接的所有电缆。
注意:
- 请每隔几个月执行此任务一次。
- 因不当处理造成的打印机损坏不在打印机保修范围内。
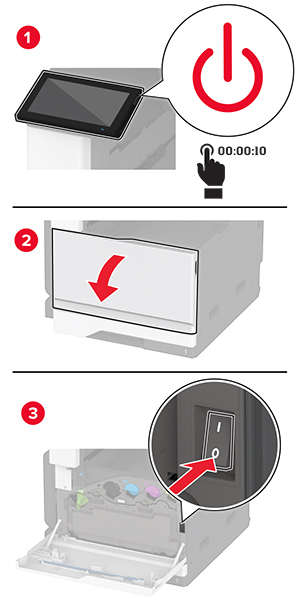
关闭打印机电源,然后从电源插座上拔掉电源线。
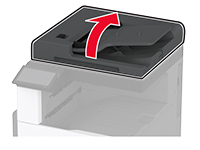
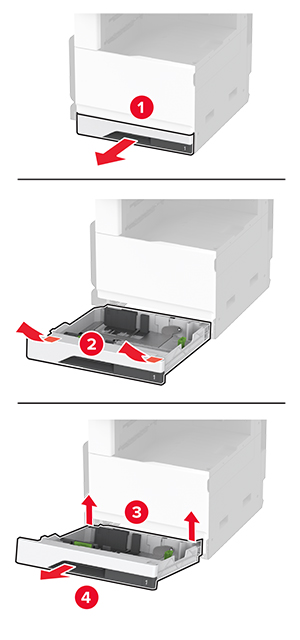
从标准接纸架和多功能进纸器中取出纸张。
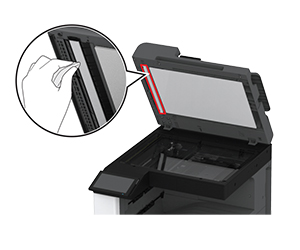
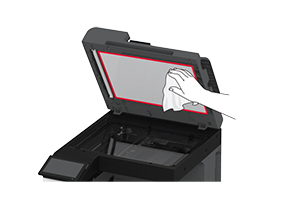
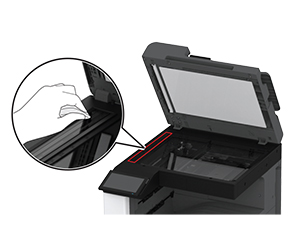
使用软毛刷或真空吸尘器清除打印机周围的所有灰尘、绒毛和纸片。
使用柔软、不起毛的湿布擦拭打印机的外面。
注意:
- 不要使用家庭用的清洁剂或洗涤剂,因为它们可能会损坏打印机的表面。
- 确认在清洁之后,打印机的所有区域都是干燥的。
将电源线连接到电源插座,然后打开打印机电源。
 小心—可能的伤害: 为避免火灾或电击危险,请将电源线连接到具有适当额定电压并正确接地的电源插座上,该插座应该靠近产品并且便于使用。