Setting the paper size and type
From the home screen navigate to:
![]() > Paper Menu > Paper Size/Type > select a tray > select a paper size or type > Submit
> Paper Menu > Paper Size/Type > select a tray > select a paper size or type > Submit
Notes:
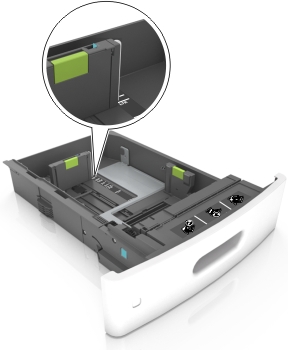
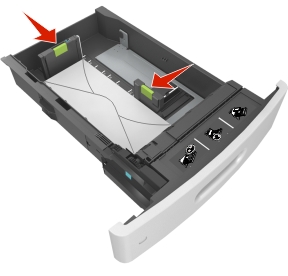
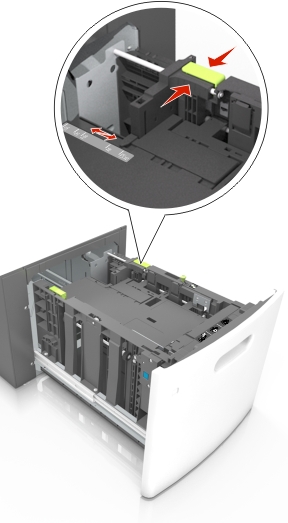
- The paper size is automatically set according to the position of the paper guides in each tray except the multipurpose feeder.
- The paper size for the multipurpose feeder must be set manually from the Paper Size menu.
- The paper type must be set manually for all trays that do not contain plain paper.