Clearing jams

Avoiding jams

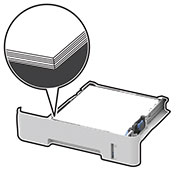
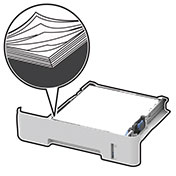
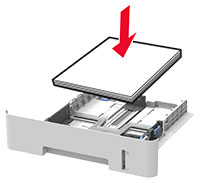
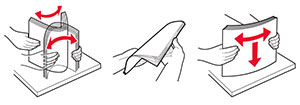
Load paper properly
Use recommended paper

Identifying jam locations

Notes:


Jam locations

1

Automatic document feeder (ADF)

2

Standard bin

3

Front door

4

Manual feeder

5

Tray

6

Rear door

7

Duplex unit


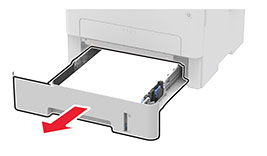
Paper jam in the tray

  1. Remove the tray.

  2. Remove the jammed paper.

    Note:  Make sure that all paper fragments are removed.
  3. Insert the tray.

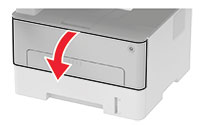
Paper jam in the front door

  1. Open the front door.

    Warning—Potential Damage:  To prevent damage from electrostatic discharge, touch any exposed metal frame of the printer before accessing or touching interior areas of the printer.
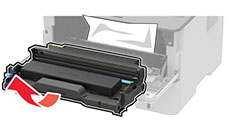
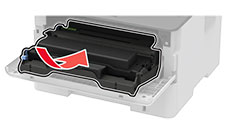
  2. Remove the imaging unit.

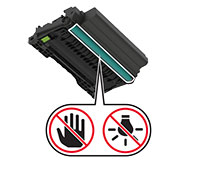
    Warning—Potential Damage:  Do not expose the imaging unit to direct light for more than 10 minutes. Extended exposure to light may cause print quality problems.
    Warning—Potential Damage:  Do not touch the photoconductor drum. Doing so may affect the quality of future print jobs.
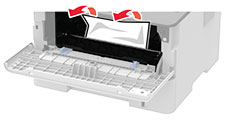
  3. Remove the jammed paper.

    hot surface caution icon   CAUTION—HOT SURFACE:  The inside of the printer might be hot. To reduce the risk of injury from a hot component, allow the surface to cool before touching it.
    Note:  Make sure that all paper fragments are removed.
  4. Insert the imaging unit.

  5. Close the door.

Paper jam in the rear door

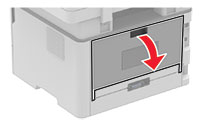
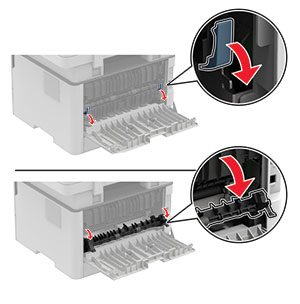
  1. Open the rear door.

    hot surface caution icon   CAUTION—HOT SURFACE:  The inside of the printer might be hot. To reduce the risk of injury from a hot component, allow the surface to cool before touching it.
  2. Open the fuser access door.

  3. Remove the jammed paper.

    Note:  Make sure that all paper fragments are removed.
  4. Close the fuser access door.

  5. Close the rear door.

Paper jam in the duplex unit

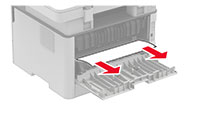
  1. Pull out the duplex unit, and then remove the jammed paper.

    Warning—Potential Damage:  To prevent damage from electrostatic discharge, touch any exposed metal frame of the printer before accessing or touching interior areas of the printer.
    Note:  Make sure that all paper fragments are removed.
  2. Insert the duplex unit.

Paper jam in the standard bin

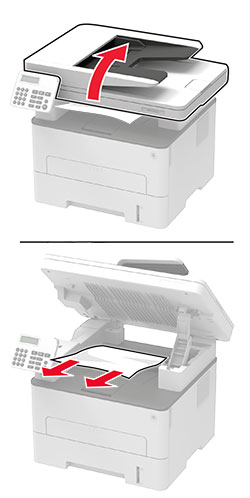
  1. Raise the scanner, and then remove the jammed paper.

    Note:  Make sure that all paper fragments are removed.
  2. Lower the scanner.

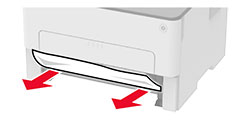
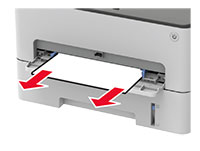
Paper jam in the manual feeder

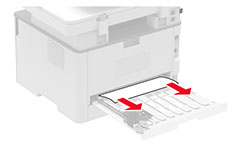
Remove the jammed paper.

Note:  Make sure that all paper fragments are removed.

Paper jam in the automatic document feeder

  1. Remove all original documents from the ADF tray.

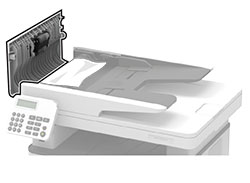
  2. Open the ADF cover.

    Warning—Potential Damage:  To prevent damage from electrostatic discharge, touch any exposed metal frame of the printer before accessing or touching interior areas of the printer.
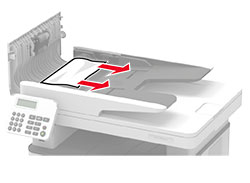
  3. Remove the jammed paper.

    Note:  Make sure that all paper fragments are removed.
  4. Close the ADF cover.

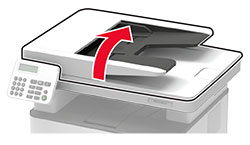
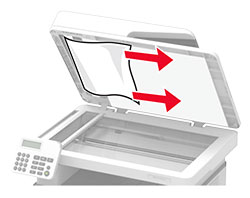
  5. Open the scanner cover.

  6. Remove the jammed paper.

    Note:  Make sure that all paper fragments are removed.
  7. Close the scanner cover.