Replacing the toner cartridge
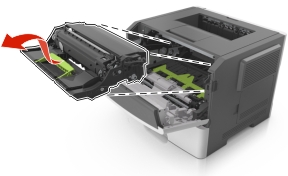
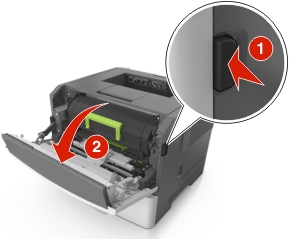
Press the button on the right side of the printer, and then open the front door.
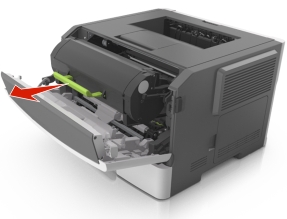
Pull the toner cartridge out using the handle.
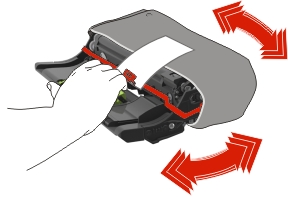
Unpack the toner cartridge, and then remove all packing materials.
Shake the new cartridge to redistribute the toner.

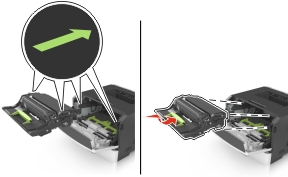
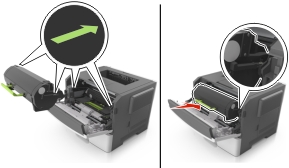
Insert the toner cartridge into the printer by aligning the side rails of the cartridge with the arrows on the side rails inside the printer.
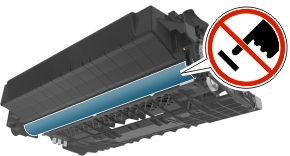
Warning—Potential Damage: Do not expose the imaging unit to direct light for more than 10 minutes. Extended exposure to light may cause print quality problems. 
Close the front door.