Avoiding jams
Load paper properly
-
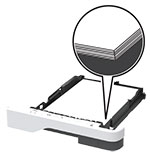
Make sure that the paper lies flat in the tray.
Correct loading of paper
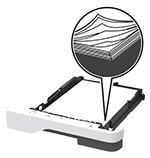
Incorrect loading of paper
-
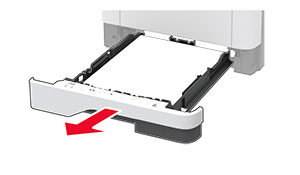
Do not load or remove a tray while the printer is printing.
-
Do not load too much paper. Make sure that the stack height is below the maximum paper fill indicator.
-
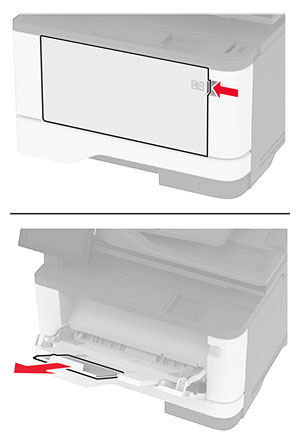
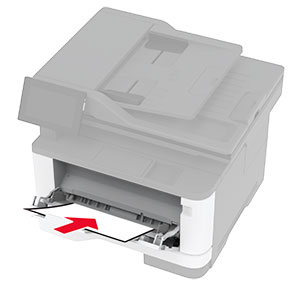
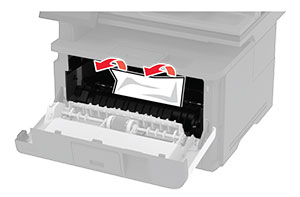
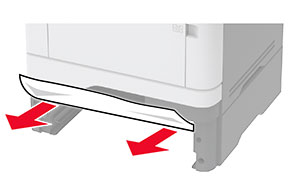
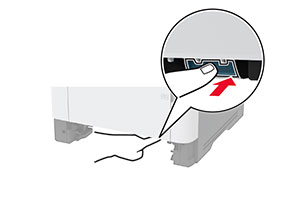
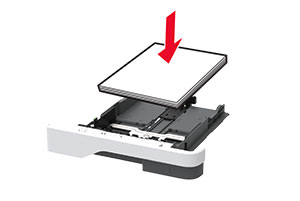
Do not slide paper into the tray. Load paper as shown in the illustration.
-
Make sure that the paper guides are positioned correctly and are not pressing tightly against the paper or envelopes.
-
Push the tray firmly into the printer after loading paper.
Use recommended paper
-
Use only recommended paper or specialty media.
-
Do not load paper that is wrinkled, creased, damp, bent, or curled.
-
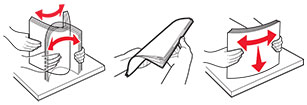
Flex, fan, and align the paper edges before loading.
-
Do not use paper that has been cut or trimmed by hand.
-
Do not mix paper sizes, weights, or types in the same tray.
-
Make sure that the paper size and type are set correctly on the computer or printer control panel.
-
Store paper according to manufacturer recommendations.