更换碳粉盒
-
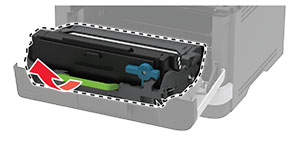
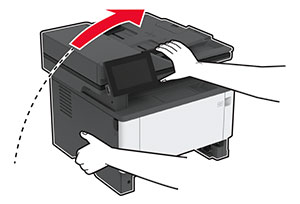
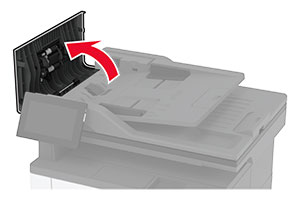
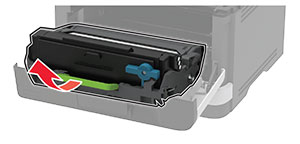
打开前部盖门。
警告—可能的损坏: 为防止静电放电造成的损坏,请在进入或接触打印机的内部区域之前触摸打印机的任何外露金属框架。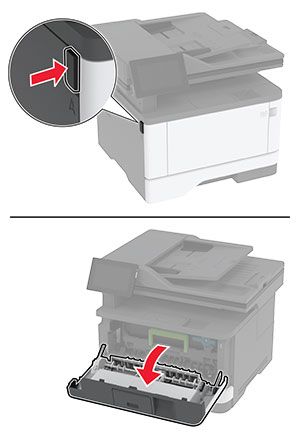
-
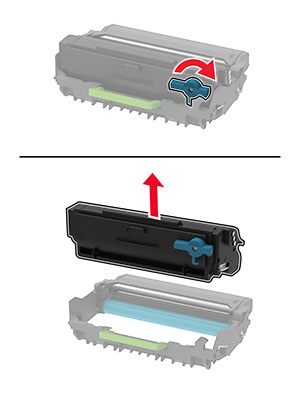
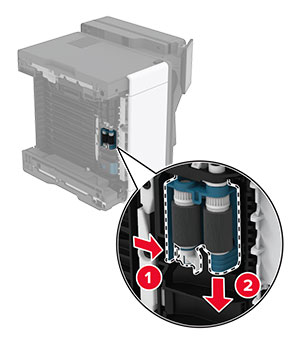
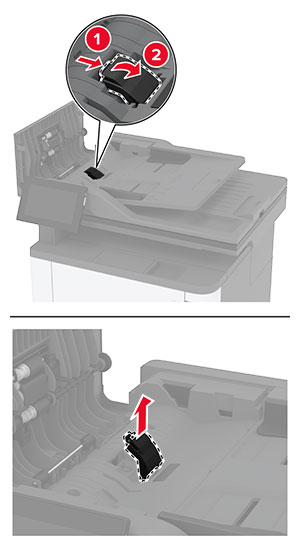
移除成像单元。
-
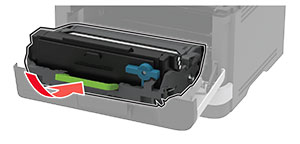
旋转蓝色插销,然后从成像单元中移除旧碳粉盒。
警告—可能的损坏: 不要让成像单元暴露在直射光线下超过 10 分钟。长时间暴露在光线下可能导致打印质量问题。警告—可能的损坏: 请勿触摸光导鼓。否则会影响以后的打印作业质量。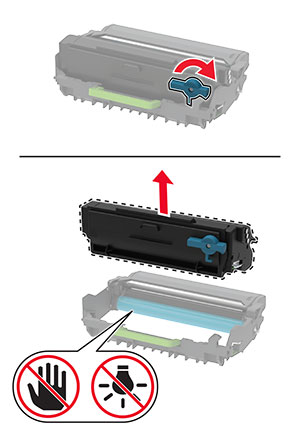
-
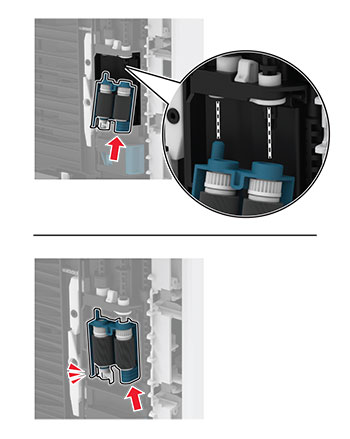
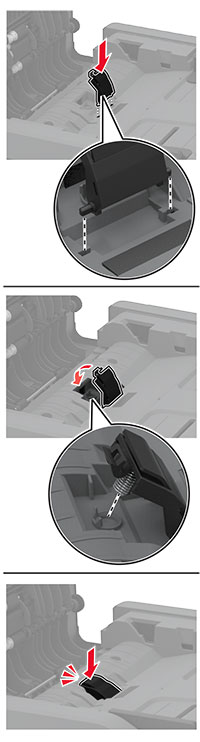
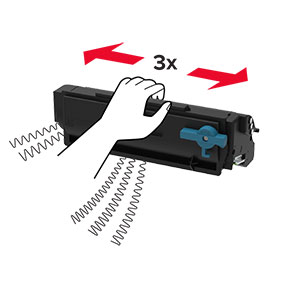
拆开新碳粉盒的包装。
-
摇晃碳粉盒以使碳粉重新分布。
-
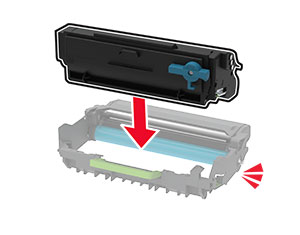
将新碳粉盒插入成像单元中,直至其 卡入 到位。
-
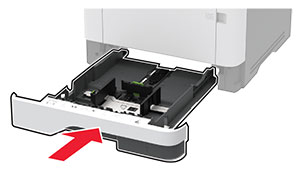
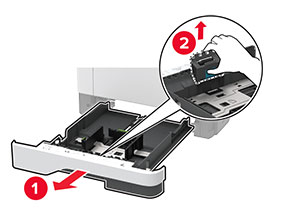
插入成像单元。
-
关闭盖门。