 CAUTION—POTENTIAL INJURY: To reduce the risk of equipment instability, load each tray separately. Keep all other trays closed until needed. CAUTION—POTENTIAL INJURY: To reduce the risk of equipment instability, load each tray separately. Keep all other trays closed until needed.
Pull out the tray.
Adjust the width and length guides.
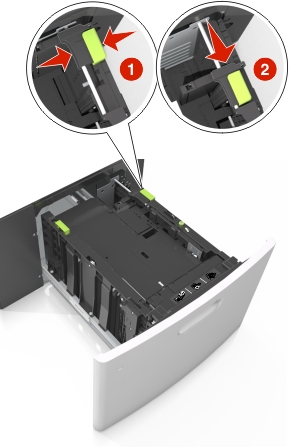
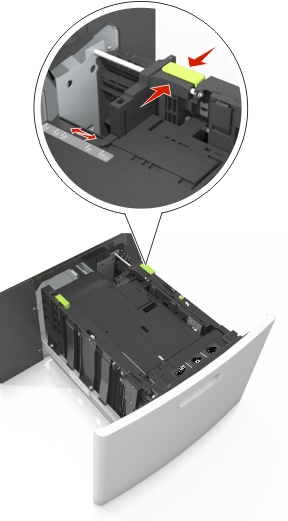
Pull up and slide the width guide to the position for A5.
Squeeze and slide the length guide to the position for A5 until it clicks into place.
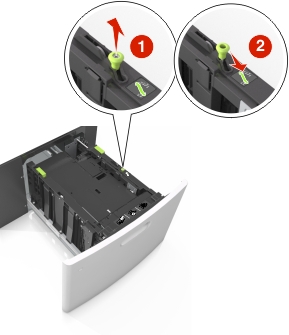
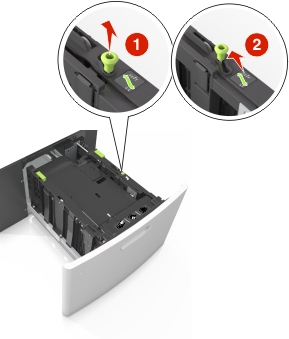
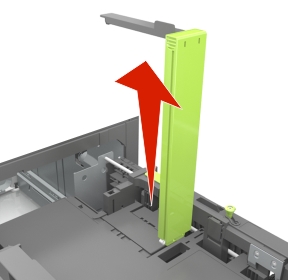
Remove the A5 length guide from its holder.
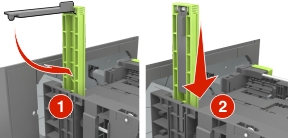
Insert the A5 length guide into its designated slot.
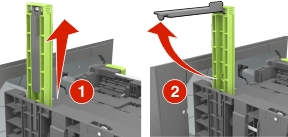
Pull up and slide the width guide to the correct position for the size of the paper being loaded.
If the A5 length guide is still attached to the length guide, then remove it from its place. If the A5 length guide is not attached, then proceed to step d.
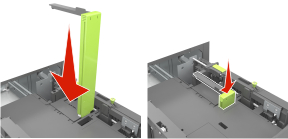
Put the A5 length guide in its holder.
Squeeze the length guide and slide it to the correct position for the size of the paper being loaded until it clicks into place.
Flex sheets of paper back and forth to loosen them, and then fan them. Do not fold or crease the paper. Straighten the edges on a level surface.
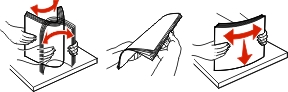
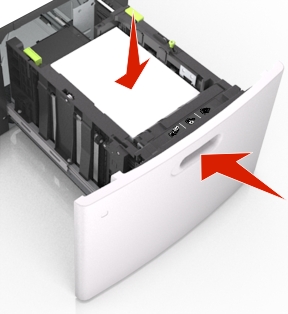
Load the paper stack with the printable side facedown.
There are different ways of loading letterhead depending on whether an optional staple finisher is installed or not.
Without an optional staple finisher | With an optional staple finisher |
|---|---|
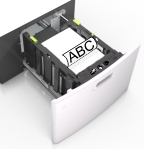 One-sided printing | 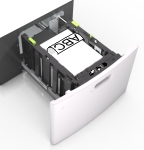 One-sided printing |
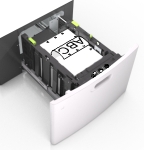
 Two-sided printing | 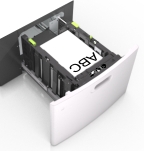 Two-sided printing |
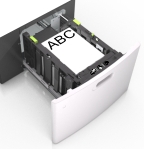
If you are loading prepunched paper for use with the staple finisher, then make sure the holes on the long edge of the paper are on the right side of the tray.
One-sided printing | Two-sided printing |
|---|---|
 | 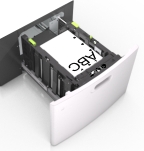 |
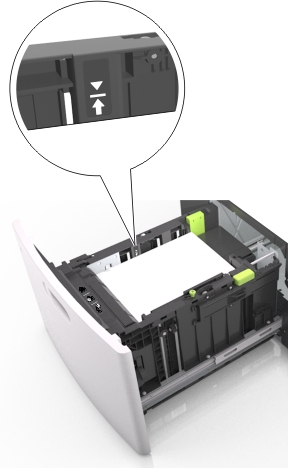
Make sure the paper is below the maximum paper fill indicator.
Insert the tray.
From the printer control panel, set the paper size and type in the Paper menu to match the paper loaded.