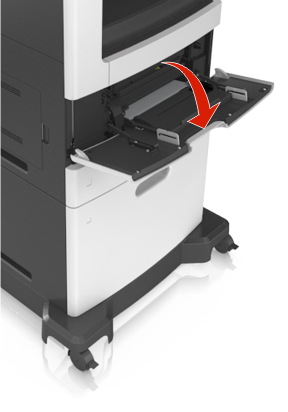
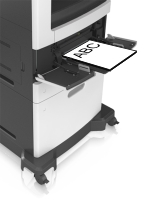
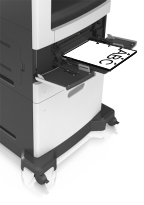
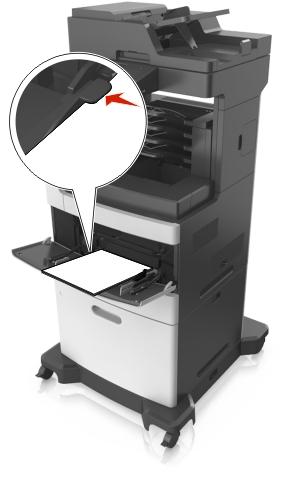
Pull down the multipurpose feeder door.
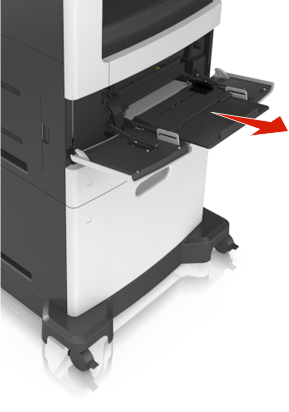
Using the handle, pull the multipurpose feeder extender.
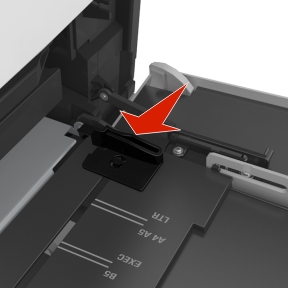
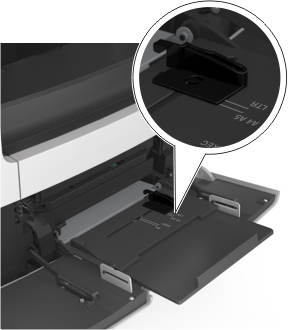
Slide the width guide to the correct position for the size of the paper being loaded.
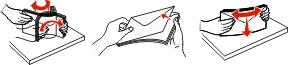
Prepare the paper or specialty media for loading.
Flex the sheets back and forth to loosen them, and then fan them. Do not fold or crease the paper. Straighten the edges on a level surface.
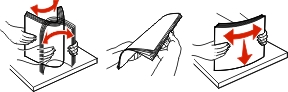
Hold transparencies by the edges, and then fan them. Straighten the edges on a level surface.
 Note: Avoid touching the printable side of the transparencies. Be careful not to scratch them.
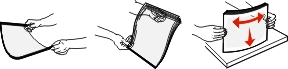
Flex the stack of envelopes back and forth to loosen them, and then fan them. Straighten the edges on a level surface.
Load the paper or specialty media.
Load only one size and type of paper or specialty media at a time.
Make sure the paper fits loosely in the multipurpose feeder, lies flat and is not bent or wrinkled.
There are different ways of loading letterhead depending on whether an optional staple finisher is installed or not.
Without an optional staple finisher
With an optional staple finisher
One-sided printing

One-sided printing

Two-sided printing

Two-sided printing
If you are loading prepunched paper for use with the staple finisher, then make sure the holes on the long edge of the paper are on the right side of the tray.
One-sided printing
Two-sided printing
 Note: If the holes on the long edge of the paper are on the left side of the tray, then a jam may occur.
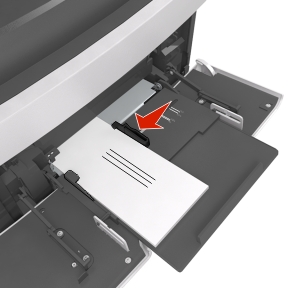
Load envelopes with the flap side down and on the left of the multipurpose feeder.
 Warning—Potential Damage: Never use envelopes with stamps, clasps, snaps, windows, coated linings, or self-stick adhesives. These envelopes may severely damage the printer.
Make sure the paper or specialty media is below the maximum paper fill indicator.
 Warning—Potential Damage: Overfilling the feeder can cause paper jams.
For custom- or universal-size paper, adjust the width guides to lightly touch the sides of the stack.
From the printer control panel, set the paper size and type in the Paper menu to match the paper loaded in the tray.