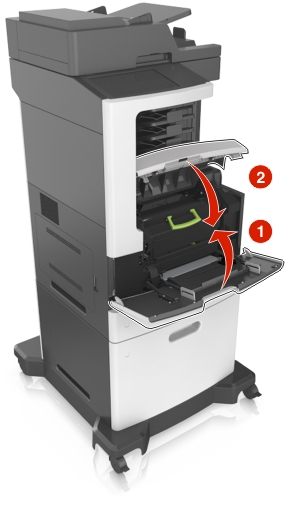
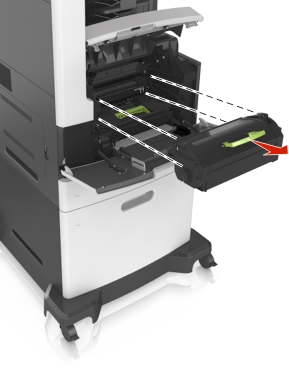
Replacing the toner cartridge
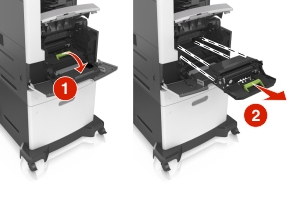
Lift the front cover, and then pull down the multipurpose feeder door.
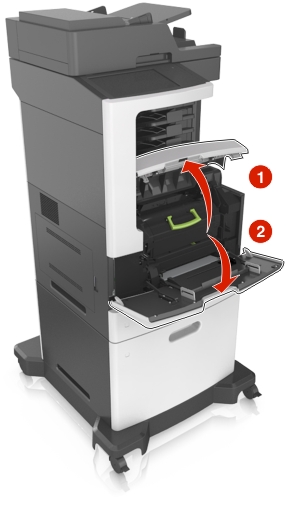
Pull the cartridge out of the printer using the handle.
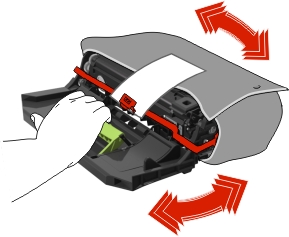
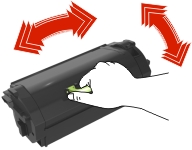
Unpack the new toner cartridge, then remove the packing material, and then shake the cartridge to redistribute the toner.
Insert the toner cartridge into the printer by aligning the side rails of the cartridge with the arrows on the side rails inside the printer.
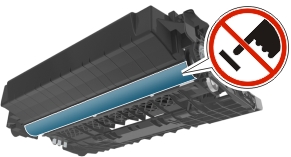
Note: Make sure the cartridge is fully pushed in.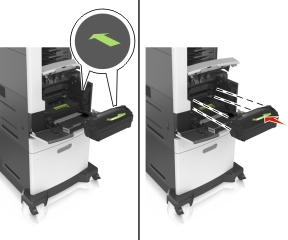 Warning—Potential Damage: When replacing a toner cartridge, do not leave the imaging unit exposed to direct light for an extended period of time. Extended exposure to light may cause print quality problems.
Close the multipurpose feeder door and the front cover.