Replacing the toner cartridge
When 88 Cartridge low, 88.yy Replace cartridge, or 88 Replace cartridge to continue appears, or when print becomes faded:
Turn the printer off.
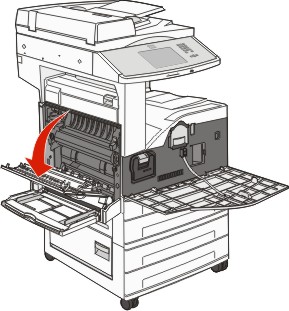
Open the front door.
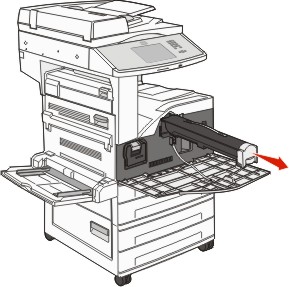
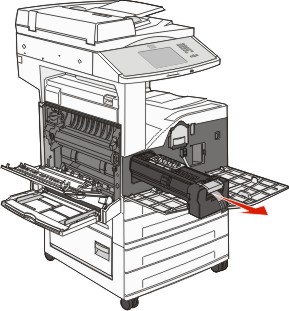
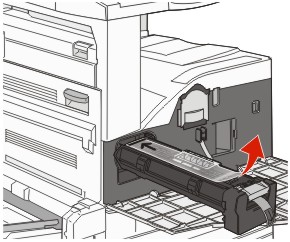
Grasp the handle and pull out the cartridge.
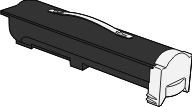
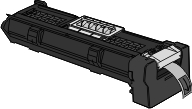
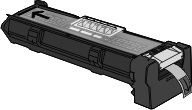
Unpack a new cartridge.
| Warning—Potential Damage: When replacing a toner cartridge, do not leave the new cartridge exposed to direct light for an extended period of time. Extended light exposure can cause print quality problems. |
Firmly shake the cartridge side-to-side several times to redistribute the toner.
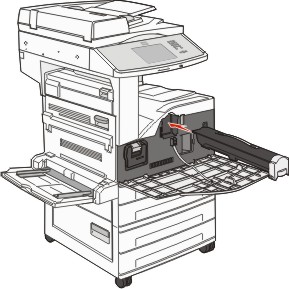
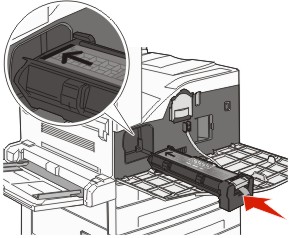
Insert the new cartridge into the printer. Push the toner cartridge in as far as it will go. The cartridge clicks into place when correctly installed.
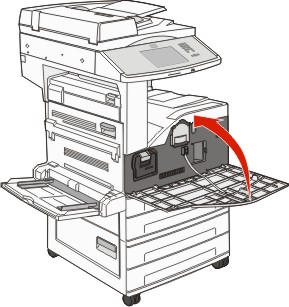
Close the front door.
Replacing the photoconductor
You can determine approximately how full the photoconductor is by printing the printer settings configuration sheet. This helps you decide when you might need to order replacement supplies.
To ensure print quality and to avoid damage to the printer, the printer stops operating after the photoconductor has reached a maximum of 60,000 pages. The printer automatically notifies you before the photoconductor reaches this point.
When 84 Replace photoconductor or 84 Photoconductor low appears, order a new photoconductor immediately. While the printer may continue to function properly after the photoconductor has reached its official end-of-life, print quality significantly decreases.
To replace the photoconductor:
Turn the printer off.
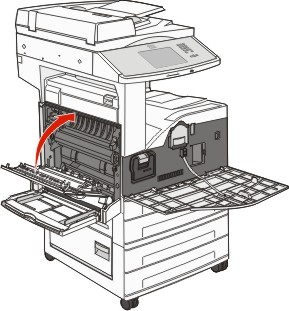
Open the front door.
| Note: The photoconductor cannot be pulled out if Side Door A is closed. |
Lower Side Door A.
Pull the photoconductor out of the printer.
Place the photoconductor on a flat, clean surface.
Unpack the new photoconductor.
Align and insert the end of the photoconductor.
Remove the tape from the top of the photoconductor.
Push the photoconductor as far as it will go.
The photoconductor clicks into place when correctly installed.
Close Side Door A.
Close the front door.
| Note: After you insert the photoconductor and close all the doors, the printer performs a motor cycle and clears the Replace Photoconductor warnings. |
The printer returns to the Ready state.