更換感光鼓組件
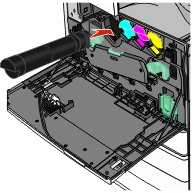
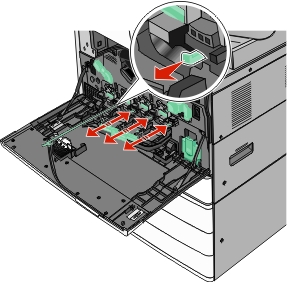
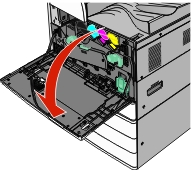
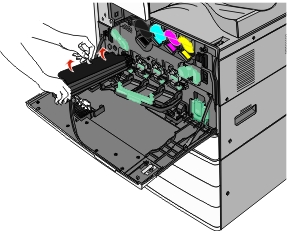
打開前門。
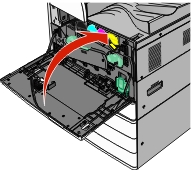
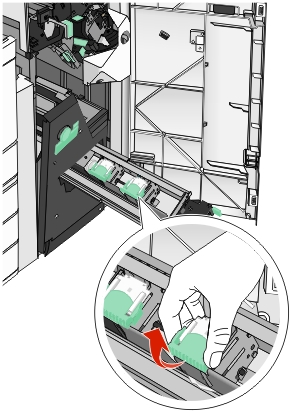
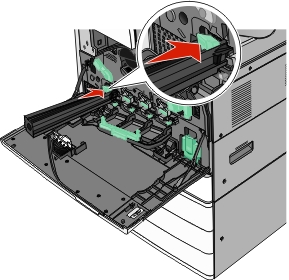
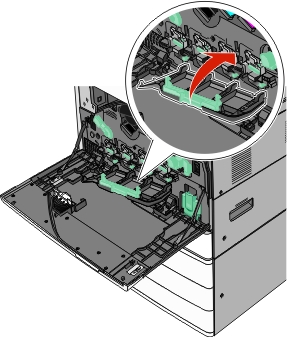
逆時針方向旋轉鬆緊壓桿,以打開蓋板。
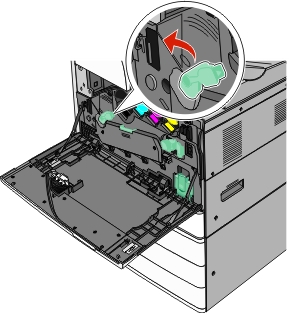
將蓋板往下放。
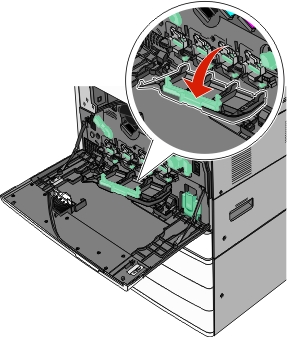
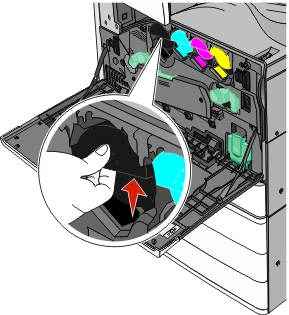
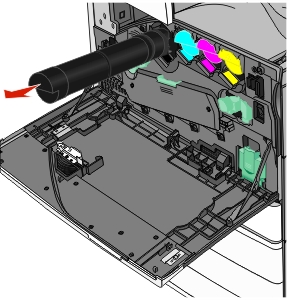
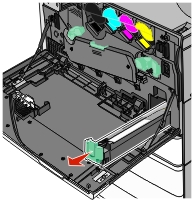
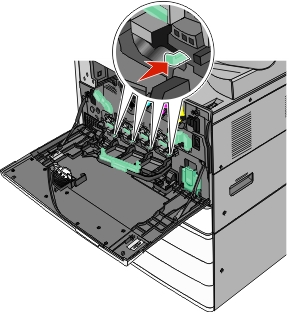
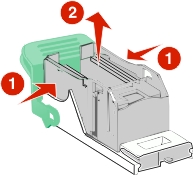
請當心—潛藏損壞危險性: 為了避免感光鼓組件曝光過久,門板打開的時間不要超過 10 分鐘。 抓著感光鼓組件的握把,然後將它從機器中拉出。
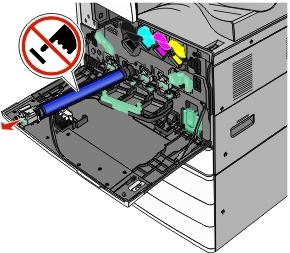
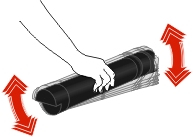
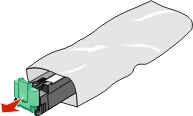
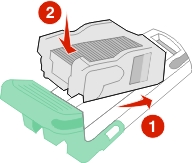
拆開替換感光鼓組件的包裝。
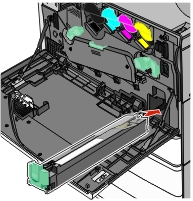
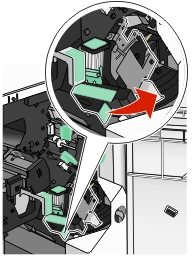
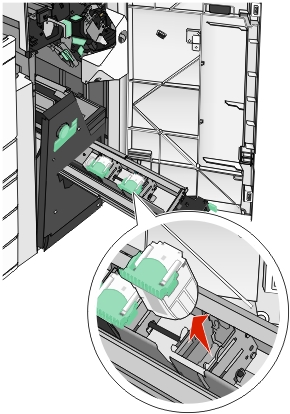
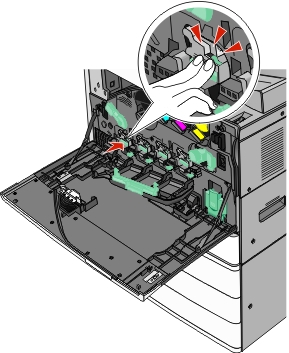
對齊後插入感光鼓組件的未端。
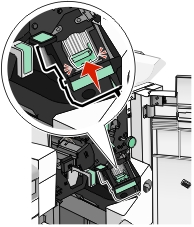
移除感光鼓組件頂端的膠帶。
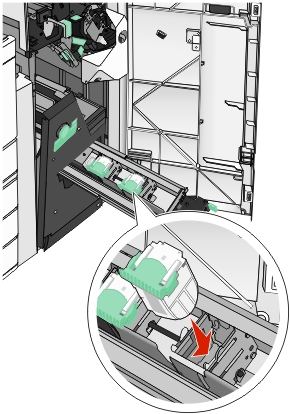
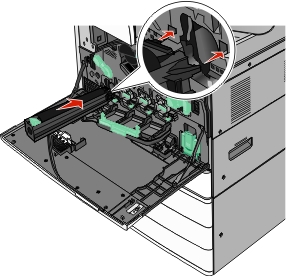
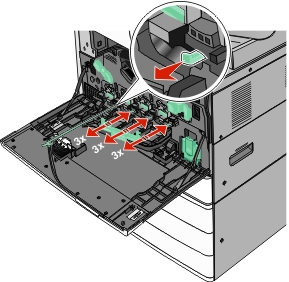
將感光鼓定位拉片往前推,以插入感光鼓組件。
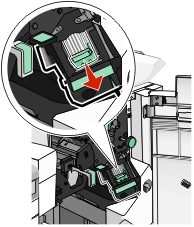
將感光鼓組件推入,直到它發出喀嚓一聲,卡入定位。
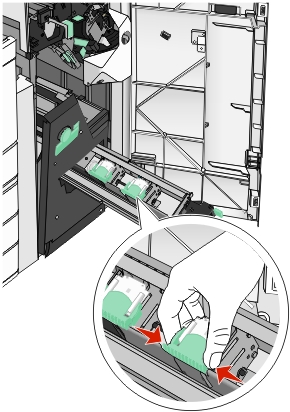
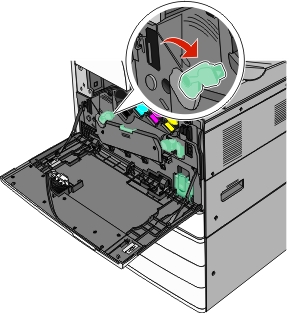
將列印頭碳粉刷輕輕拉出,當碳粉刷停止時,再慢慢將它們滑回至定位。
關上蓋板。
順時針方向旋轉鬆緊壓桿,以鎖定蓋板。
關上前門。