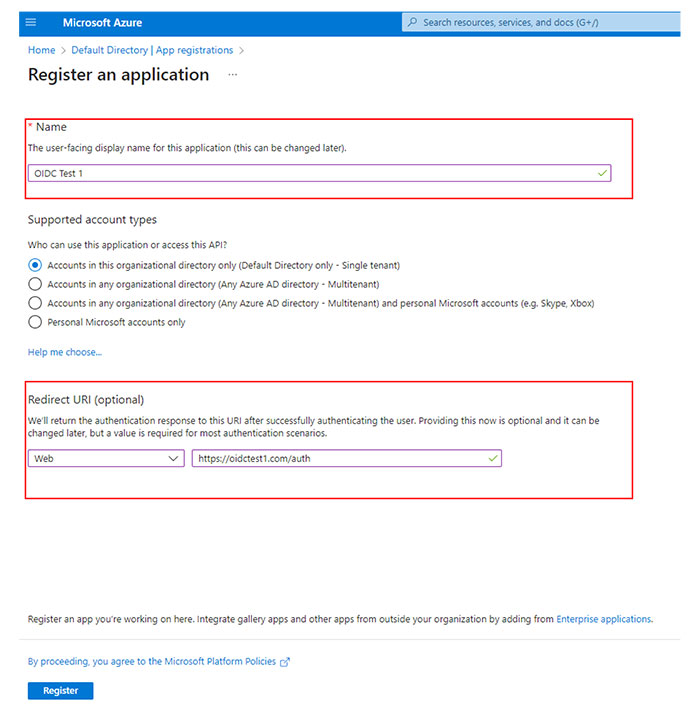
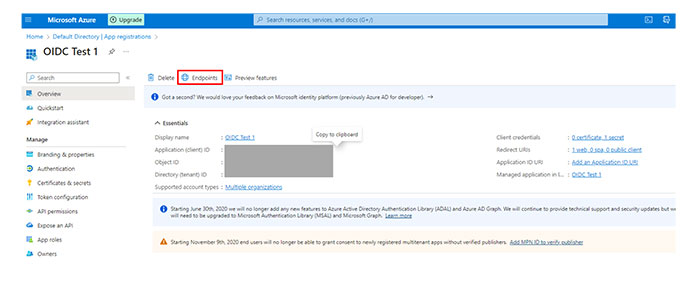
Registering a web application
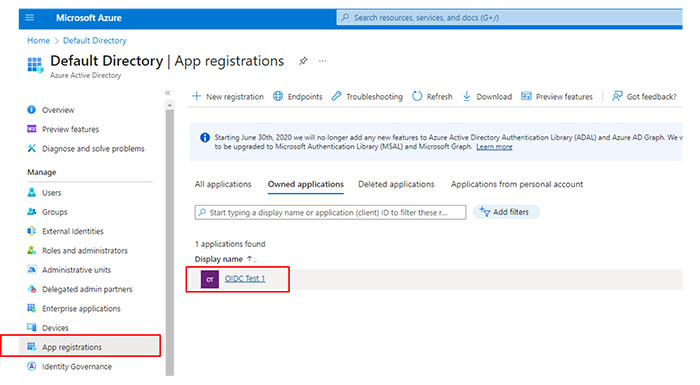
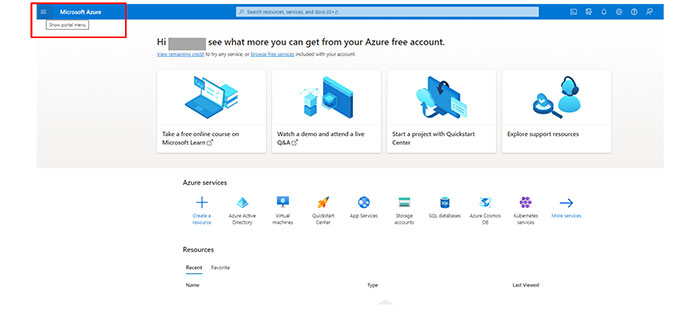
From the Azure portal, navigate to the Azure Active Directory.
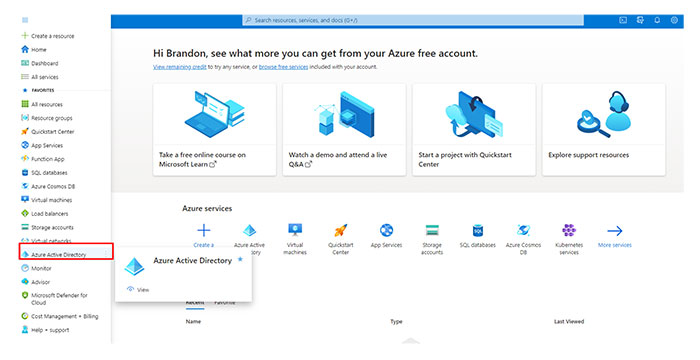
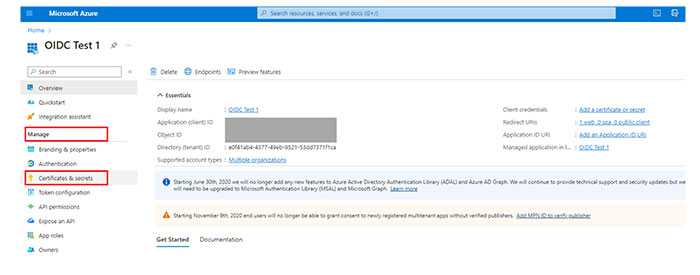
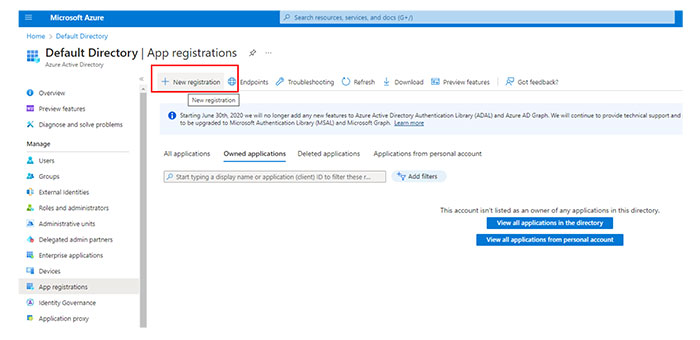
In the Manage section, select App registrations.
Click New registration.

Provide a name for the application.
Select the supported account types for the application registration.
Microsoft only – Single tenant—All user and guest accounts within your directory can use the application or API. Select this option if your target audience is internal to your organization.
Any Azure AD directory – Multitenant—Users with work or school accounts from Microsoft, including Office 365 users, can use the application or API. Select this option for business or educational customers and to enable multitenancy.
Any Azure AD directory – Multitenant and personal Microsoft accounts—Users with work or school accounts, as well as personal Microsoft accounts, can access the application or API. These users include Office 365 users and individuals using services like Xbox and Skype. Select this option to target a wide range of Microsoft identities and enable multitenancy.
Personal Microsoft accounts only—Allows access only to personal Microsoft accounts used for services like Xbox and Skype. Select this option to target the broadest range of Microsoft identities.
In the Redirect URL menu, select Web.
Type the redirect URL or reply URL for your portal in the provided text box.
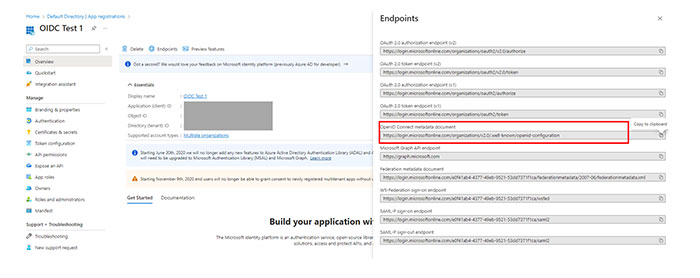
Note: The authorization server routes the user to the redirect URL after successfully authorizing and granting an authorization code or access token.The redirect URL must begin with the scheme https unless you use a localhost redirect URL.
The redirect URL is case-sensitive. Its case must match the URL path of your running application.
Make sure that the redirect URL includes or excludes the trailing forward slash according to your application.
The redirect URLs for U.S. and EU regions are as follows:
Select Register.