Selecting a client or group
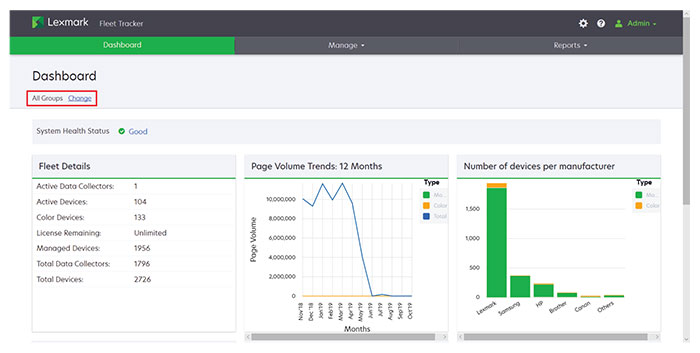
From the Fleet Tracker web portal, at the upper-left corner of the page, following All Groups, click Change.
Select a client or group.
Click Select.
Create groups and clients to simplify the monitoring of printer usage and the generation of reports.
From the Fleet Tracker web portal, at the upper-left corner of the page, following All Groups, click Change.
Select a client or group.
Click Select.
Groups can be used to organize printers, clients, and other groups.
From the Fleet Tracker web portal, click Manage > Groups and Clients.
Do either of the following:
To create a group, click Create Group.
To add a group to an existing group or client, select a group, and then click ![]() > Group > Continue.
> Group > Continue.
Enter the appropriate information.
Click Create Group.
Create printer groups and clients to simplify the monitoring of printer usage and the generation of reports. Clients are used to organize printers and groups for a single customer, and you cannot nest a client under a client.
From the Fleet Tracker web portal, click Manage > Groups and Clients.
Do either of the following:
To create a client, click Create Client.
To add a client to an existing group, select a group, and then click ![]() > Client > Continue.
> Client > Continue.
Enter the appropriate information.
Click Create Client.