From the Printers menu, click Discovery Profiles > Create.
From the General section, type a unique name and description for the discovery profile, and then configure the following:
Timeout—How long the system waits for a printer to respond
Retries—The number of times the system attempts to communicate with a printer.
Automatically manage discovered printers—Newly discovered printers are set to a Managed state automatically, and the New state is skipped during discovery.
From the Addresses section, do either of the following:
Add the addresses
Select Include or Exclude.
Type the IP address, host name, subnet, or IP address range.
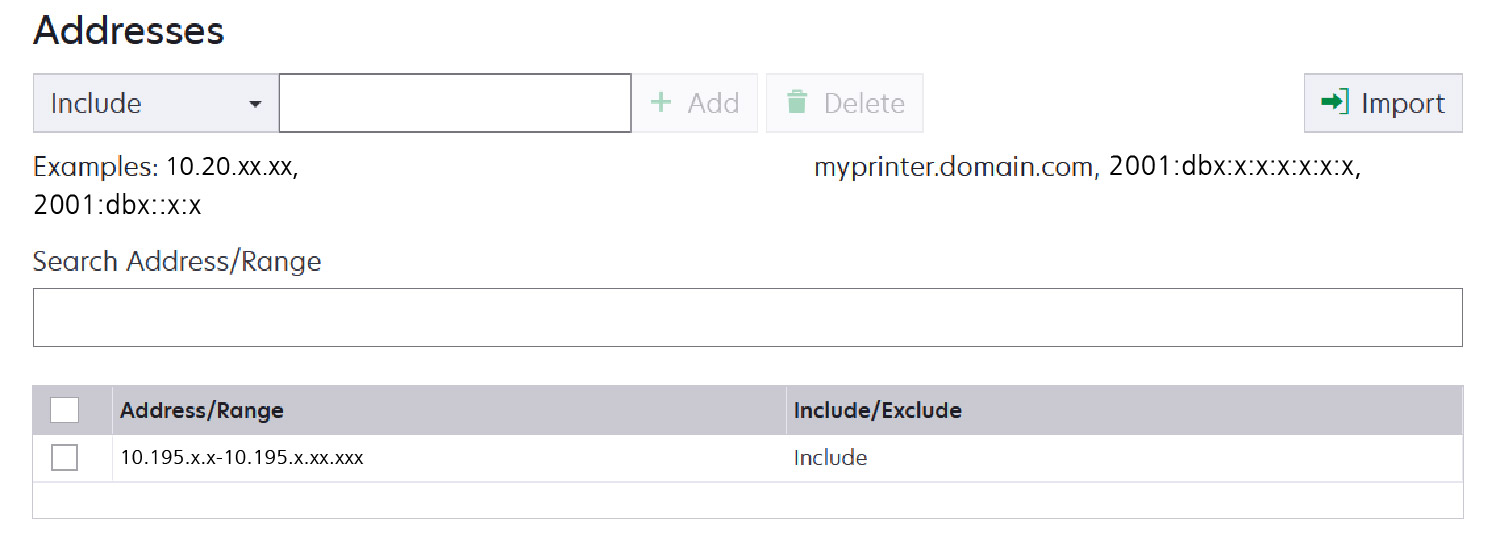
Add only one entry at a time. Use the following formats for the addresses:
(single IPv4 address)
(single host name)
(IPv4 address range)
(wildcards)
(IPv4 Classless Inter-Domain Routing or CIDR notation)
(full IPv6 address)
(collapsed IPv6 address)
Note: If separate discovery profiles are created for the IPv6 and the IPv4 address for the same printer, then the last discovered address is shown. For example, if a printer is discovered using IPv6, and is discovered again using IPv4, then only the IPv4 address is shown in the printer list.Click Add.
Import the addresses
Click Import.
Select whether to include or exclude IP addresses during the discovery.
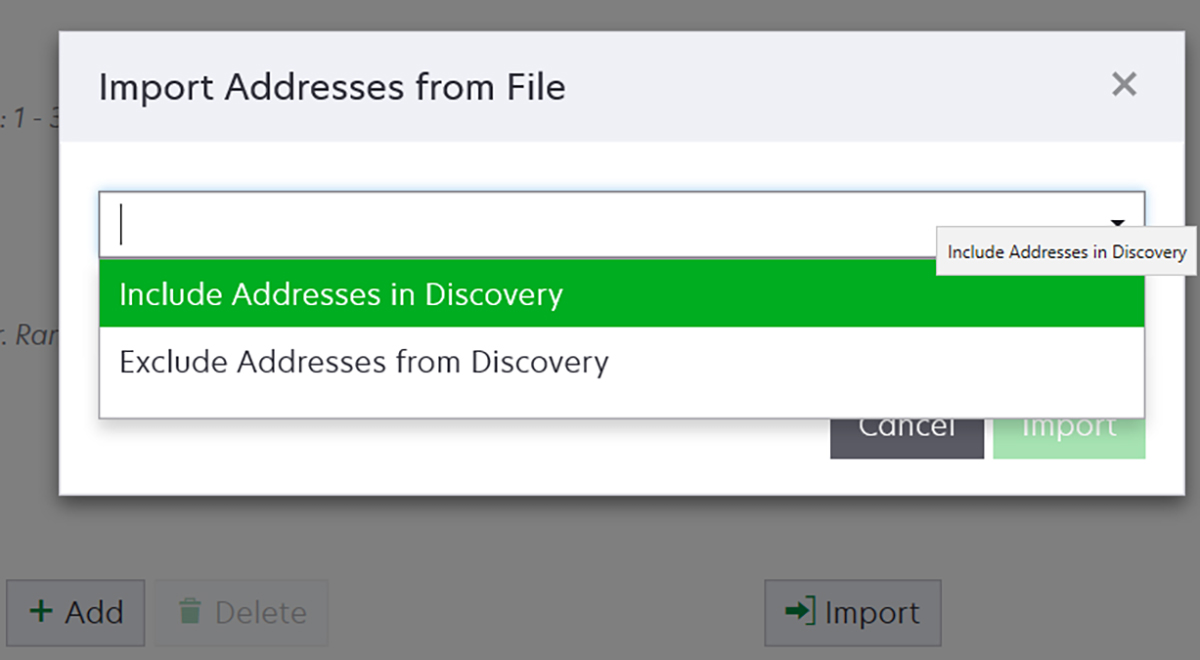
Browse to the text file that contains a list of addresses. Each address entry must be placed on a separate line.
Sample text file
10.195.10.1
myprinter.example.com
10.195.10.3-10.195.10.255
10.195.*.*
10.195.10.1/22
2001:db8:0:0:0:0:2:1
2001:db8::2:1
Click Import.
From the SNMP section, select Version 1, Version 2c or Version 3, and then set the access permissions.
Navigate to the discovery profile page, and rediscover the printer using the appropriate credentials. Enter any of the following information:
Read/write username
Read/write password
Note: If using read-only credentials, enter the details in the Read/Write Username and Read/Write Password fields.Authentication level
Authentication hash
Privacy algorithm
Privacy password
Note: To default to the read/write password, leave the privacy password field empty.Context name
If necessary, from the Enter Credentials section, select the authentication method that the printers are using, and then enter the credentials.
If necessary, from the Assign Configurations section, associate a configuration with a printer model. For information on creating a configuration, see Creating a configuration.
If necessary, from the Assign Keywords section, associate a keyword with a printer model during discovery. For information on assigning keywords to printers, see Assigning keywords to printers
Notes:
- All the printers discovered through this profile are assigned with the new keywords.
- The new keywords are added to the existing list of keywords that are already assigned to a printer.
Click Save Profile or Save and Run Profile.