Installing Publishing Authenticator
Obtain the Publishing Authenticator installer.
Run the LexmarkPublishingAuthenticator.exe file as an administrator.
Read and accept the End-User License Agreement (EULA), and then click Install.
Click Next.
Provide the fully qualified domain name (FQDN) or IP address of the SQL database server.
Note: If the database is running on a non-default instance name and non-default port, then provide the instance name.Provide the database server login ID and password.
Select a database.
In the Lexmark Publishing Auth Provider Configuration page, type the client ID and authority URL in the respective fields.
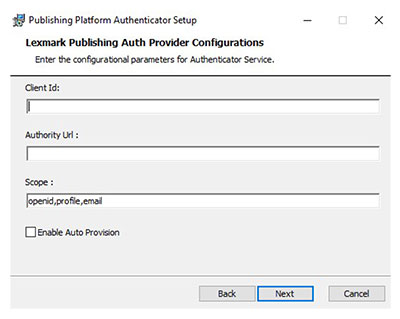
Notes:
- Client Id and Authority Url are required fields.
- If you want to change the default scope value, then type it in the Scope field in comma-separated values.
- If necessary, select the Enable Auto Provision check box.
- For more details, refer to the PPR SSO Integration with Azure AD document.
Browse to a folder where you want to save the Publishing Authenticator files.
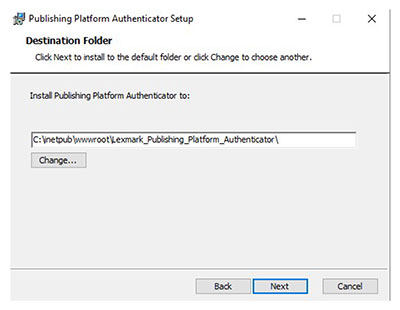 Note: We recommend keeping the default directory.
Install Publishing Authenticator.
FAQ
How to change the database connection strings after installation?
The Database connection strings are stored in the encrypted form in the appsetting.json file, located at C:\inetpub\wwwroot\Lexmark_Publishing_Platform_Authenticator inside the ConnectionStrings:DataConnection key. Refer to the following steps to encrypt a connection string:
Go to C:\inetpub\wwwroot\Lexmark_Publishing_Platform_Authenticator\ProtectConfigData.
Open the command prompt.
Type .
Run the ProtectConfigData.exe file.
Replace the existing encrypted connection string inside the appsetting.json file with the newly encrypted connection string from the command prompt.