Deployment readiness checklist
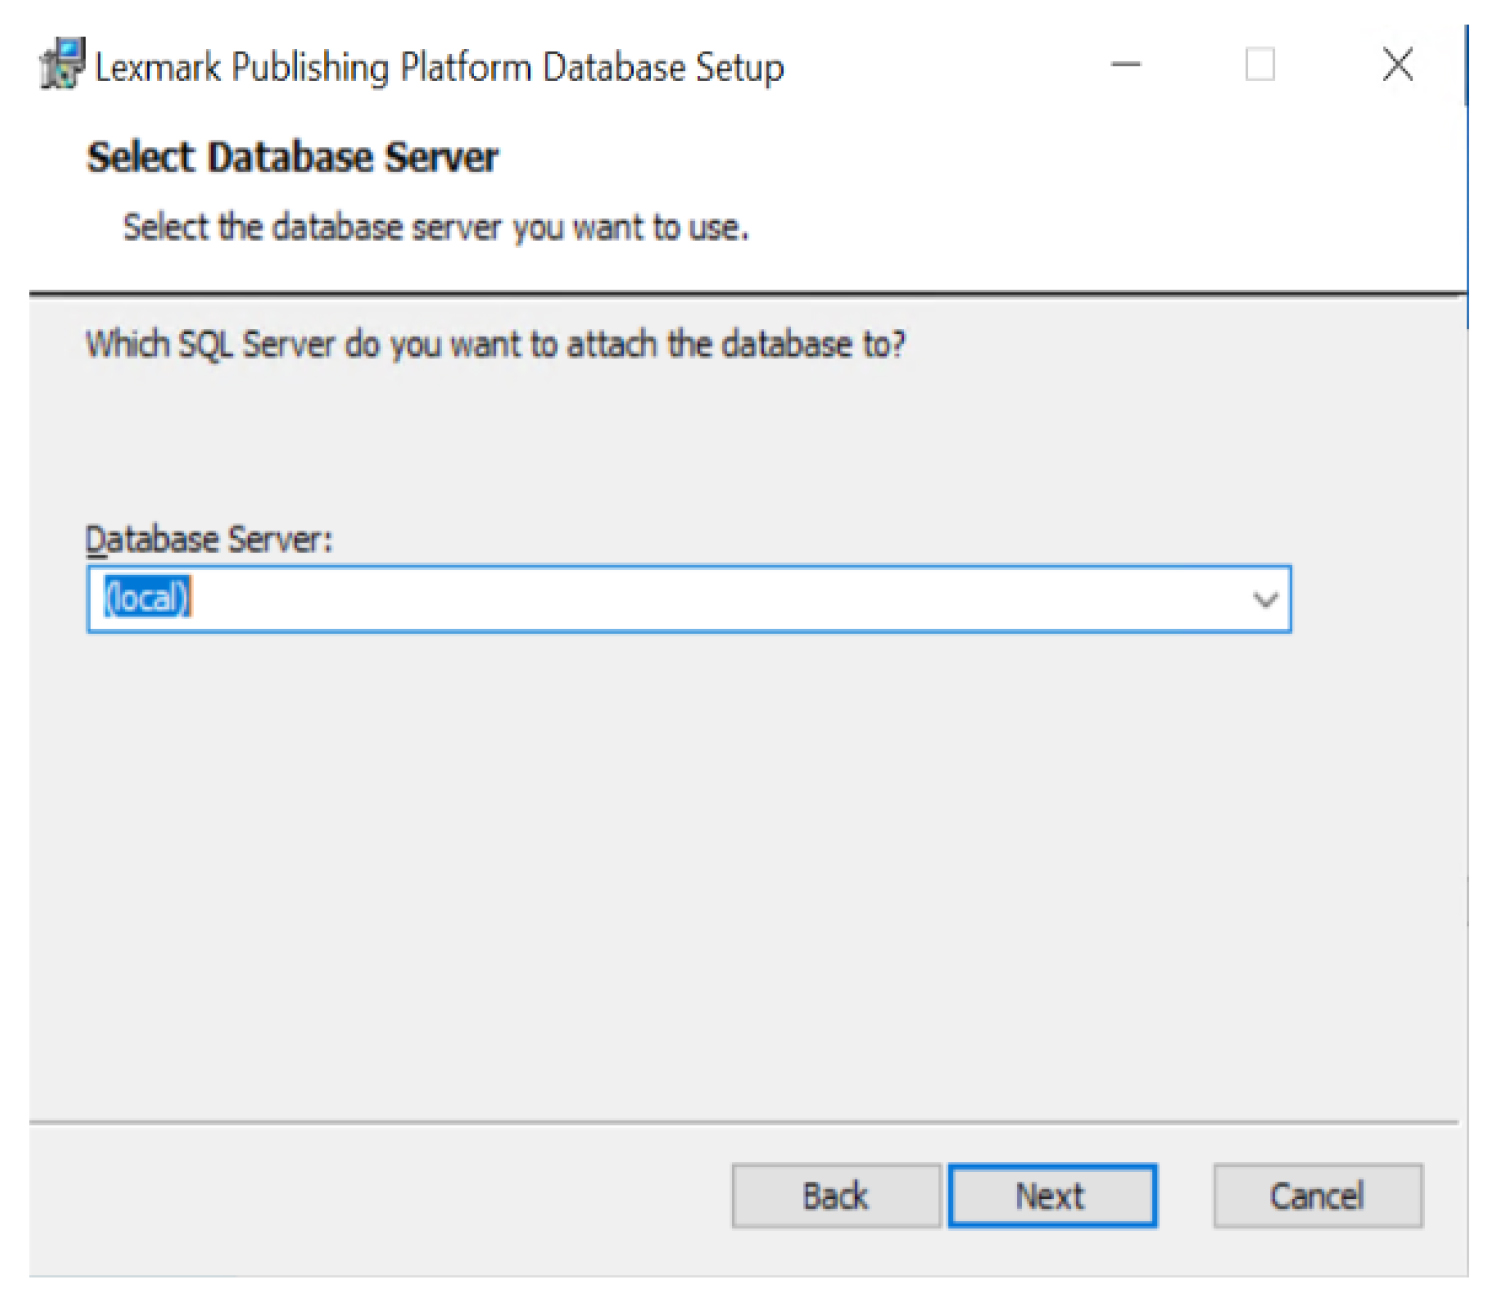
You can install the PPR database on a supported Microsoft SQL Server that runs on any of the following operating systems:
Windows Server 2022
Windows Server 2019
Windows Server 2016
Windows Server 2012
Before you begin, make sure that the following applications are installed on the server:
Microsoft SQL Server 2012 or later
Microsoft ODBC Driver 17 for SQL Server
Microsoft Visual C++ 2017 Redistributable
Upgrading the database
If you want to upgrade the database instead of installing the later version, see the following section.
Note: For example, to upgrade to PPR Database 10.5, make sure that the existing database version is 10.4. If the database version is earlier than 10.4, then upgrade it manually by running the SQL files in the Upgrade Script folder in the following order:
10.1_10.2
10.2_10.3
10.3_10.4
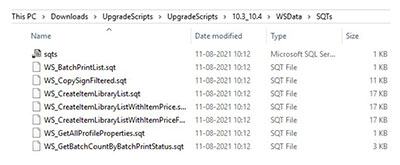
From the database installer package, extract the UpgradeScripts.zip file.
From the UpgradeScripts/10.4_10.5/WSData/SQTs folder, validate each SQT file.
If any customization is required, then update the SQT files manually.
Merge the updated files with the existing SQT files.
From the UpgradeScripts/10.4_10.5 folder, do the following:
SQL Server 2016 or later (supports compatibility level 130 or above)
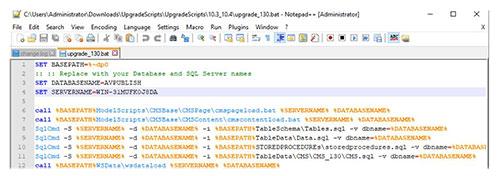
Open the upgrade_130.bat file.
If necessary, edit the database and server names.
Notes:
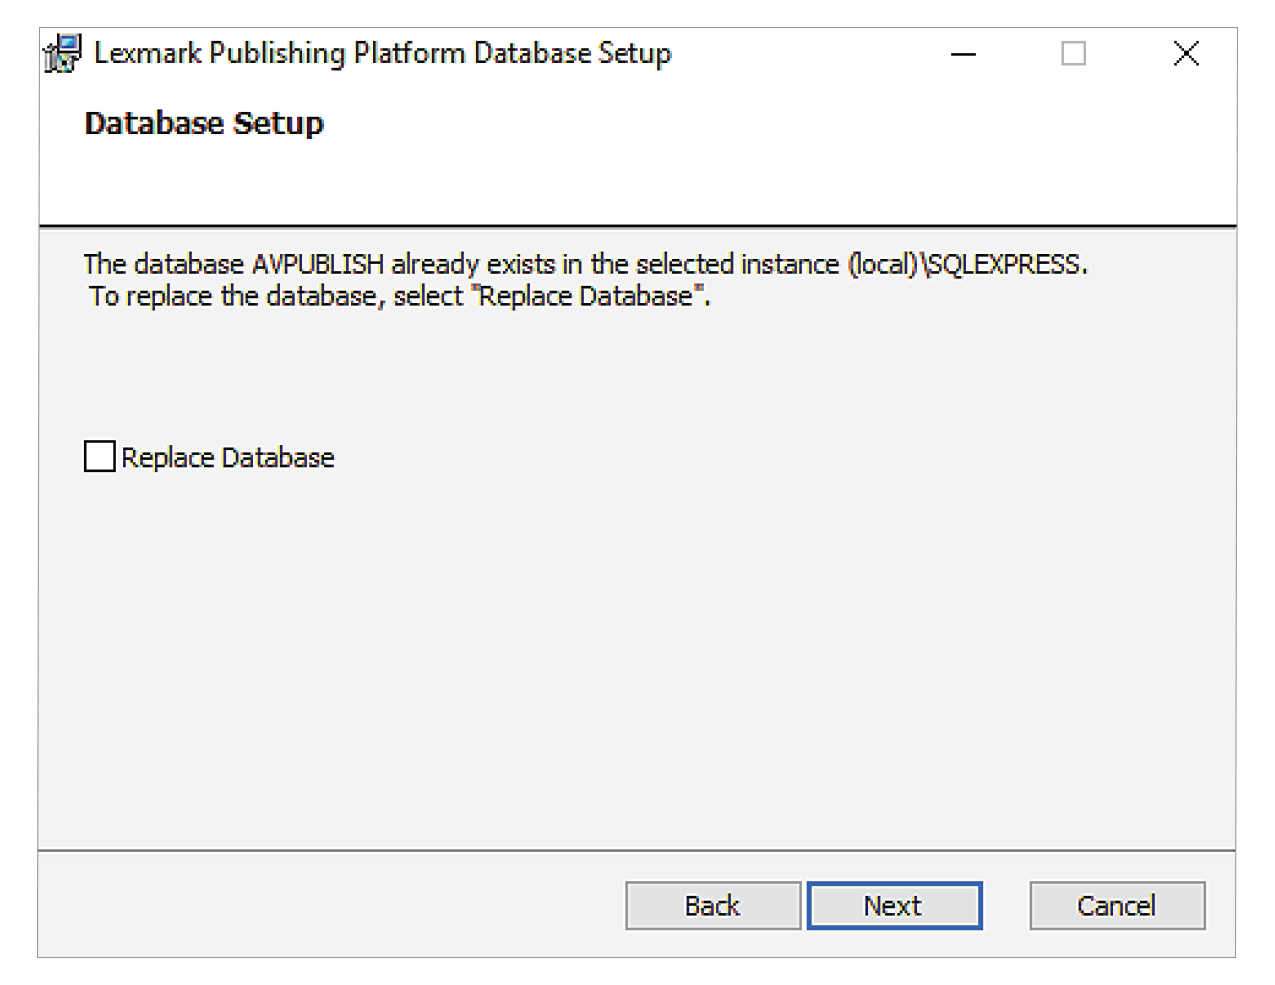
- The default database name is <AVPUBLISH>.
- The default server name is <.>.
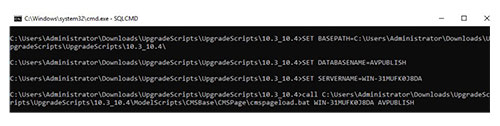
At the command prompt, navigate to the UpgradeScripts/10.4_10.5 folder.
Run the command upgrade_130.
SQL Server 2014 or earlier (does not support compatibility level 130 or above)
Open the upgrade_80.bat file.
If necessary, edit the Database and Server names.
Notes:
- Default Database name = <AVPUBLISH>
- Default Server name =<.>
At the command prompt, navigate to the UpgradeScripts/10.4_10.5 folder.
Run the upgrade_80 command.
Notes:
- For SQL Server 2014 or earlier, you must update the CMSContent and CMSPage tables manually.
- For more information, see the CMSUpgradeGuide.txt file in the UpgradeScripts\10.4_10.5 folder.
Verifying a successful upgrade
After you upgrade the database, the installed database version appears as the previous version only (version 10.4 in this scenario).
To confirm if you have successfully upgraded the database, do the following:
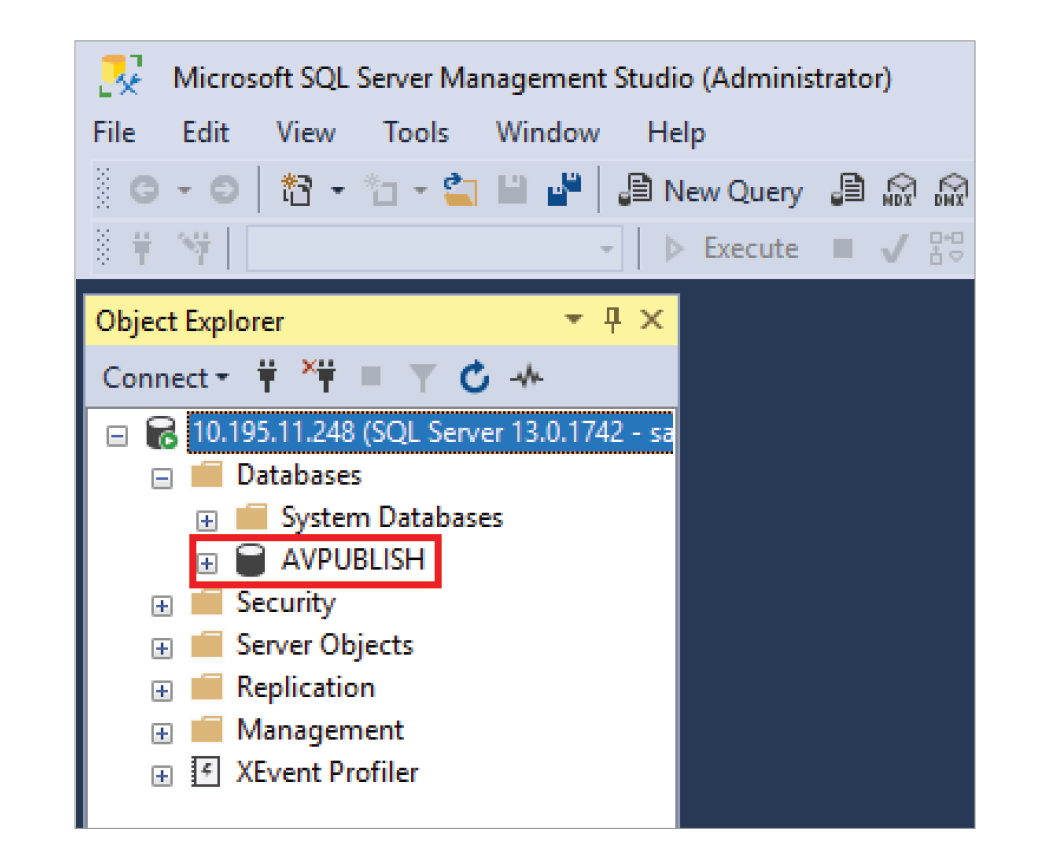
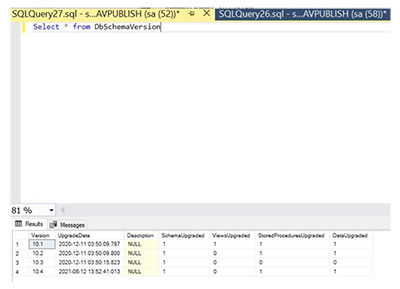
Go to Microsoft SQL Server Management Studio.
Run the query Select * From DbSchemaVersion.
If the upgrade is successful, then one row of the DbSchemaVersion table shows the following information:
Version=10.5
DataUpgraded=1