Database

This section shows how to install a PPR database.

Deployment readiness checklist

You can install the PPR database on a supported Microsoft SQL Server (2016–2022) that runs on any of the following operating systems:

Before you begin, make sure that the following applications are installed on the server:

Installing the database

  1. Obtain the Database installer.

  2. Run the DatabaseInstall.exe file as an administrator.

  3. Read and accept the End-User License Agreement (EULA), and then click Install.

  4. Provide the fully qualified domain name (FQDN) or IP address of the SQL database server.

    Note: If the database is running on a non-default instance name and non-default port, then provide the instance name.
    A screenshot showing the selected SQL server for the database
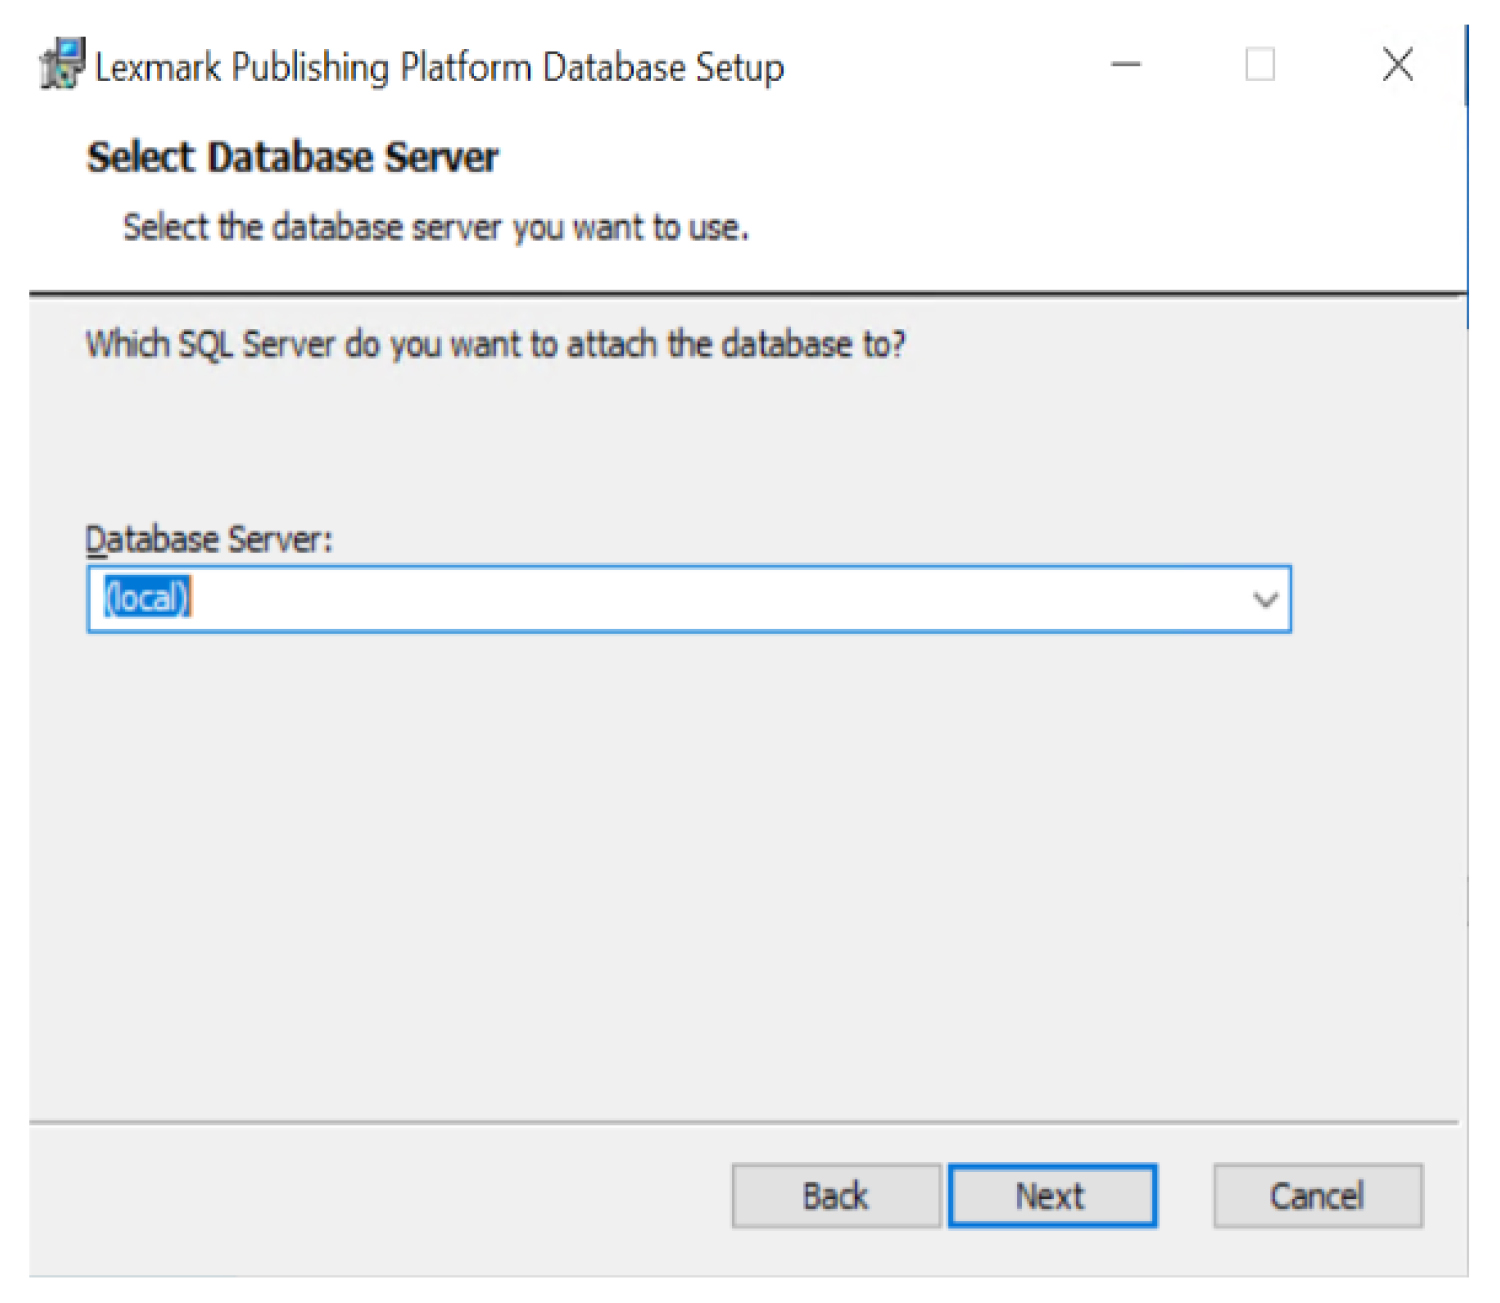
  5. Provide the database server login ID and password.

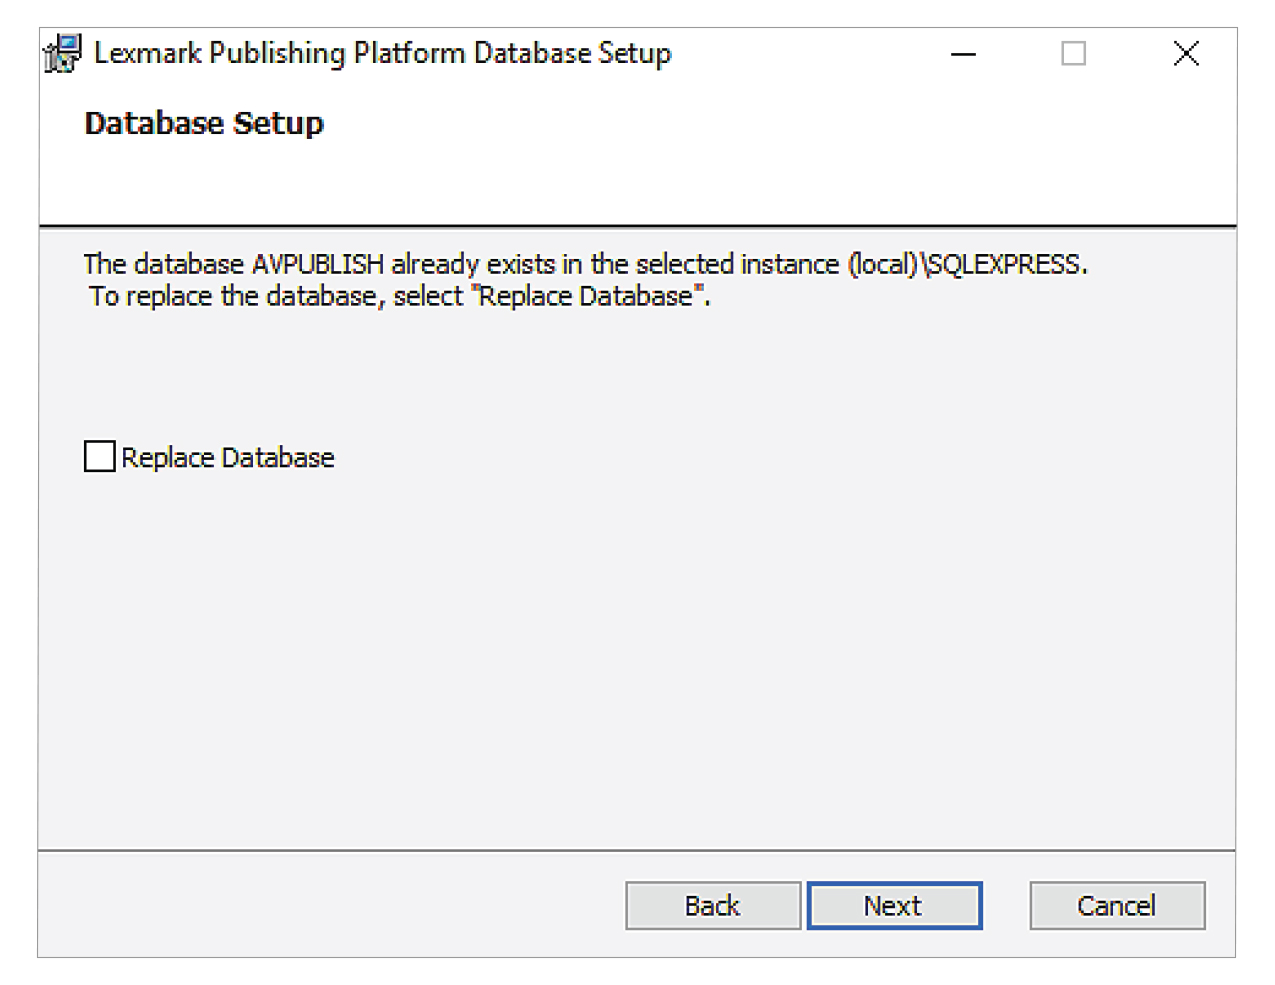
  6. If the installer detects a previously installed AVPUBLISH database, do either of the following:

    • To overwrite the database, select Replace Database check box, and then click Next.

    • To continue without replacing the database, Next.

      A screenshot showing the option to replace a previously installed database.
  7. Browse to the folder where you want to save the database files.

    Note: We recommend keeping the default directory.
    A screenshot showing how you can select the destination folder for database files.
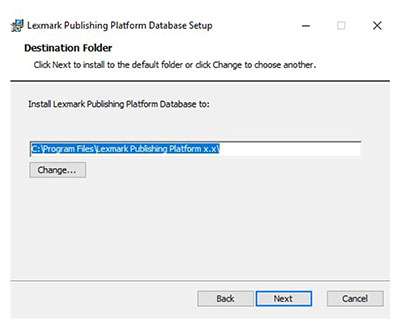
  8. Install the database.

    Notes:

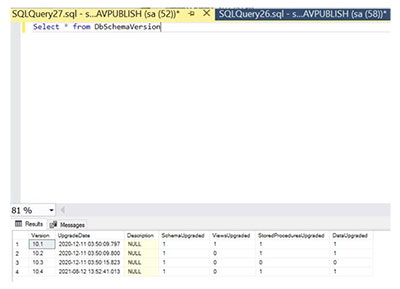
    • Make sure that the database is installed successfully.
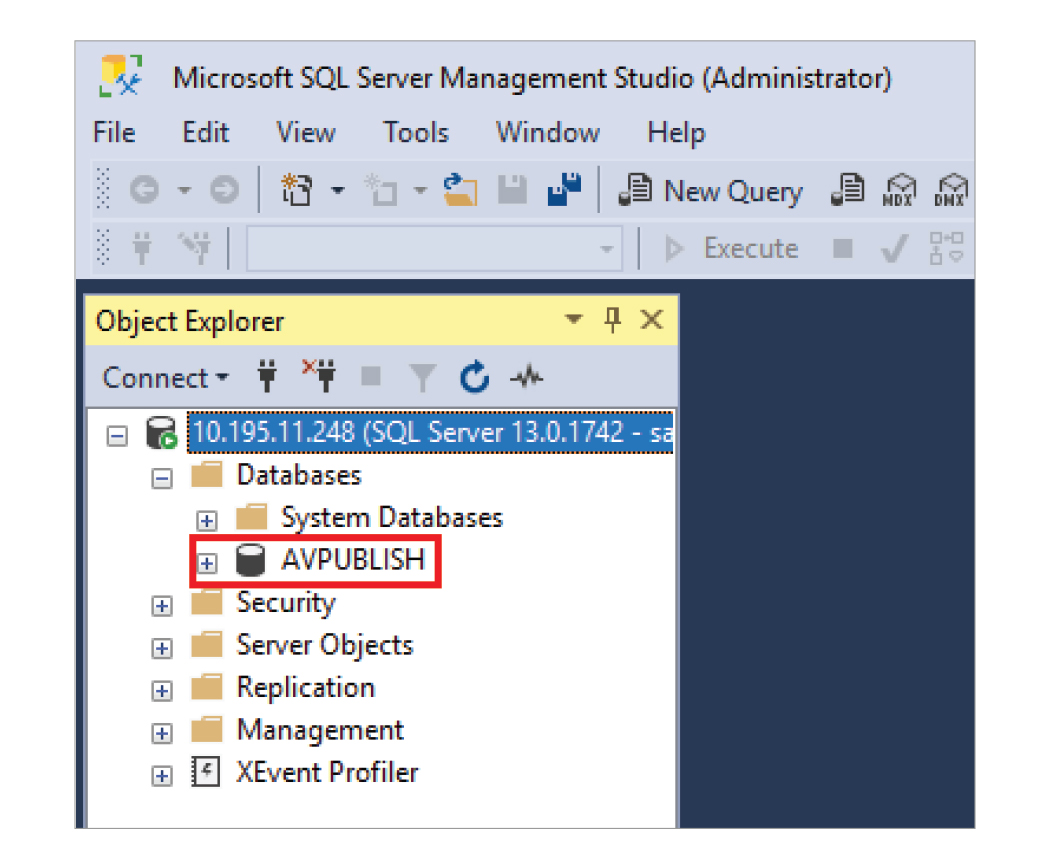
    • The AVPUBLISH database must be available when you view it from the SQL Server Management Studio.
    A screenshot showing that the database is installed successfully.

Upgrading the database

To upgrade to PPR Database 10.5, make sure that the existing database version is 10.4. If the database version is earlier than 10.4, upgrade it manually by running the SQL files in the Upgrade Script folder. Use the following sequence:

  1. From the database installer package, extract the UpgradeScripts.zip file.

  2. From the UpgradeScripts/10.4_10.5/WSData/SQTs folder, validate each SQT file.

    A screenshot showing SQT files.
  3. If any customization is required, then update the SQT files manually.

  4. Merge the updated files with the existing SQT files.

  5. From the UpgradeScripts/10.4_10.5 folder, do the following:

    1. Open the upgrade_130.bat file.

      A screenshot showing the open upgrade_130.bat file.
    2. If necessary, edit the database and server names.

      A screenshot showing how you can edit the database and server names.

      Notes:

      • The default database name is <AVPUBLISH>.
      • The default server name is <.>.
    3. At the command prompt, navigate to the UpgradeScripts/10.4_10.5 folder.

    4. Run the command upgrade_130.

    Note: For more information, see the CMSUpgradeGuide.txt file in the UpgradeScripts\10.4_10.5 folder.

Repeat step 5 for each subsequent upgrade using the corresponding script folders:

Verifying a successful upgrade

After you upgrade the database, the installed database version appears as the previous version only (version 10.4 in this scenario).

To confirm if you have successfully upgraded the database, do the following:

A screenshot showing how you can validate a database upgrade through Microsoft SQL Server Management Studio.
  1. Go to Microsoft SQL Server Management Studio.

  2. Run the query Select * From DbSchemaVersion.

If the upgrade is successful, then one row of the DbSchemaVersion table shows the following information: