Digital Media Export

Digital Media Export is a component that helps you generate signages in a digital-media-supported format. The component then publishes the signages to any digital screen or social media platform. You can use Digital Media Export with any connector specific to a media platform such as digital displays, electronic shelf labels (ESLs), or social media sites.

Deployment readiness checklist

You can install Digital Media Export on a supported Microsoft SQL Server (2016–2022) that runs on any of the following operating systems:

Before you begin, make sure that the following applications are installed on the server:

A screenshot showing the options you need to install in the server before you can deploy Digital Media Export.

Installing Digital Media Export

  1. Obtain the Digital Media Export installer.

  2. Run the DigitalMediaExportInstaller.exe file as an administrator.

  3. Read and accept the End-User License Agreement (EULA), and then click Install.

  4. Click Next when the Lexmark Digital Media Export setup window appears.

  5. Provide the fully qualified domain name (FQDN) or IP address of the SQL database server.

    Note: If the database is running on a non-default instance name and non-default port, then provide the instance name.
  6. Type the database server login ID and password.

  7. Select a database.

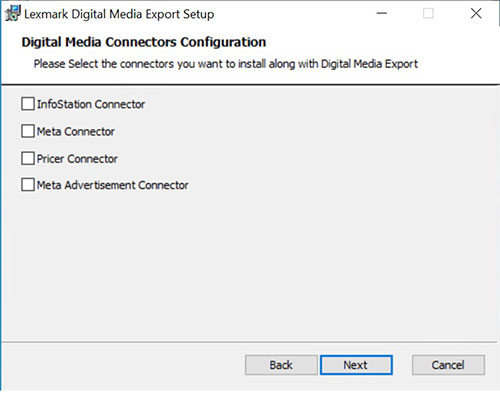
  8. Select the connectors that you want to install along with the Digital Media Export installer.

    A screenshot showing the connectors that you can install along with the Digital Media Export installer.
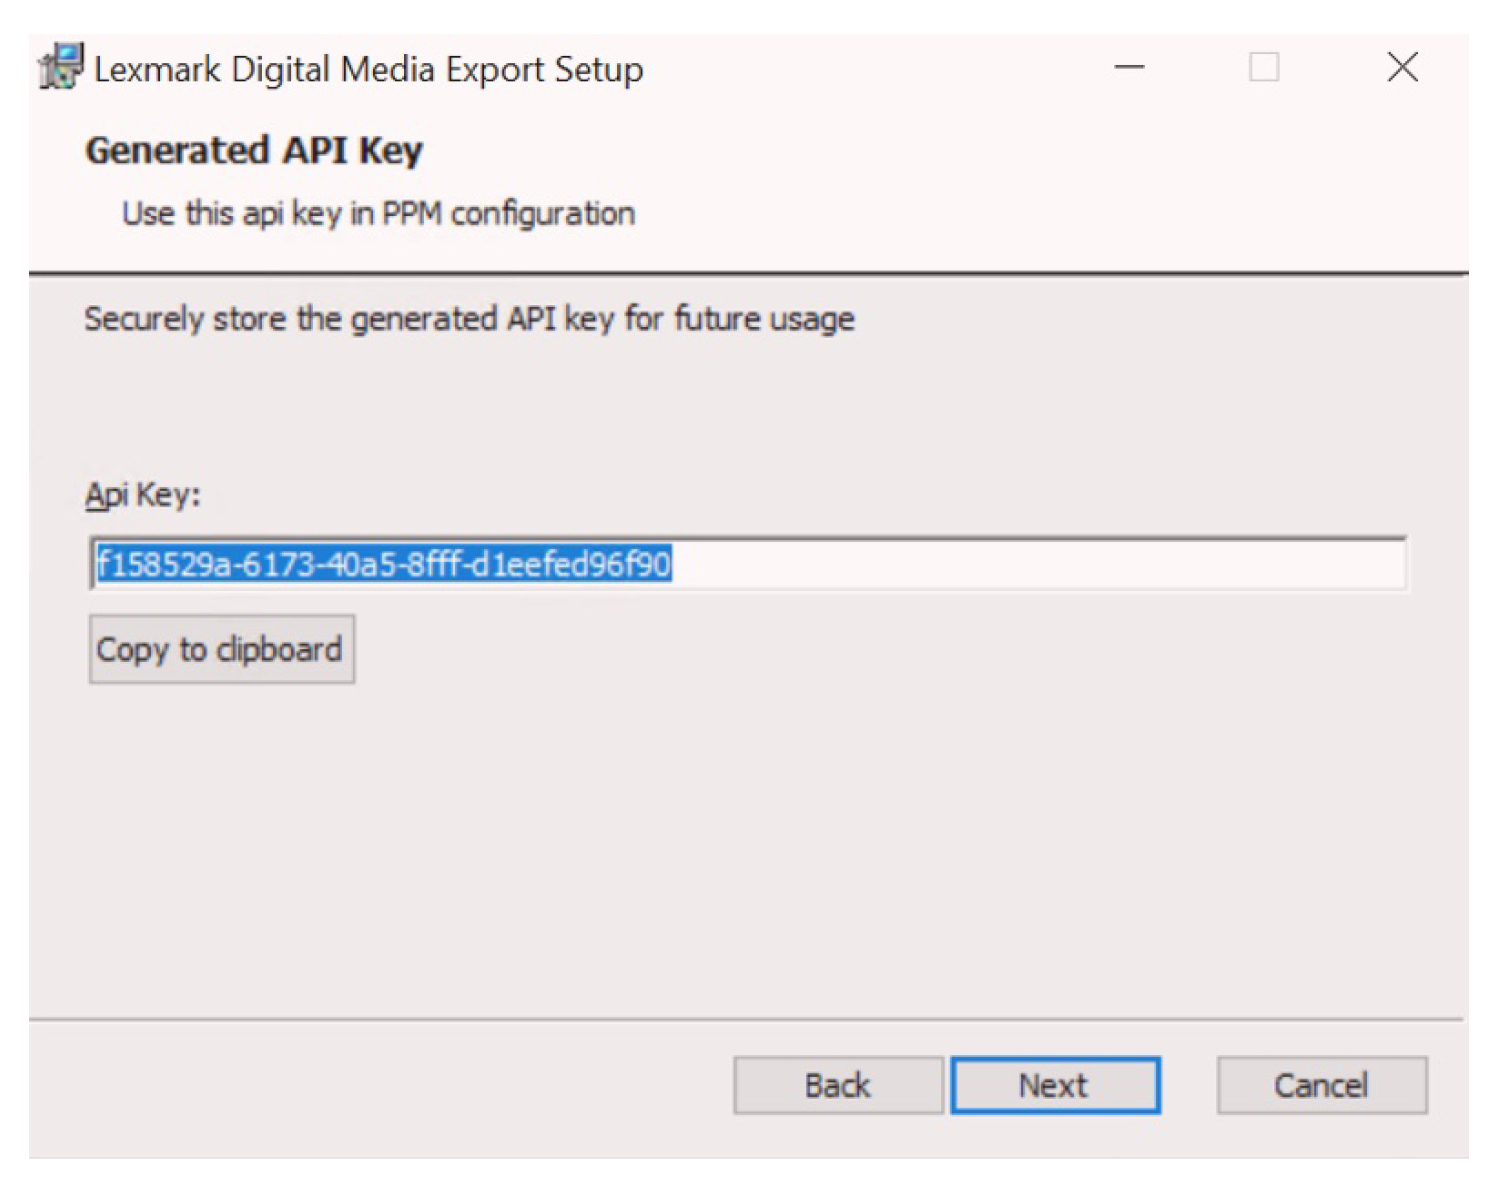
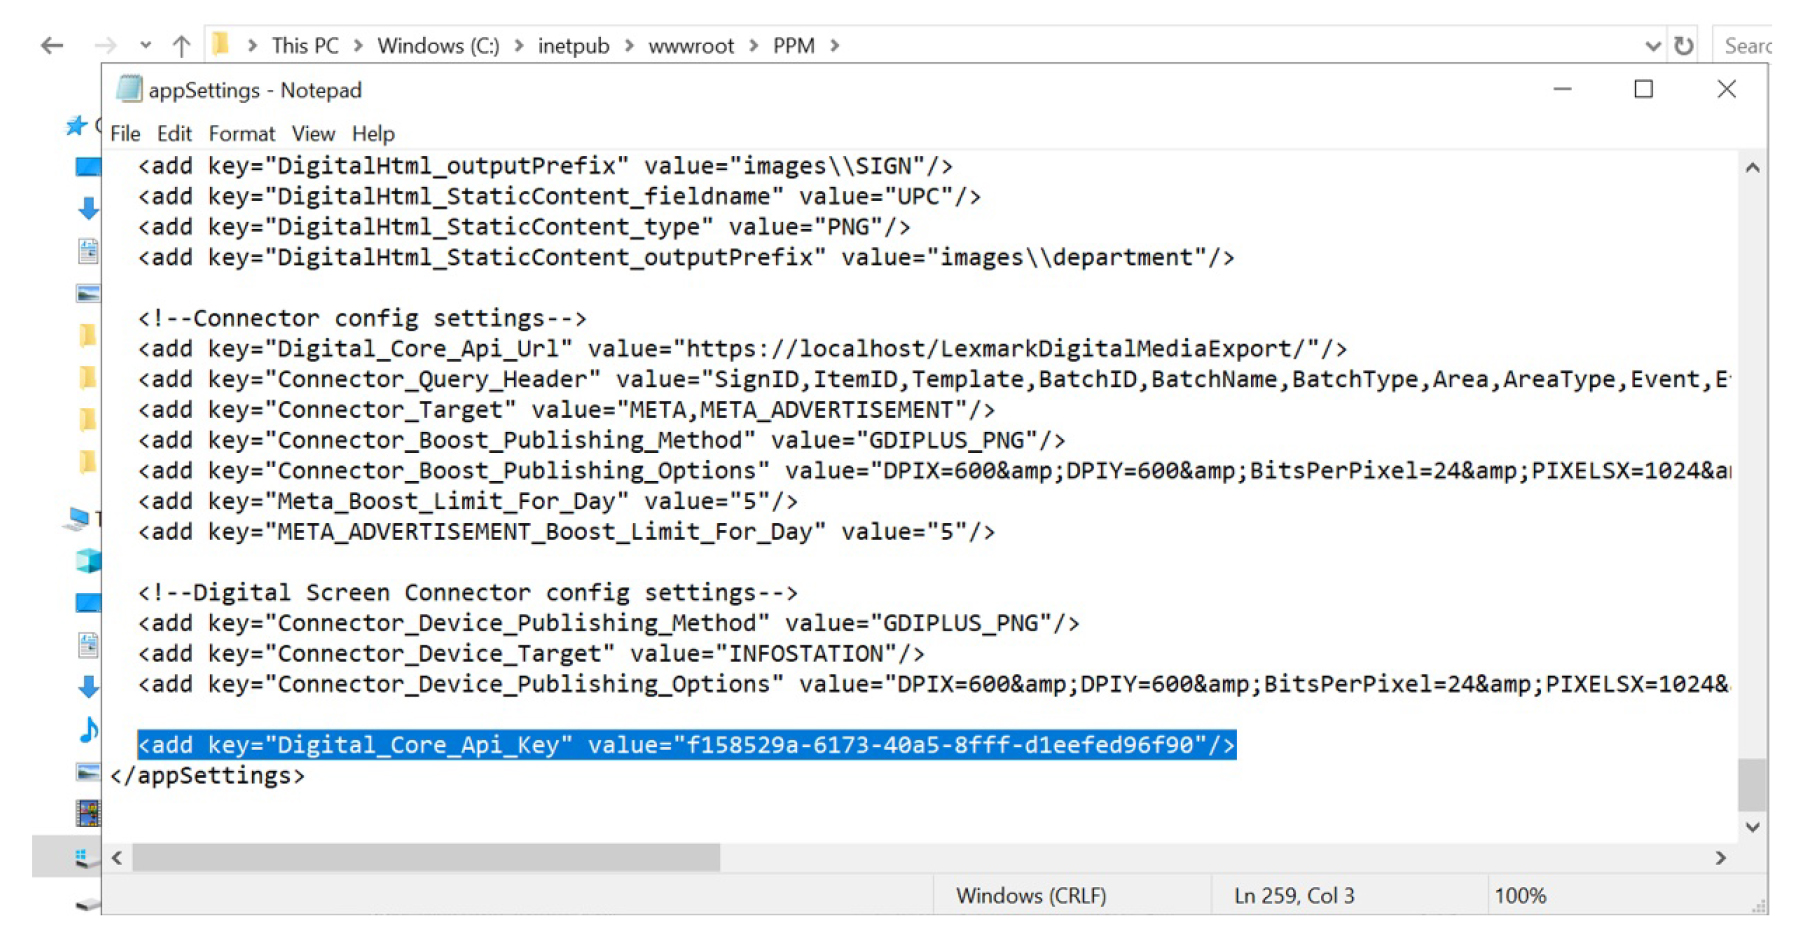
  9. Copy the newly generated API key by clicking the Copy to clipboard button.

    A screenshot showing how you can select the folder where you can store the Digital Media Export files.
  10. Add this API key to both the PPM configuration and the App.Config file in the Publishing Services configuration document.

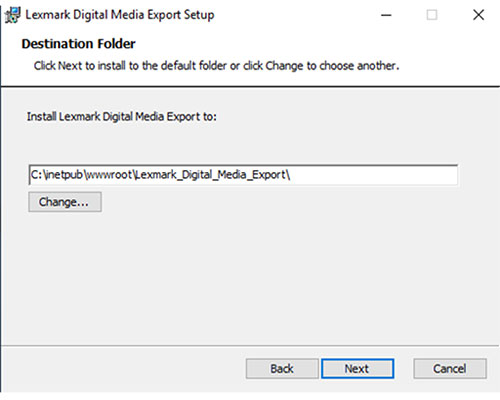
  11. Browse to a folder where you want to save the Digital Media Export files.

    A screenshot showing how you can select the folder where you can store the Digital Media Export files.
    Note: We recommend keeping the default directory.
  12. Click Next, and then click Install.

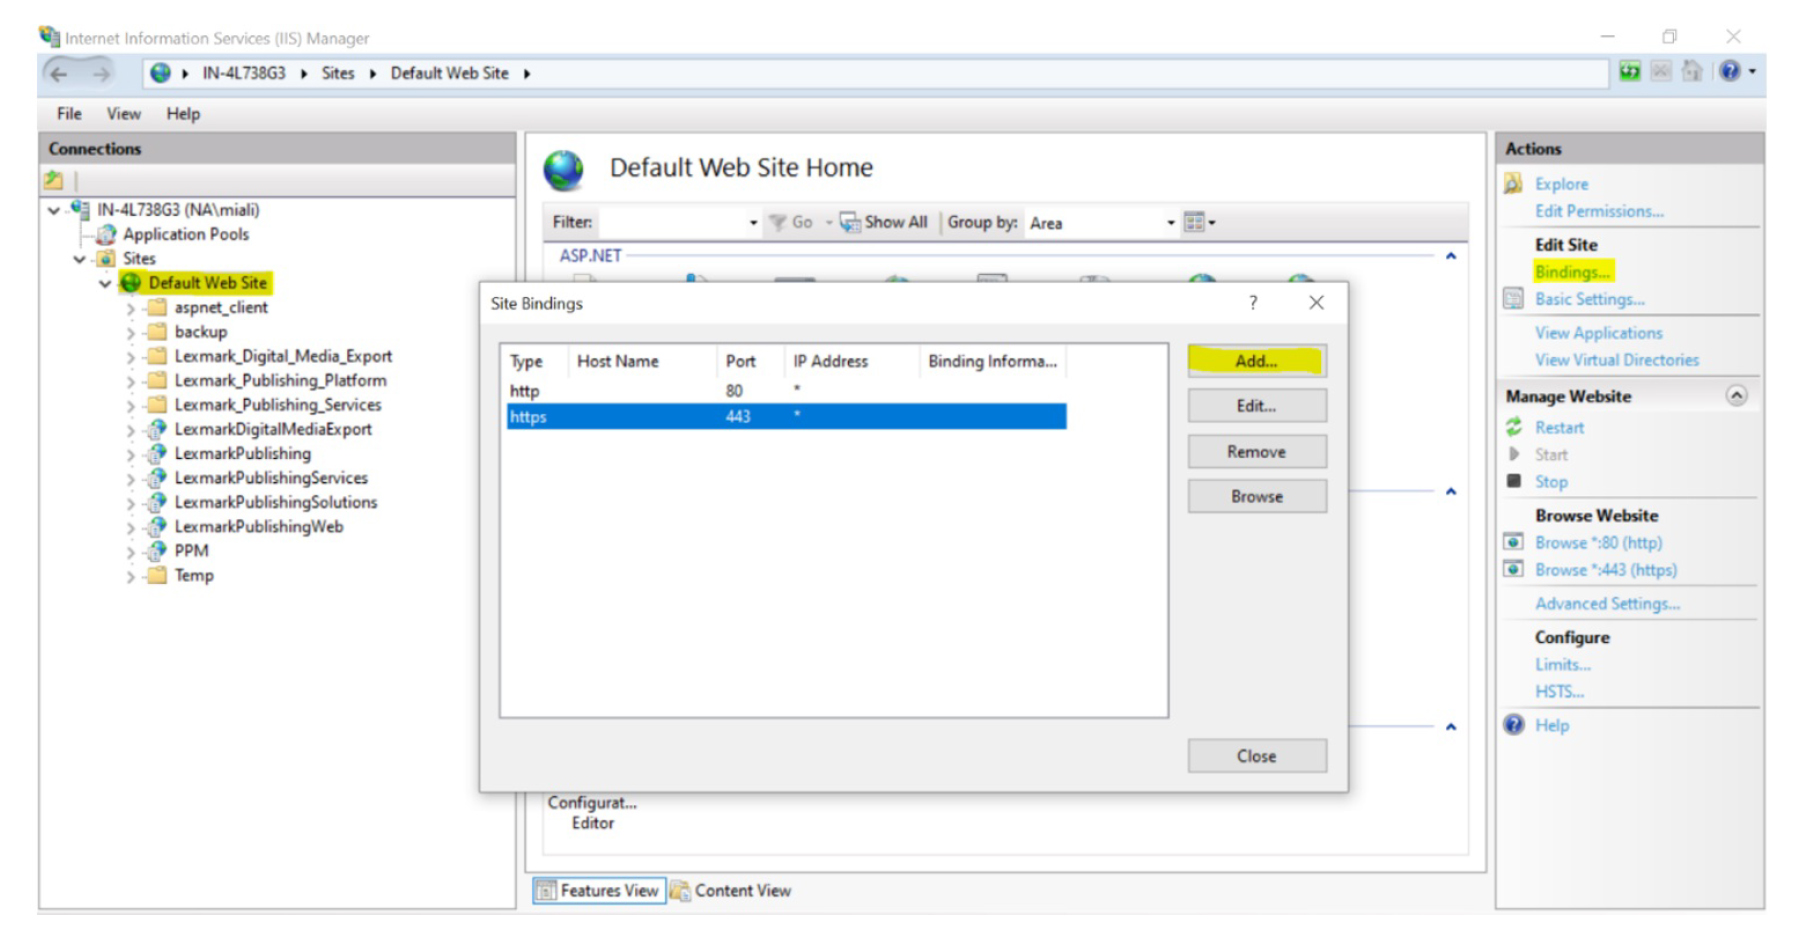
  13. Go to the IIS Manager, select default web site, and the click bindings.

  14. Once the site binding appears, add an https port using a valid SSL Certificate.

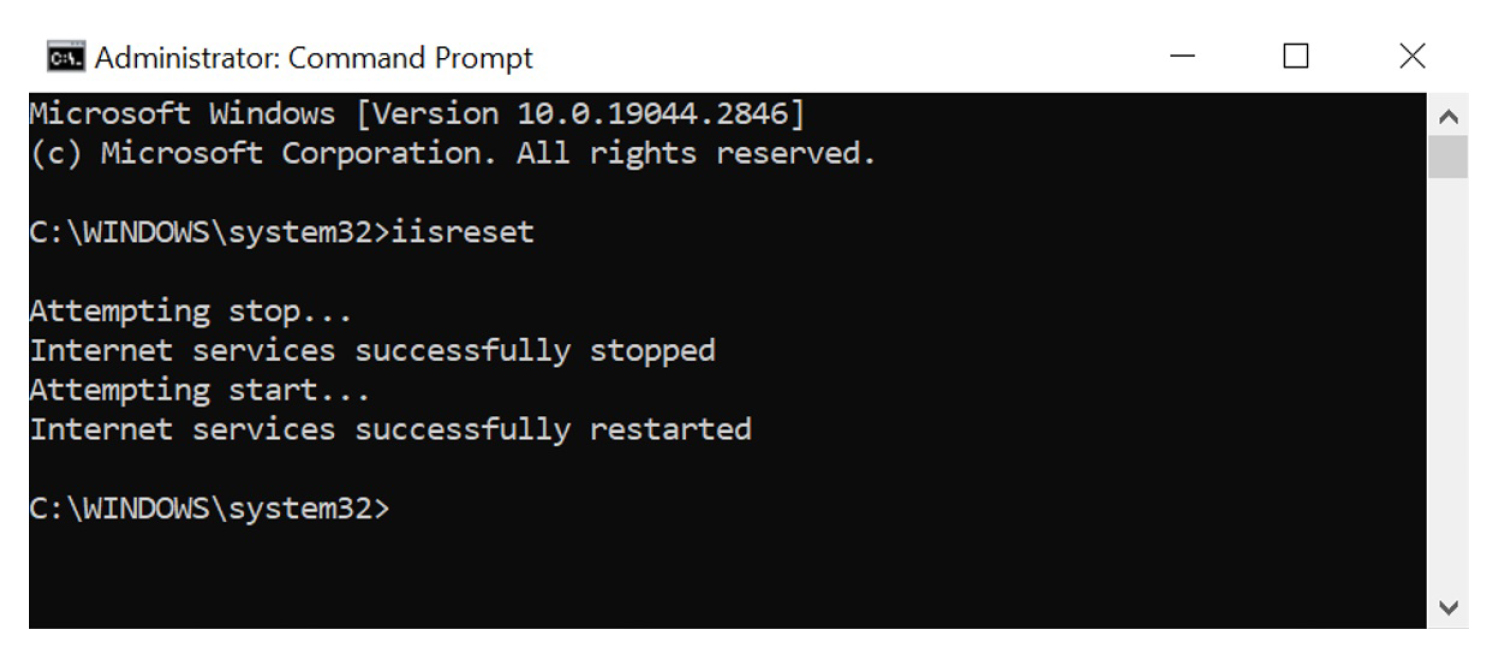
  15. Once the port is added successfully, do an IISRESET using the command prompt.