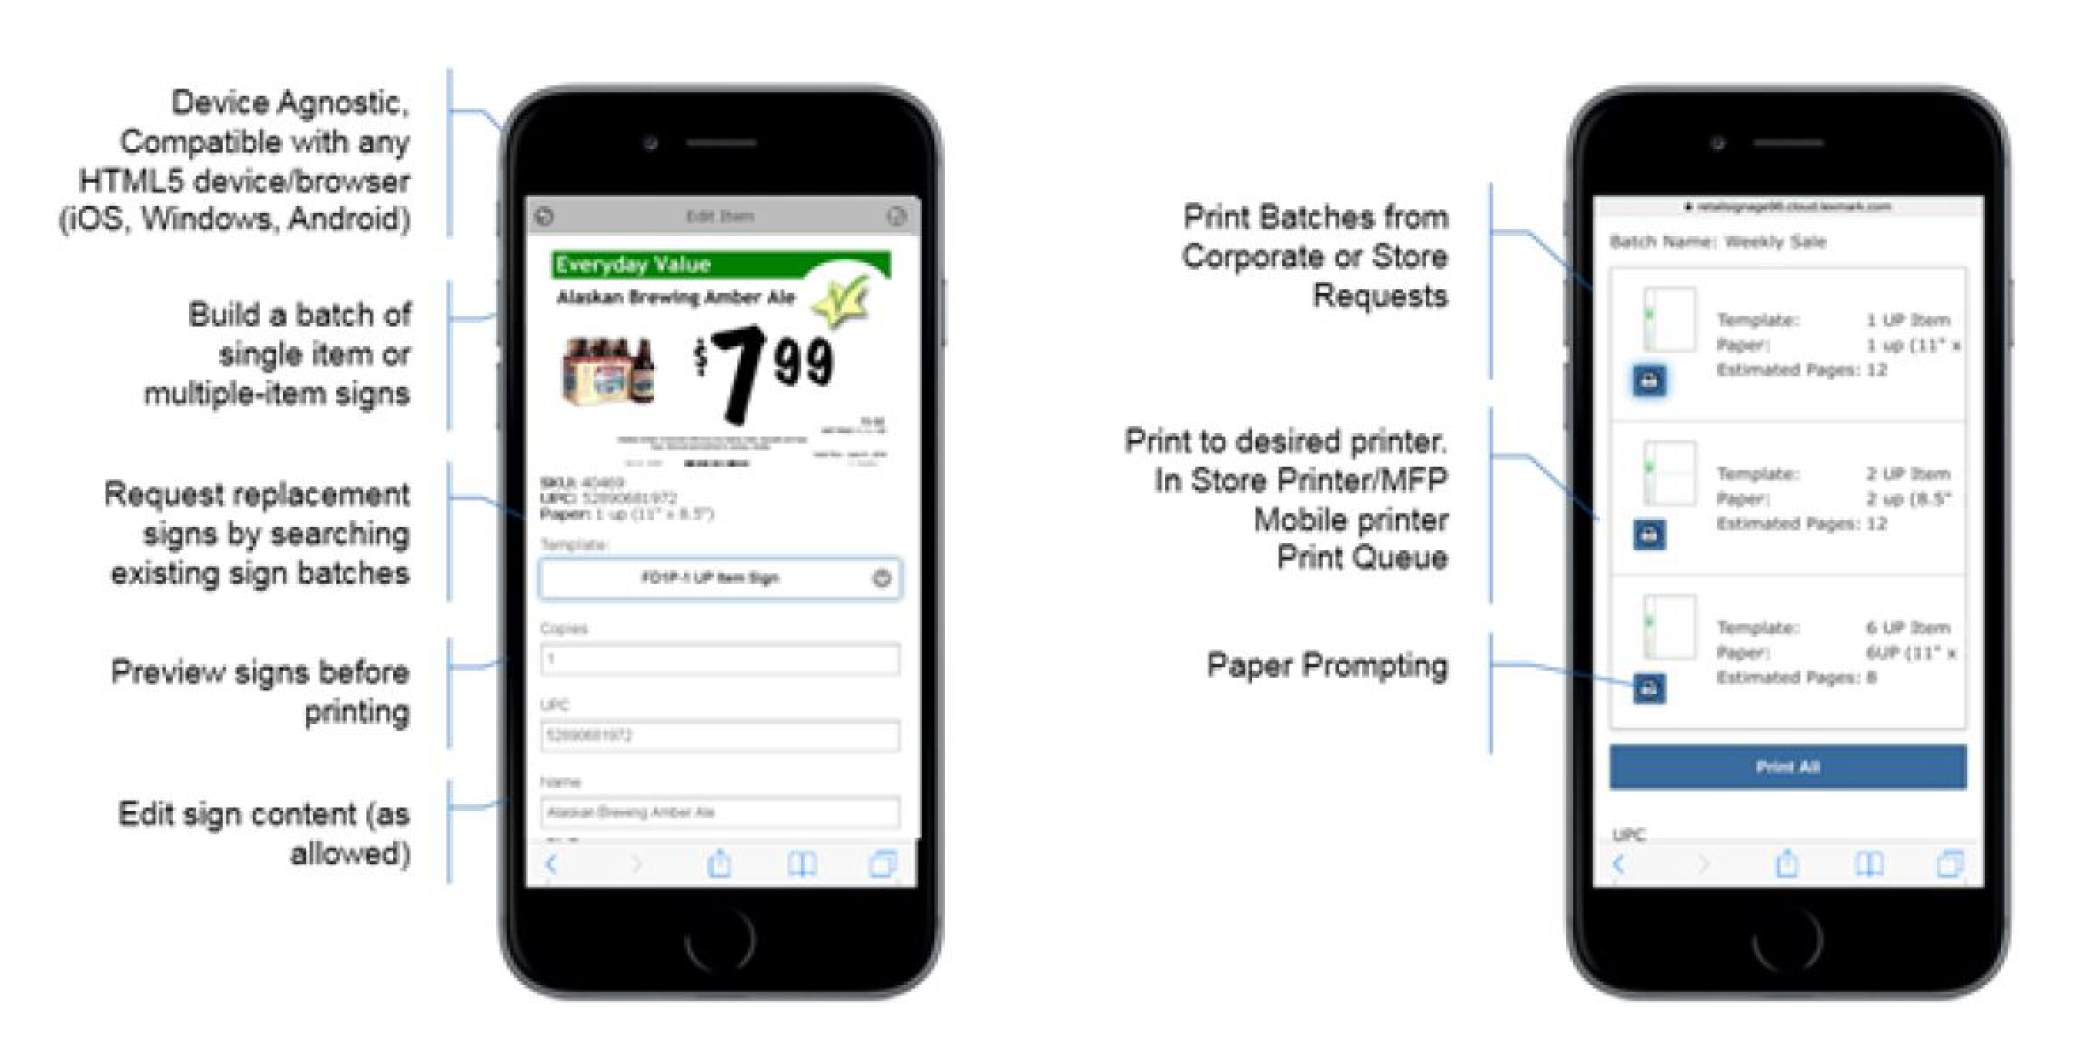
With the In-Aisle Publisher application, you can manage, preview, print, and publish signs and batches from anywhere in the store. You can also audit signs to verify their accuracy.
In-Aisle Publisher runs on most mobile browsers and on devices running on the Android, Windows, or iOS operating system.
Deployment readiness checklist
You can install In-Aisle Publisher on any of the following operating systems:
Windows Server 2022
Windows Server 2019
Windows Server 2016
Windows Server 2012
Make sure that Microsoft .NET Framework 4.8 is installed on the server.
Make sure that any of the following browsers is installed:
Google ChromeTM (latest)
Microsoft Edge (latest)
Mozilla Firefox (latest)
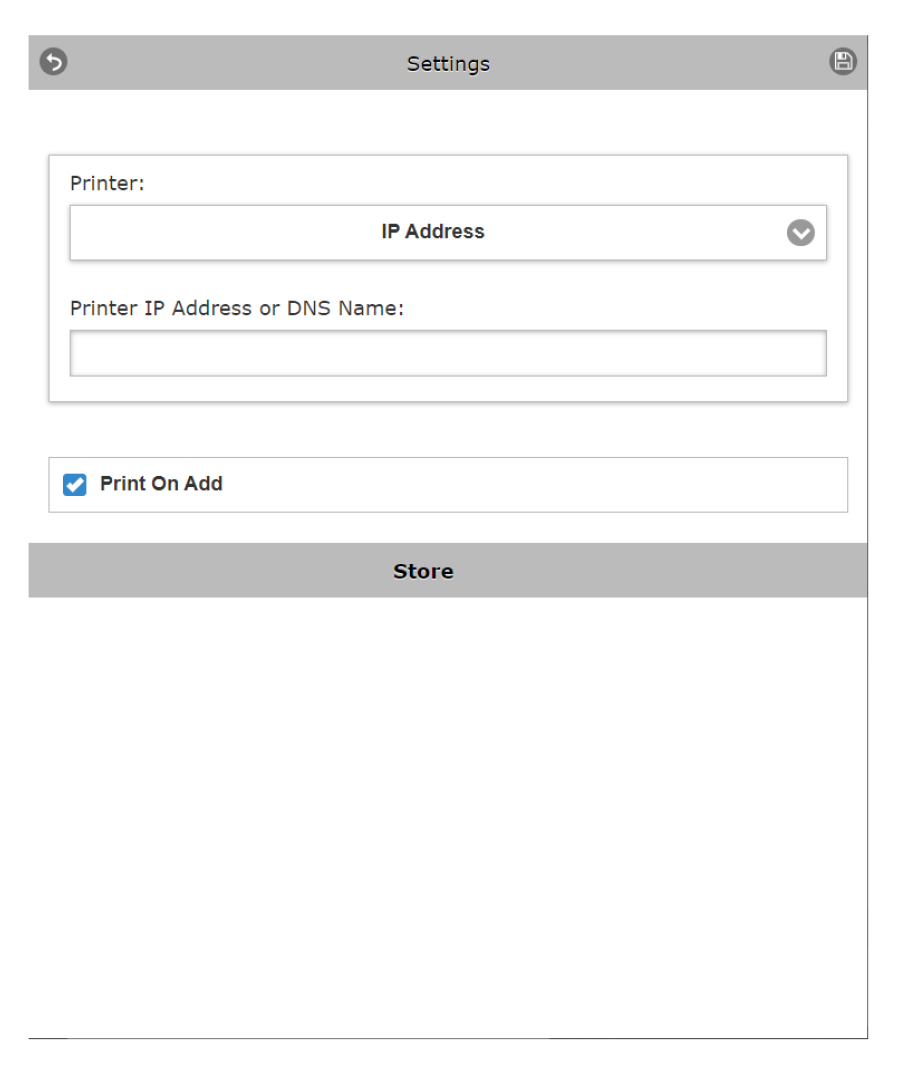
Configuring the printer settings
From the home page, tap Build Batch, and then tap Single-Item Sign or Multi-Item Sign.
Click the Tap Options button  .
.
Select the printer.
Select the Print On Add option to print the sign automatically when you add signs to the batch.
Click the Save button .
.
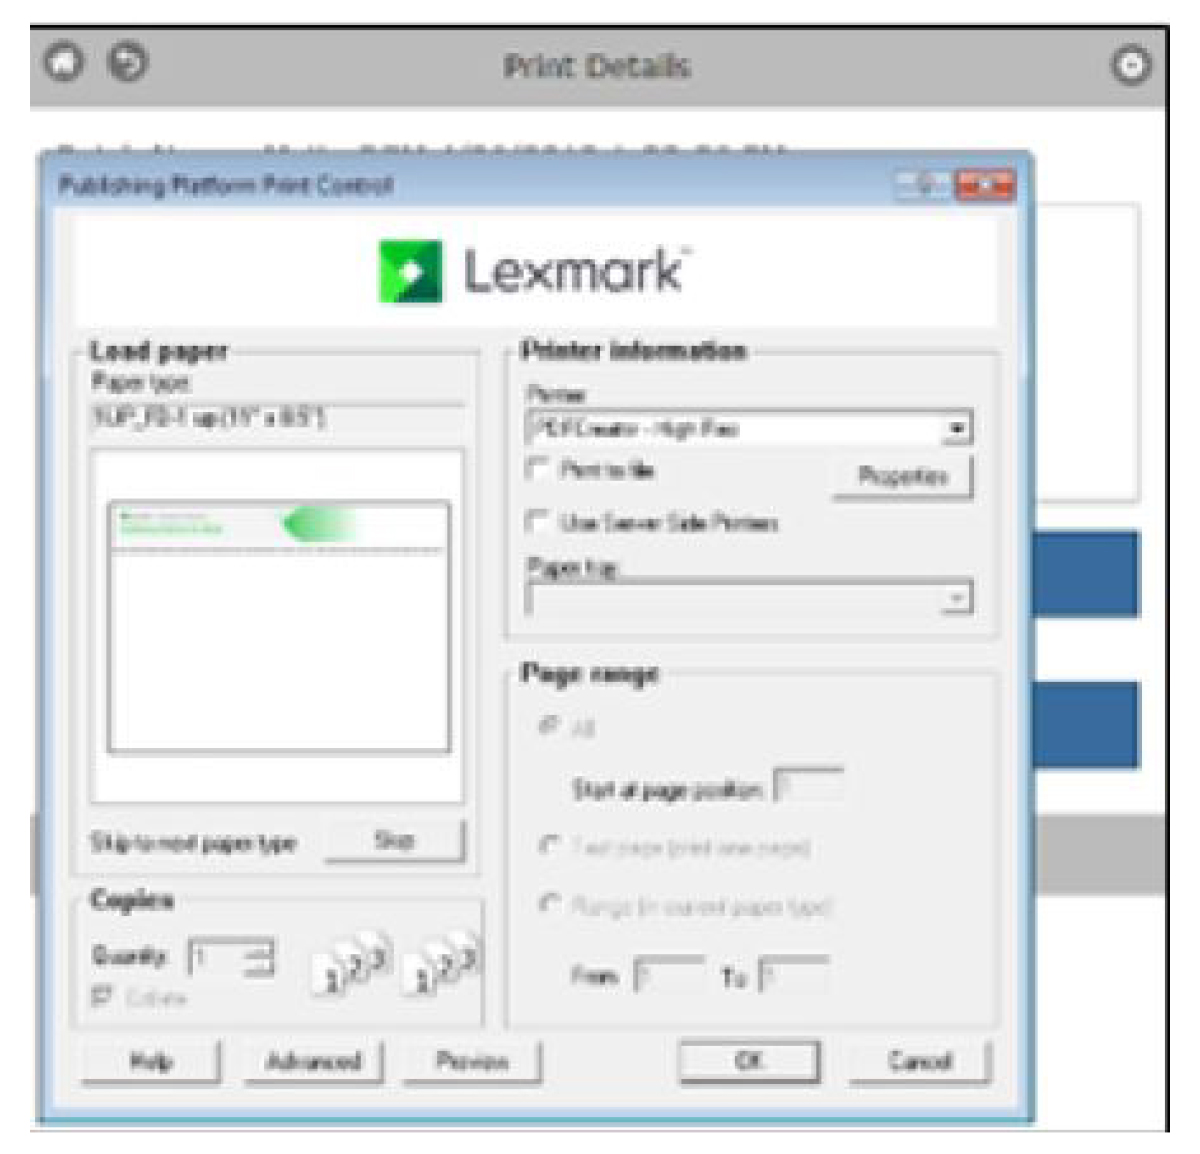
Client-side printing to a local printer
If you are using client-side printing on a Windows operating system, then the Print Controller launches, prompting you to select a printer and other available options.
The Print Controller controls the print process and routing to the printer.
Server-side printing to an IP address or a print server
If you are using server-side printing, then the print job is routed to a print server that has the configured printer. Then the job is sent through the server and routed back to your local printer for printing.
The following are configured by your network administrator:
Printing directly to a printer through an IP address
Printing directly to a print queue
Printing to a queue for retrieval
Using the “Print on Add” option
Use the "Print On Add" check box to automatically print a sign or label immediately when items are added into a batch.
This option is ideal for label-roll-fed printers and signs where there is only one sign per page.
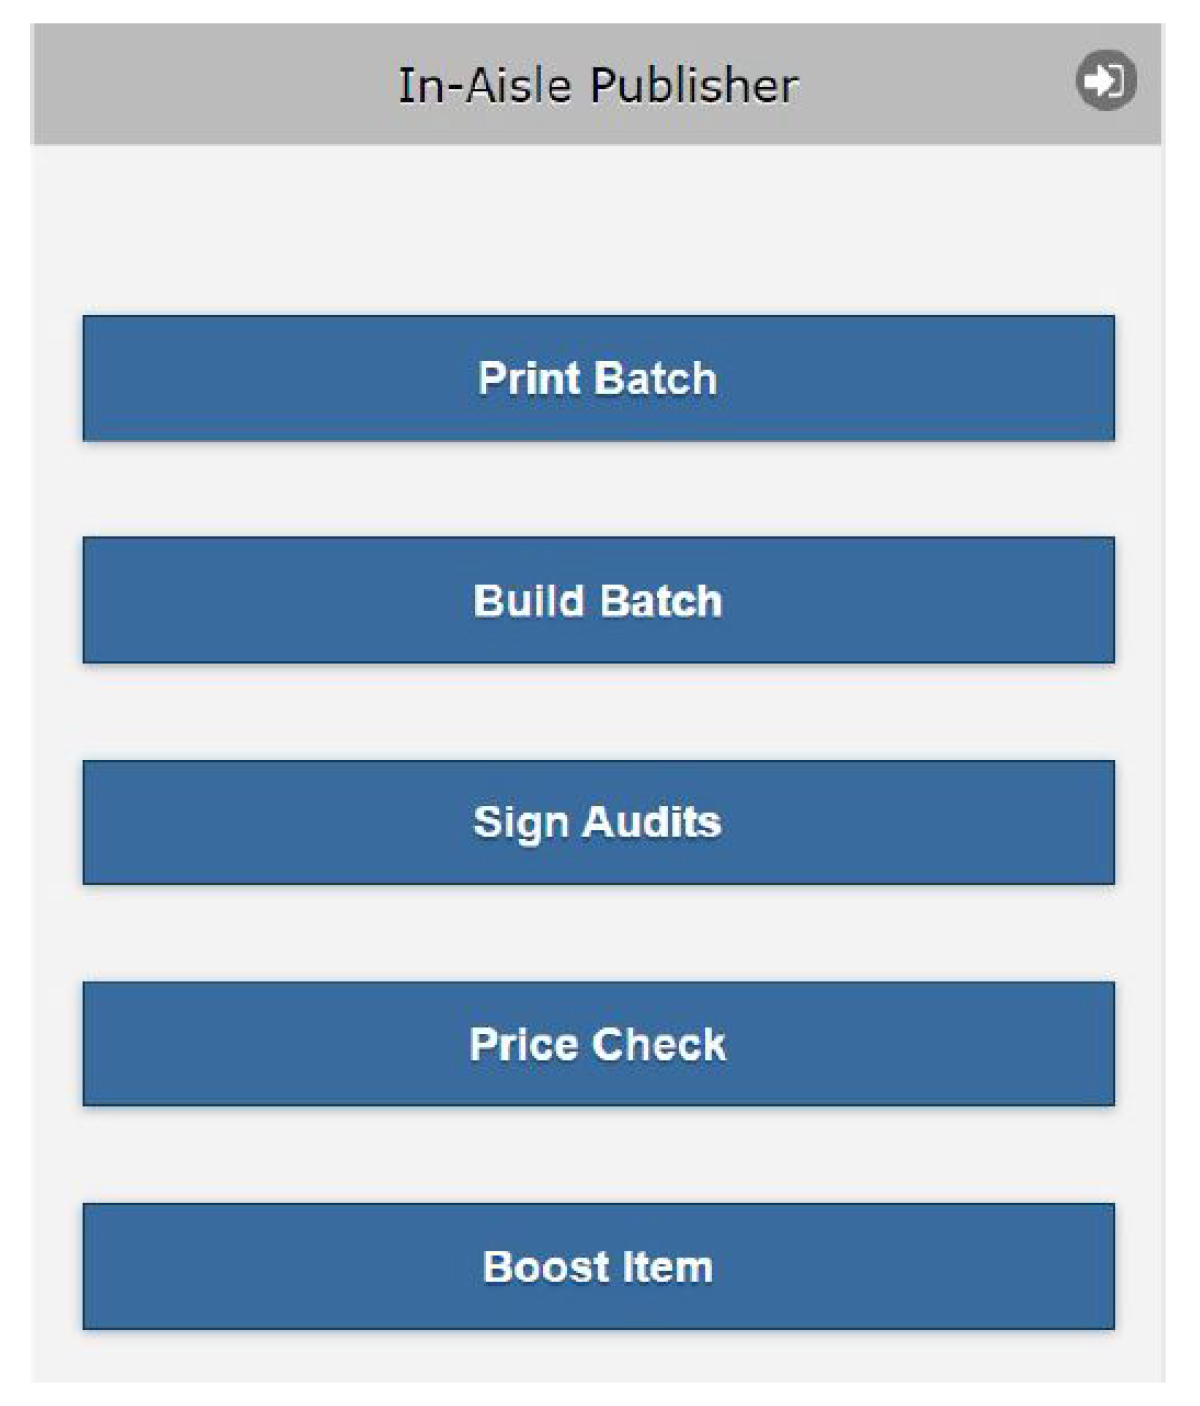
 —Log out of the application.
 —The main navigation menu
 —Configure printers and printer options.
 —Return to the previous screen.
 —Save the options on the screen where it is available.