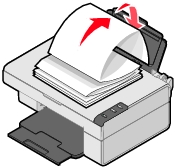
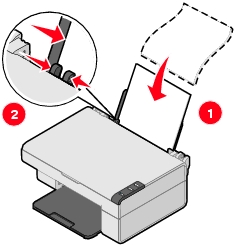
Loading paper into the paper support
 Loading paper into the paper support
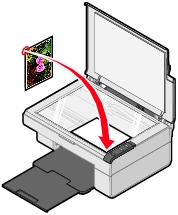
Placing documents on the scanner glass
You can load up to 100 sheets of plain paper, depending on the thickness of the paper.
Note: Do not force the paper into the All-In-One.
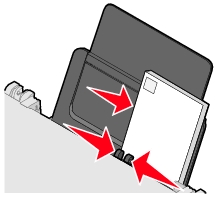
Note: If you are using A4 or letter size paper, adjusting the paper guide may not be necessary.
Follow these guidelines when loading specialty media:
|
Load |
Make sure |
|---|---|
|
Up to 100 sheets of inkjet paper (depending on the thickness) |
|
|
Up to 10 iron-on transfers |
|
|
Up to 25 sheets of photo/glossy paper |
Note: To prevent smudging, remove each photo as it exits the All-In-One, and then let it dry before stacking. |
|
Banner paper |
Note: Failure to choose the correct paper size will cause a paper jam.
|
|
Up to 25 sheets of greeting card stock, postcards, or photo cards |
|
|
Up to 20 transparencies |
Note: Since transparencies require more drying time, we recommend that you remove each transparency as it exits, and allow it to dry to avoid ink smudging. |
|
Up to 100 sheets of coated or premium paper |
|
|
Up to 10 envelopes |
Note: Do not load envelopes with: |
Note: Make sure the corner of the document fits securely in the front right corner of the scanner glass.