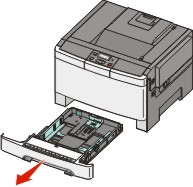
Pull the tray out.
| Note: Do not remove trays while a job prints or while appears on the display. Doing so may cause a jam. |
Squeeze the length guide tab inward as shown, and slide the guide to the correct position for the paper size being loaded.
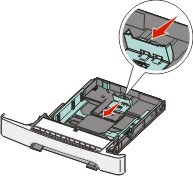
| Note: Use the size indicators on the bottom of the tray to help position the guide. |
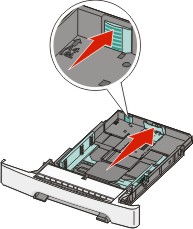
If the paper is longer than A4 or letter size, push the green tab at the back of the tray to extend it.
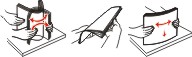
Flex the sheets back and forth to loosen them, and then fan them. Do not fold or crease the paper. Straighten the edges on a level surface.
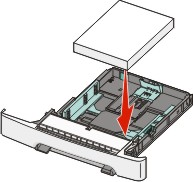
Load the paper stack with the recommended print side faceup.
Make sure the paper guides are secure against the edges of the paper.
| Note: Make sure that side guides are placed tightly against the edges of the paper so that the image is registered properly on the page. |
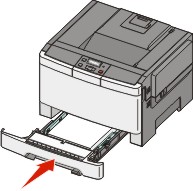
Insert the tray.
If a different type or size of paper was loaded than the type or size previously loaded in the tray, change the Paper Type or Paper Size setting for the tray from the printer control panel.
| Note: Mixing paper sizes or types in a tray may lead to jams. |