Replacing the waste toner box
Replace the waste toner box when appears. The printer will not continue printing until the waste toner box is replaced.
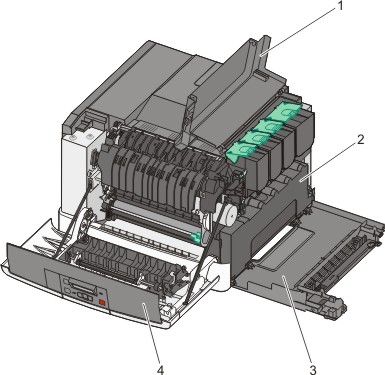
1 | Top door |
2 | Waste toner box |
3 | Right side cover |
4 | Front door |
Unpack the replacement waste toner box.
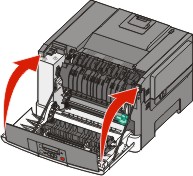
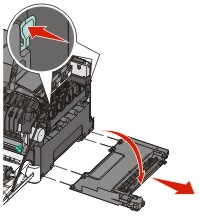
Grasp the front door at the sides, and then pull it toward you.

CAUTION—HOT SURFACE: The inside of the printer might be hot. To reduce the risk of injury from a hot component, allow the surface to cool before touching. 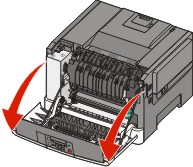
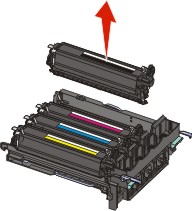
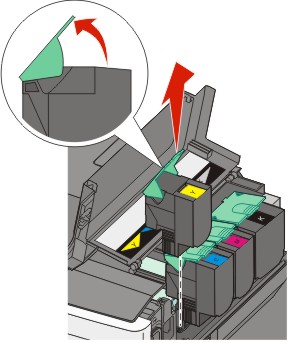
Open the top door by sliding the button forward.
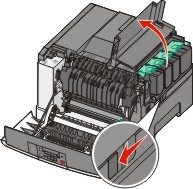
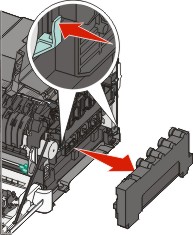
Remove the right side cover.
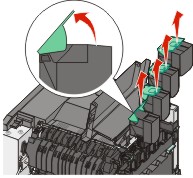
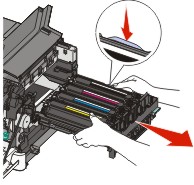
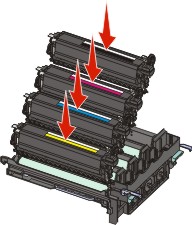
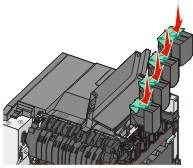
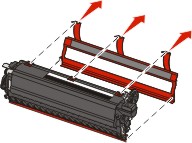
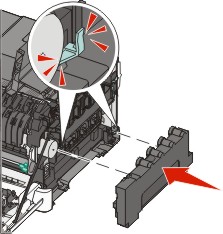
Press the green levers on each side of the waste toner box, and then remove it.

Place the waste toner box in the enclosed packaging.
For more information, see Recycling Lexmark products.
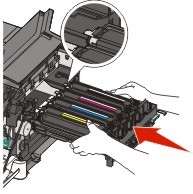
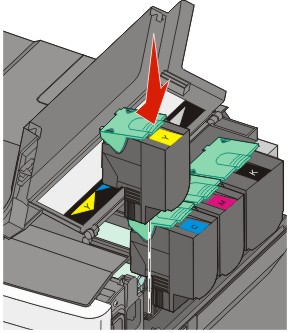
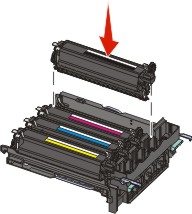
Insert the new waste toner box.
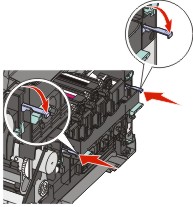
Replace the right side cover.

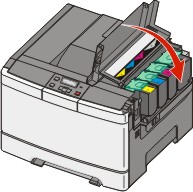
Close the top door.
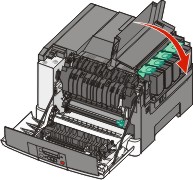
Close the front door.