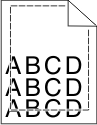
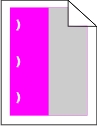
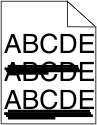
Printer is printing blank pages

Try one or more of the following:
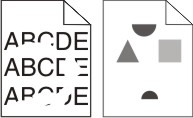
Make sure there is no packing material left on the toner or print cartridge
Remove the cartridge and make sure the packing material is properly removed. Reinstall the cartridge.
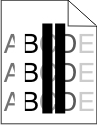
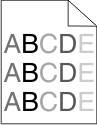
Make sure the toner or print cartridge is not low on toner
When appears, make sure that toner is distributed evenly among all four cartridges:
Remove the cartridge.
Warning—Potential Damage: Be careful not to touch the photoconductor drum. Doing so may affect the print quality of future print jobs. Firmly shake the cartridge side-to-side and front-to-back several times to redistribute the toner.
Reinsert the cartridge.
Note: If print quality does not improve, then replace the cartridge of the color that is not printing.
If the problem continues, then the printer may need to be serviced. For more information, contact customer support.