Replacing the waste toner box
Replace the waste toner box when appears. The printer will not continue printing until the waste toner box is replaced.
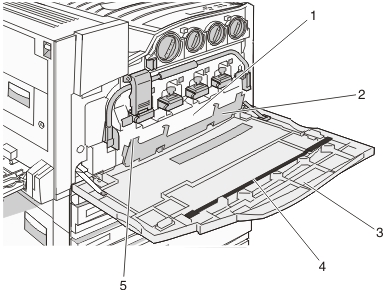
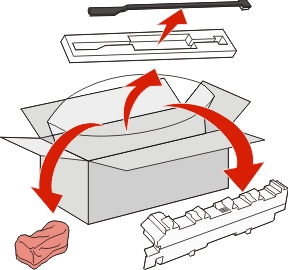
1 | Waste toner box |
2 | Door E6 |
3 | Door E |
4 | Printhead lens cleaner |
5 | E6 Door tab |
Unpack the replacement waste toner box and accessories.
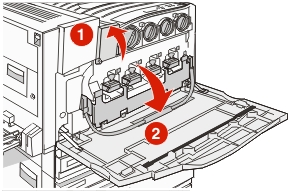
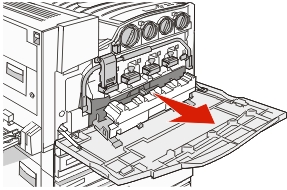
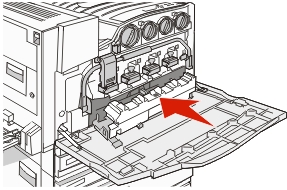
Open Door E (front printer door).
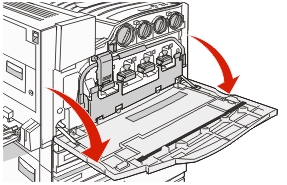
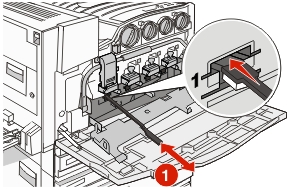
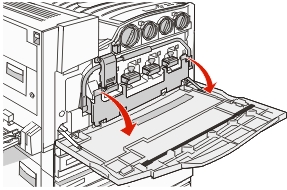
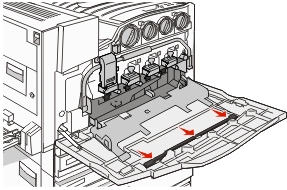
Warning—Potential Damage: To avoid overexposing the photoconductors, do not leave the door open for more than 10 minutes. Grasp the E6 Door tab, and then push the door down.
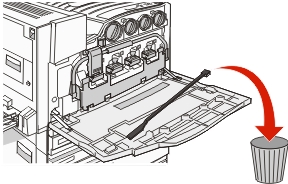
Remove the old printhead lens cleaner from Door E, and then discard it.
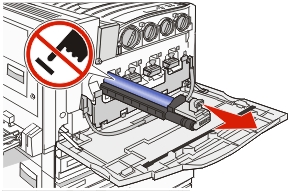
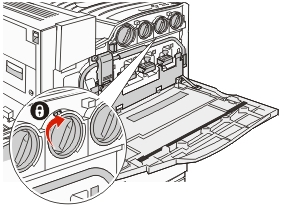
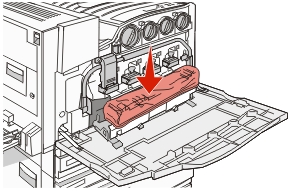
Remove the waste toner box.
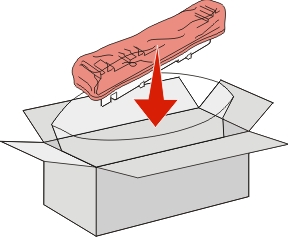
Place the plastic cover over the waste toner box.
Place the waste toner box in the recycling bag.
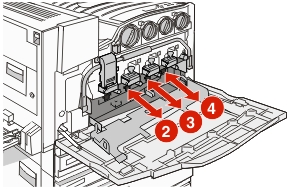
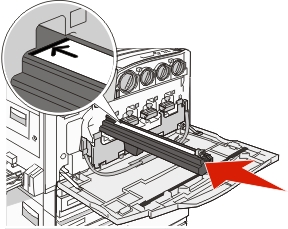
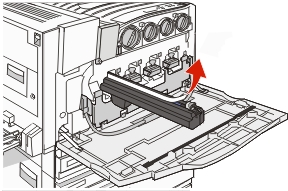
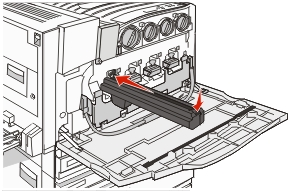
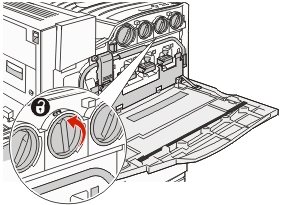
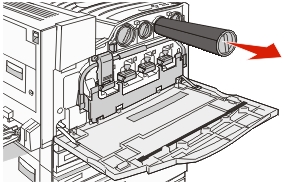
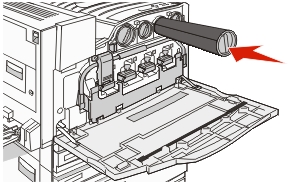
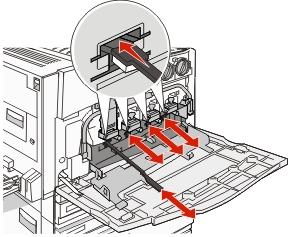
Use the new printhead lens cleaner to clean the printhead lenses.
Insert the new waste toner box.
Place the new printhead lens cleaner in the notches of Door E.
Close Door E6.
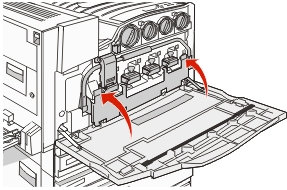
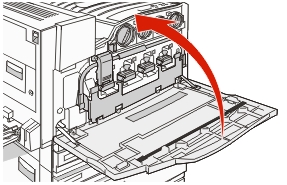
Close Door E.
Remove all paper from the printer paper path.
Visit www.lexmark.com/recycling to learn how to recycle the waste toner box.