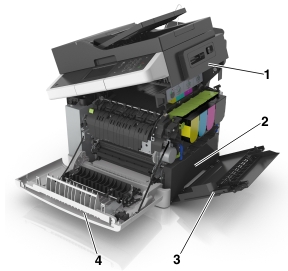
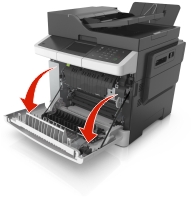
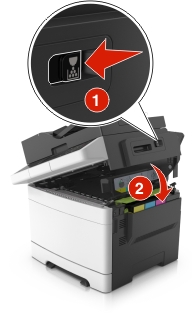
Open the front door.
 | CAUTION—HOT SURFACE: The inside of the printer might be hot. To reduce the risk of injury from a hot component, allow the surface to cool before touching. |
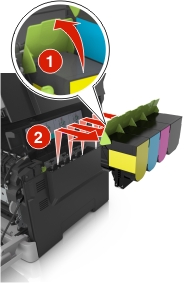
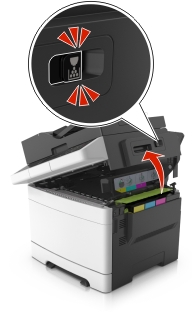
Open the top door.
Remove the toner cartridges by lifting the handles, and then gently pulling them away from the imaging kit.
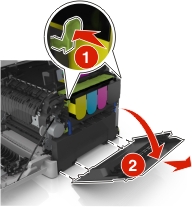
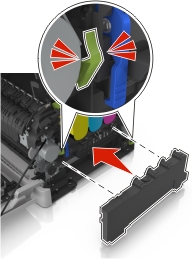
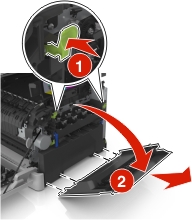
Remove the right side cover.
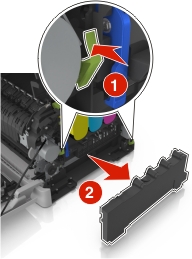
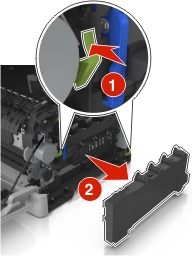
Press the green levers on each side of the waste toner bottle, and then remove the waste toner bottle.
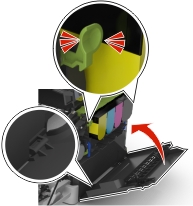
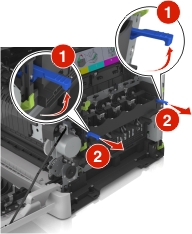
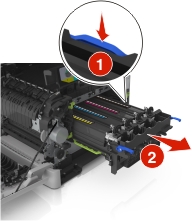
Lift the blue levers on the imaging kit, and then pull the imaging kit until it stops.
Press down the blue lever, and then grasp the green handles on the sides to pull out the imaging kit.
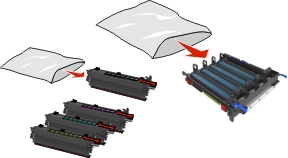
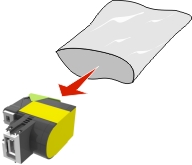
Unpack the replacement black and color imaging kit.
Notes:
- The color imaging kit includes the imaging kit and the cyan, magenta, yellow, and black developer units.
- The black imaging kit includes the imaging kit and the black developer unit.
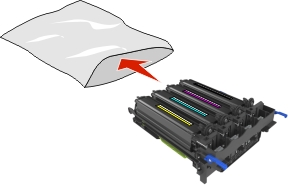
Seal the used imaging kit in the bag that the replacement imaging kit came in.
For more information, see Recycling Lexmark products.
| Note: When replacing the black imaging kit, save the cyan, magenta, and yellow developer units. Dispose only the black developer unit. |
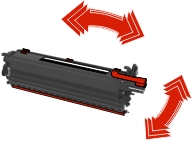
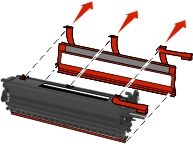
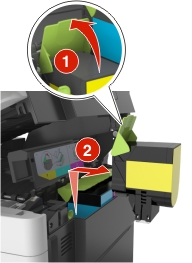
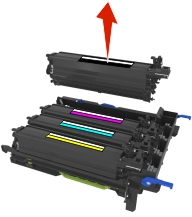
Gently shake the yellow, cyan, magenta, and black developer units side-to-side.
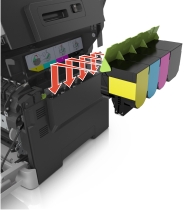
Remove the red packing strip and the attached fabric from the developer units.
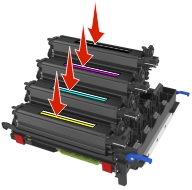
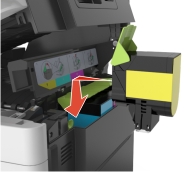
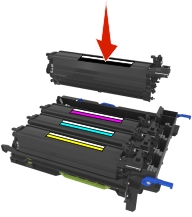
Gently insert the yellow, cyan, magenta, and black developer units.
| Note: Make sure each developer unit is inserted into the matching color slot. |
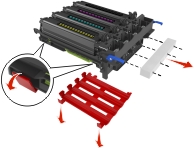
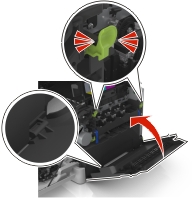
Remove the red packing strip from the imaging kit.
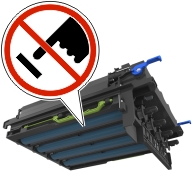
| Warning—Potential Damage: Do not touch the shiny photoconductor drum under the imaging kit. Doing so may affect the quality of future print jobs. |
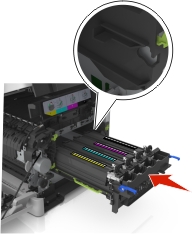
Align and then insert the imaging kit.
Gently but firmly push the blue levers down until the imaging kit fits into place.
| Note: Make sure that the imaging kit is fully seated. |
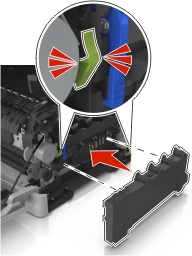
Insert the waste toner bottle.
Insert the right side cover.
Insert the toner cartridges.
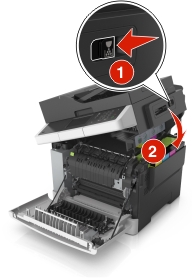
Slide and hold the release latch on the right side of the printer, and then slowly close the top door.
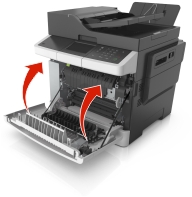
Close the front door.