The jam lights and messages are shown, along with brief instructions on how to access each jam.
| Note: The jam messages listed appear on the virtual display of the Embedded Web Server. |
 - On
- On
 - On
- On
 - On
- On
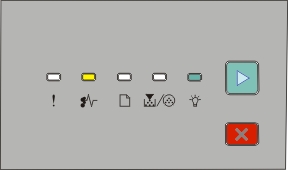
Try one of the following:
Remove Tray 1.
Open the front door, and then remove the photoconductor kit and toner cartridge unit.
- On
 - On
- On
- On
Open the front door, and then remove the photoconductor kit and toner cartridge unit.
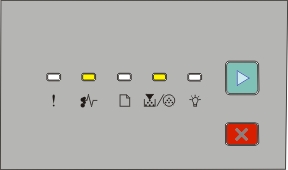
- On
 - On
- On
- On
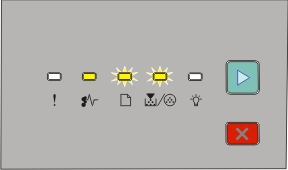
Open the front door, and then open the rear door.
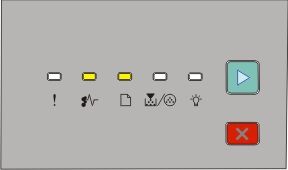
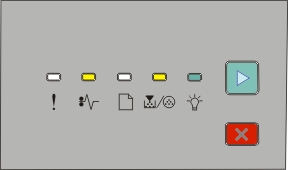
- On
- Blinking
- On
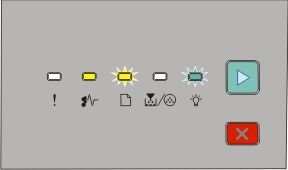
Open the front door, and then open the rear door.
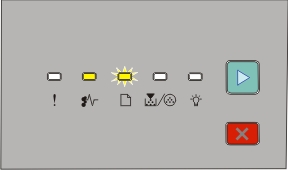
- On
- Blinking
- Blinking
- On
Try one of the following:
Remove Tray 1, and then depress the lever.
Open the front door, and then open the rear door.
- On
- Blinking
- On
Try one of the following:
Open the front door, and then open the rear door.
Remove Tray 1, and then depress the lever.
- On
- Blinking
- Blinking
- On
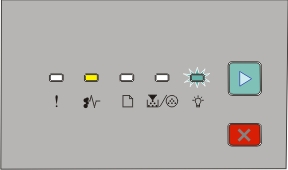
Remove the jam from the standard exit bin.
- On
- On
- On
- On
Try one of the following:
Remove Tray 1.
Open the front door, and then remove the photoconductor kit and toner cartridge unit.
Remove Tray 2.
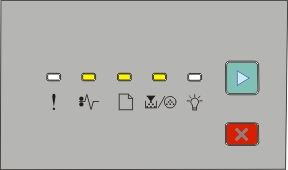
- On
- On
- On
- On
Remove the jam from the manual feeder.