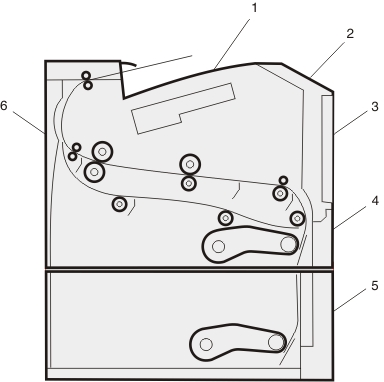
200 | Try one or more of the following: |
201 | Open the front door, and then remove the photoconductor kit. |
202 | Open the front door, and then open the rear door. |
231 | Open the front door, and then open the rear door. Note: For alternative access to the jam, remove Tray 1, and then depress the lever. |
233 | Remove Tray 1, and then depress the lever. Note: For alternative access to the jam, open the front door, and then open the rear door. |
234 | Try one or more of the following: Open the front door, and then open the rear door. Remove Tray 1, and then depress the lever.
|
235 | Remove the jam from the standard exit bin. |
24x | Remove Tray 2. |
251 | Try one or more of the following: If the sheet is visible in the multipurpose feeder, gently pull it from the front of the multipurpose feeder. If it is not visible, open the front door, and then remove the unit. Lift the flap at the front of the printer, and then remove any jammed sheets.
|

