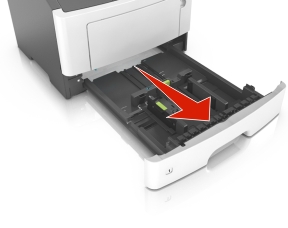
Pull out the tray completely.
| Note: Do not remove trays while a job prints or while Busy appears on the printer display. Doing so may cause a jam. |
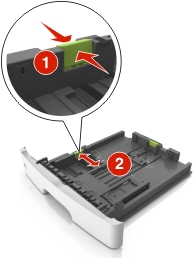
Squeeze and then slide the width guide tab to the correct position for the size of the paper you are loading.
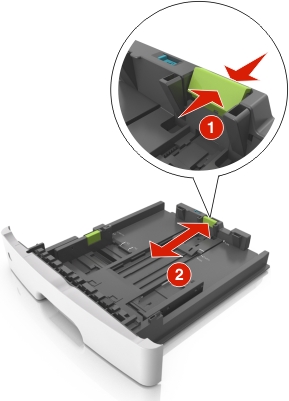
Squeeze and then slide the length guide tab to the correct position for the size of the paper you are loading.
Notes:
- For some paper sizes like letter, legal, and A4, squeeze and slide the length guide tab backward to accommodate their length.
- When loading legal-size paper, the length guide extends beyond the base leaving the paper exposed to dust. To protect the paper from dust, you can purchase a dust cover separately. For more information, contact customer support.
- If you are loading A6-size paper in the standard tray, then squeeze and then slide the length guide tab toward the center of the tray to the A6-size position.
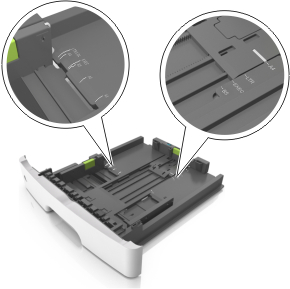
- Make sure the width and length guides are aligned with the paper size indicators on the bottom of the tray.
Flex the sheets back and forth to loosen them, and then fan them. Do not fold or crease the paper. Straighten the edges on a level surface.
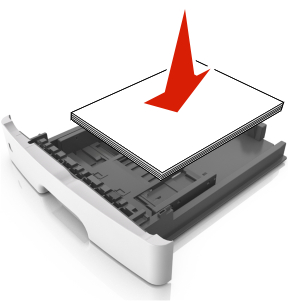
Load the paper stack.
Notes:
- Load with the printable side facedown when using recycled or preprinted paper.
- Load prepunched paper with the holes on the top edge toward the front of the tray.
- Load letterhead facedown, with the top edge of the sheet toward the front of the tray. For two-sided printing, load letterhead faceup with the bottom edge of the sheet toward the front of the tray.
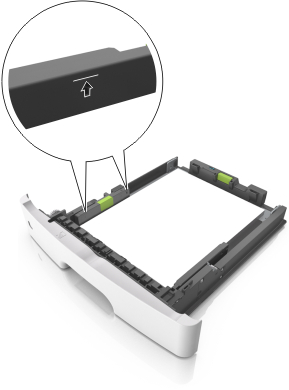
- Make sure the paper is below the maximum paper fill indicator located on the side of the width guide.
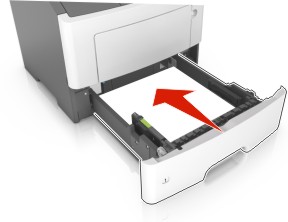
Insert the tray.
From the printer control panel, set the paper size and paper type in the Paper menu to match the paper loaded in the tray.
| Note: Set the correct paper size and type to avoid paper jams and print quality problems. |